
Buttermilk Chocolate Chip Waffles
My family kept a pretty healthy diet when I was a kid. But there was one notable exception to our balanced meals: Sunday breakfasts.
We went through phases over the years, but Sunday was always our day to chow down on an extra special morning treat. First, it was bagels. Then—pancakes. And once I hit high school, we had homemade waffles every single Sunday.
Come Sunday morning, my mom would pull out her waffle maker and start cranking out batches of crispy, fluffy waffles. Most batches had chocolate chips in them. Because if you’re going to go for an indulgent breakfast, why not go all the way?
My waffle maker usually lives in the back corner of my deepest cabinet, and I don’t take it out much. But these last couple weeks, I’ve found a lot of comfort in making myself crisp, fluffy waffles for an extra-special meal.
My mom used the Krusteaz waffle mix when I was a kid, and maybe I’ll get some of that soon for a super nostalgic treat. In the meantime, I loved this recipe from Smitten Kitchen. They truly live up to their name: They’re rich and full-flavored, with crispy edges and fluffy centers. You can, of course, leave out the chocolate chips. But… why would you?
If you’re concerned about getting buttermilk or wasting some of the container, I recommend buying shelf-stable buttermilk powder instead. It’s one of my favorite baking supplies, so I always have a container in the fridge. It lasts for ages comes in handy for everything from scones to cake.
Buttermilk Chocolate Chip Waffles
Original recipe: Smitten Kitchen. I’ve rewritten things a bit and added commentary.
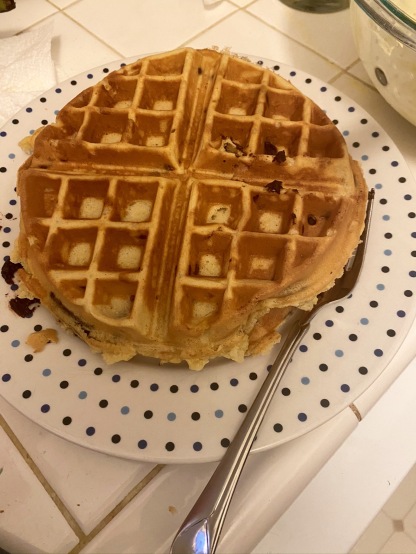
Yield: I got five, 4-part Belgian waffles out of this. It will depend somewhat on your waffle maker’s shape and volume.
Suggested equipment: Waffle maker :)
Total Time: ~30 minutes
Cook Time: Depends on your waffle maker. I cooked up all my batter in ~10 minutes.
Ingredients
- 2 cups flour
- 1/2 tsp salt
- 2 tbsp sugar
- 1 1/2 tsp baking soda
- 1 3/4 cups buttermilk.
- If you’re using powdered buttermilk, follow the instructions on your container to make sure you use the right amount of dry powder and added water. In the original recipe, Deb also says you can swap in 1 1/2 cups sour cream OR 1 1/2 cups plain yogurt thinned with 1/4 cup milk.
- 2 eggs, separated into yolks and eggs
- 4 tbsp butter, melted and cooled (1/2 stick)
- 1 tsp vanilla extract
- Neutral oil for your waffle pan (Canola, etc.)
Instructions
- Combine the flour, salt, sugar and baking soda. If you’re using buttermilk powder, this is when you’ll add in the powder portion.
- In another bowl, combine your egg yolks and the buttermilk/sour cream/yogurt. If you’re using buttermilk powder, this is when you’ll add in the water portion.
- To the bowl with the eggs, stir in your butter and vanilla.
- Spray your iron with oil, and preheat it.
- Meanwhile, stir your wet ingredients into the dry ingredients.
- Use your mixer or a whisk to beat your egg whites into soft peaks. That means that they’ll hold a bit of a peak, then fall back down again. This step helps get your waffles crispy, so don’t skip it!
- Stir your egg whites gently into the batter.
- Once your iron is heated, spread batter into the iron and bake until it’s done.
- You can serve these immediately, or warm them for a few minutes on a low oven setting.
Waffles keep really well, so you can freeze your extras for another day. They don’t keep as well in the fridge, but it’ll be ok for a couple days. I ended up eating my waffles three days in a row. Shh. Don’t tell my mom.
