New Memories For a Kitchen and Bathroom Remodel in Rosedale
A designer makes her mom’s house in Queens her family’s own starting with the kitchen and bathroom
- Homeowner: Gabrielle A. Gilbert inherited the house when her mother passed. Then she posted her home remodel on Sweeten, and pays mom a loving tribute.
- Where: Rosedale, Queens in New York City
- Primary renovation: A simultaneous gut renovation of the kitchen and bathroom, both cramped and non-functional
- With: Sweeten Queens general contractor
- Homeowner’s quote: “The contractor I hired offered me the best time frame, materials, and cost. His crew went above and beyond and did not cut corners.”
Written in partnership with homeowner Gabby. “After” photos by Kate Glicksberg.
Mom's home gets the spotlight
My biggest question was, “How do I make it feel like a million bucks—without spending a million bucks?” My mom bought this house when I was in high school and I inherited it when she passed away. As an ode to her, we wanted to invest in the property and renovate; something mom had dreamt of doing but never had the funds to do it. So we began planning—kitchen and bathroom first.
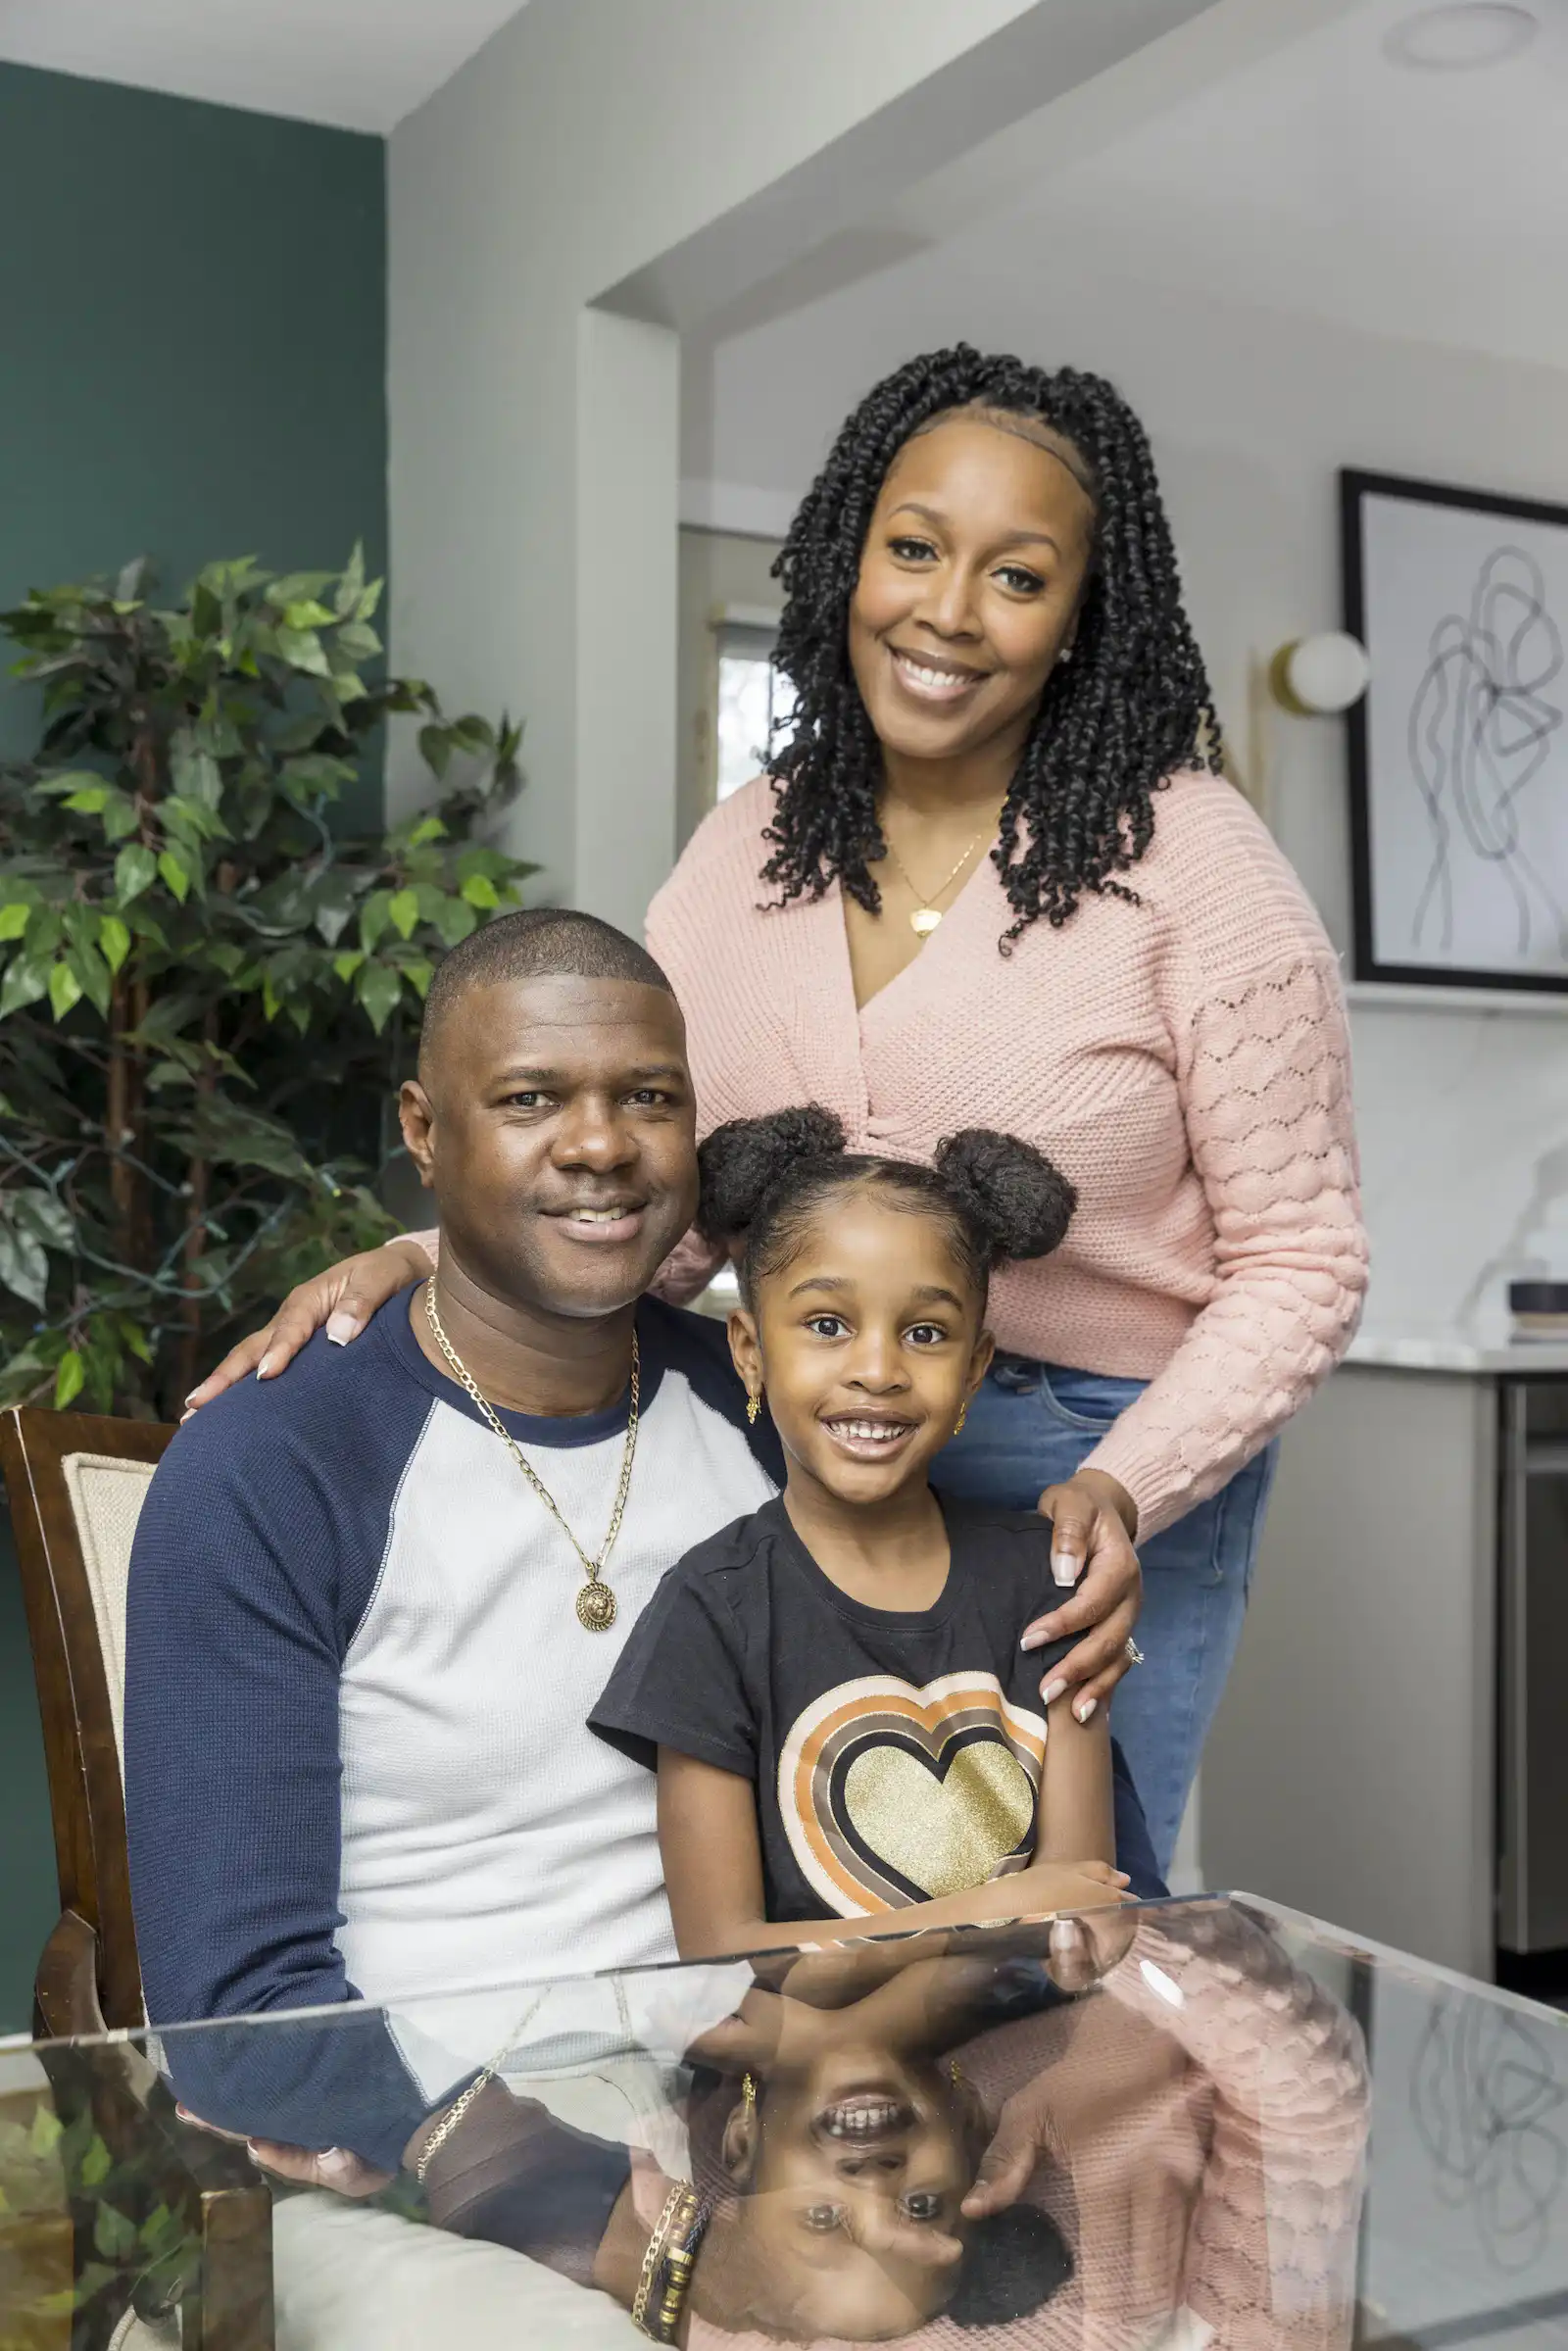
My name is Gabby. I am a realtor and designer, and Perrin, my husband, is a security officer. Our five-year-old daughter is Rinelle. I’ve always wanted to build my dream house, and I was able to refinance at a good time. Although I do real estate full-time, I also take on freelance design projects. One example: Christina and Aaron’s kitchen, remodeled by a Sweeten contractor.
A designer finds the right contractor
The house, a single-family Cape-style that is common to our area of North Rosedale, Queens, was built in 1950. We needed to overhaul a kitchen which had so much wasted space. Storage was severely lacking based on the existing layout and was not serving my family’s needs. In addition, the materials were outdated, required a lot of maintenance, and no longer standing the test of time.
We envisioned a partial open concept between the kitchen and dining room, which felt cut off. Our bathroom was also old and had ventilation issues which lead to a lot of rust. It was due for a total gut.
I like making spaces beautiful and functional, so I decided to plan my home’s redesign. I listed my renovation project and Sweeten quickly connected me to three contractors in Queens who all seemed great. The contractor I hired offered me the best time frame, materials, and cost. His crew went above and beyond and did not cut corners.
Storage-forward kitchen
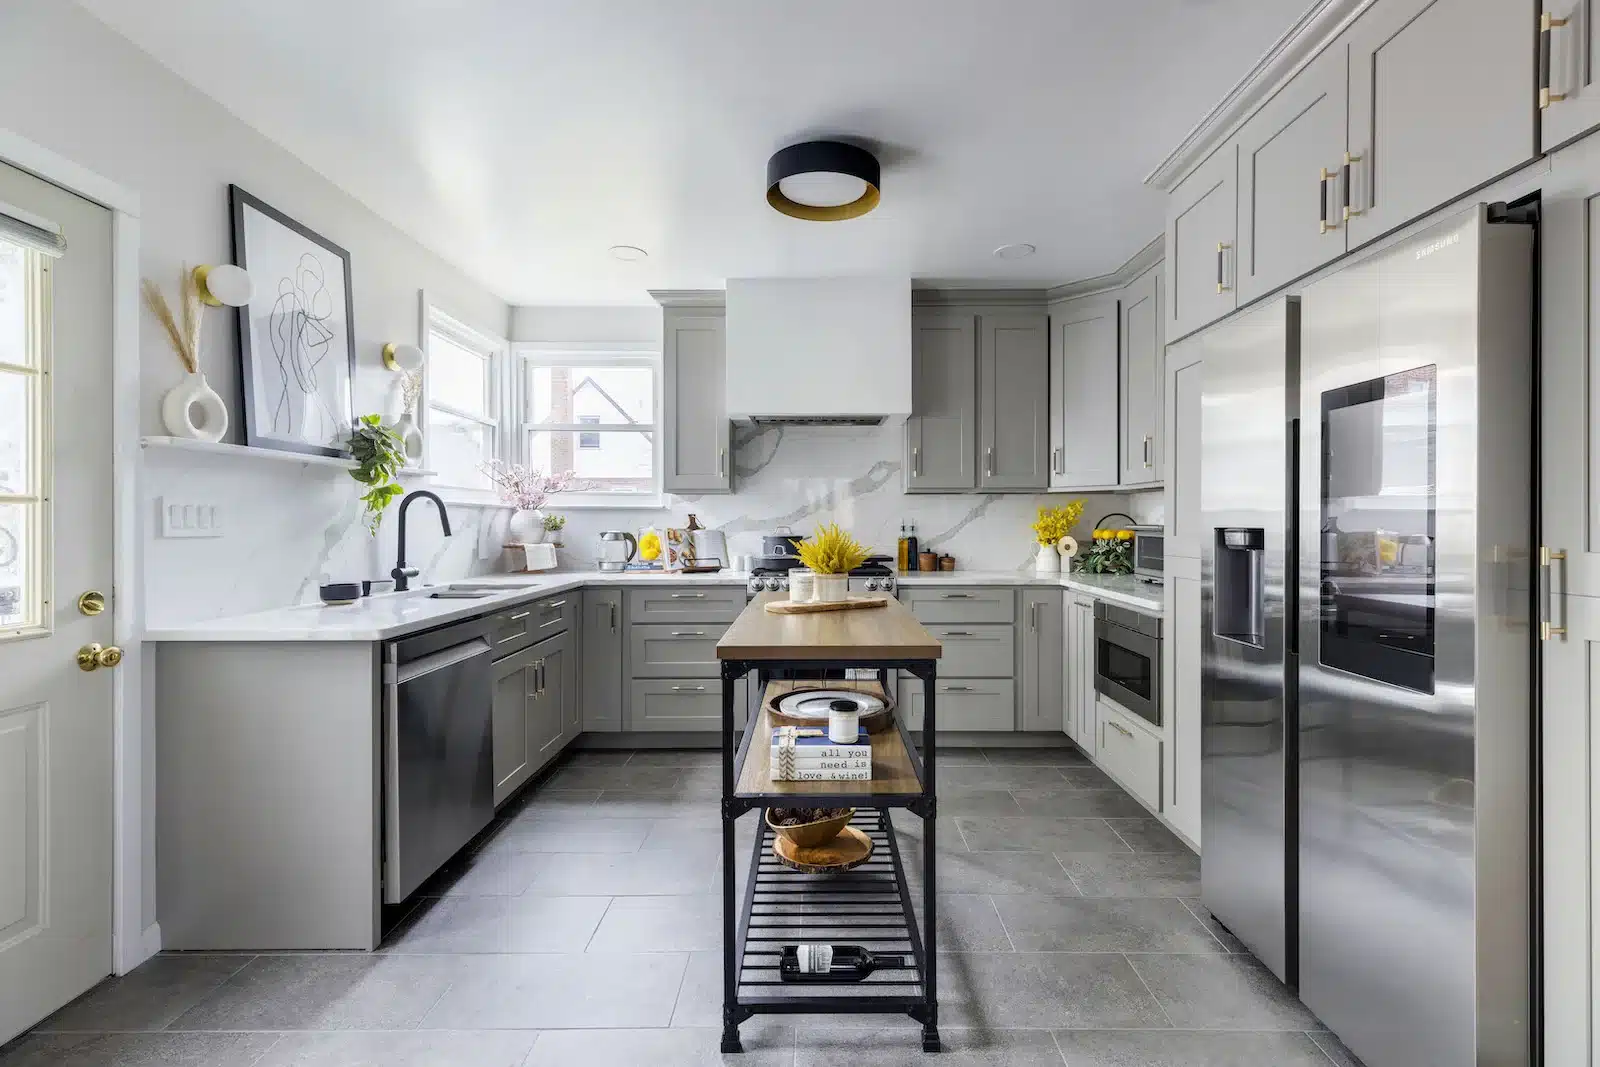
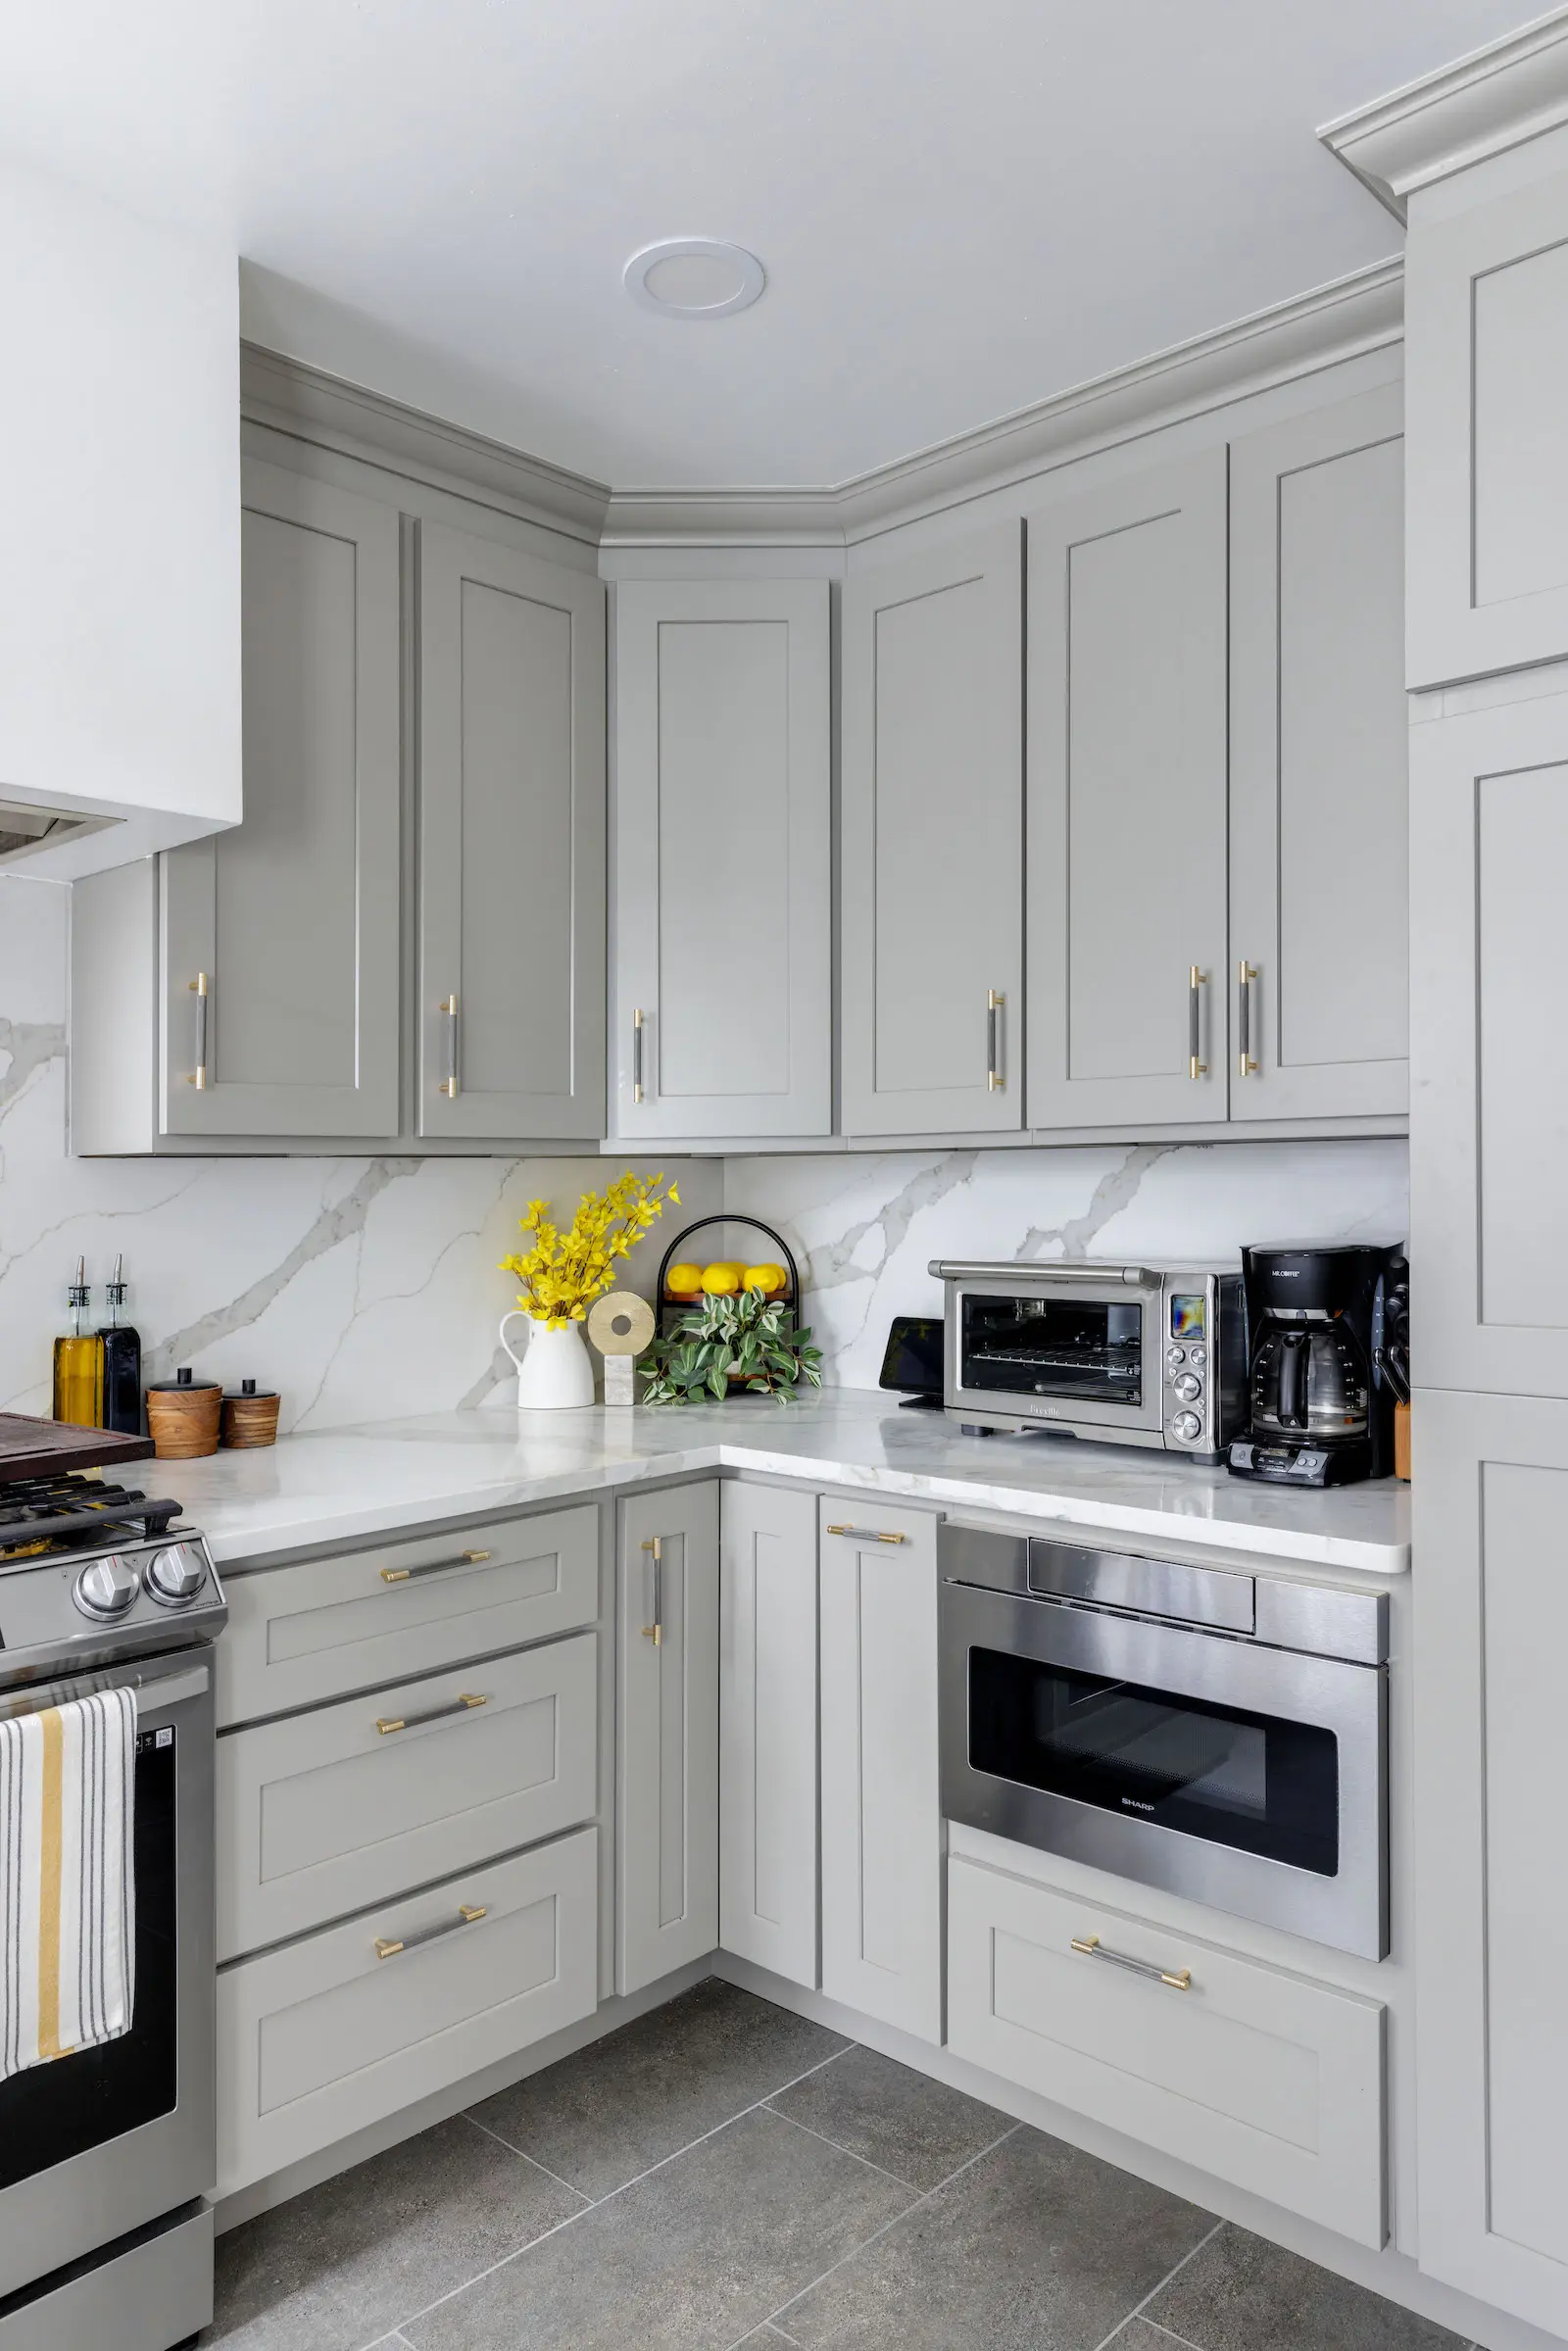
We started the process in the kitchen, where I got to work on design and storage solutions. Cabinetry covered one wall from floor to ceiling. The U-shaped layout gained space by eliminating the permanent island. However, we bought a mobile island for counter space on demand.
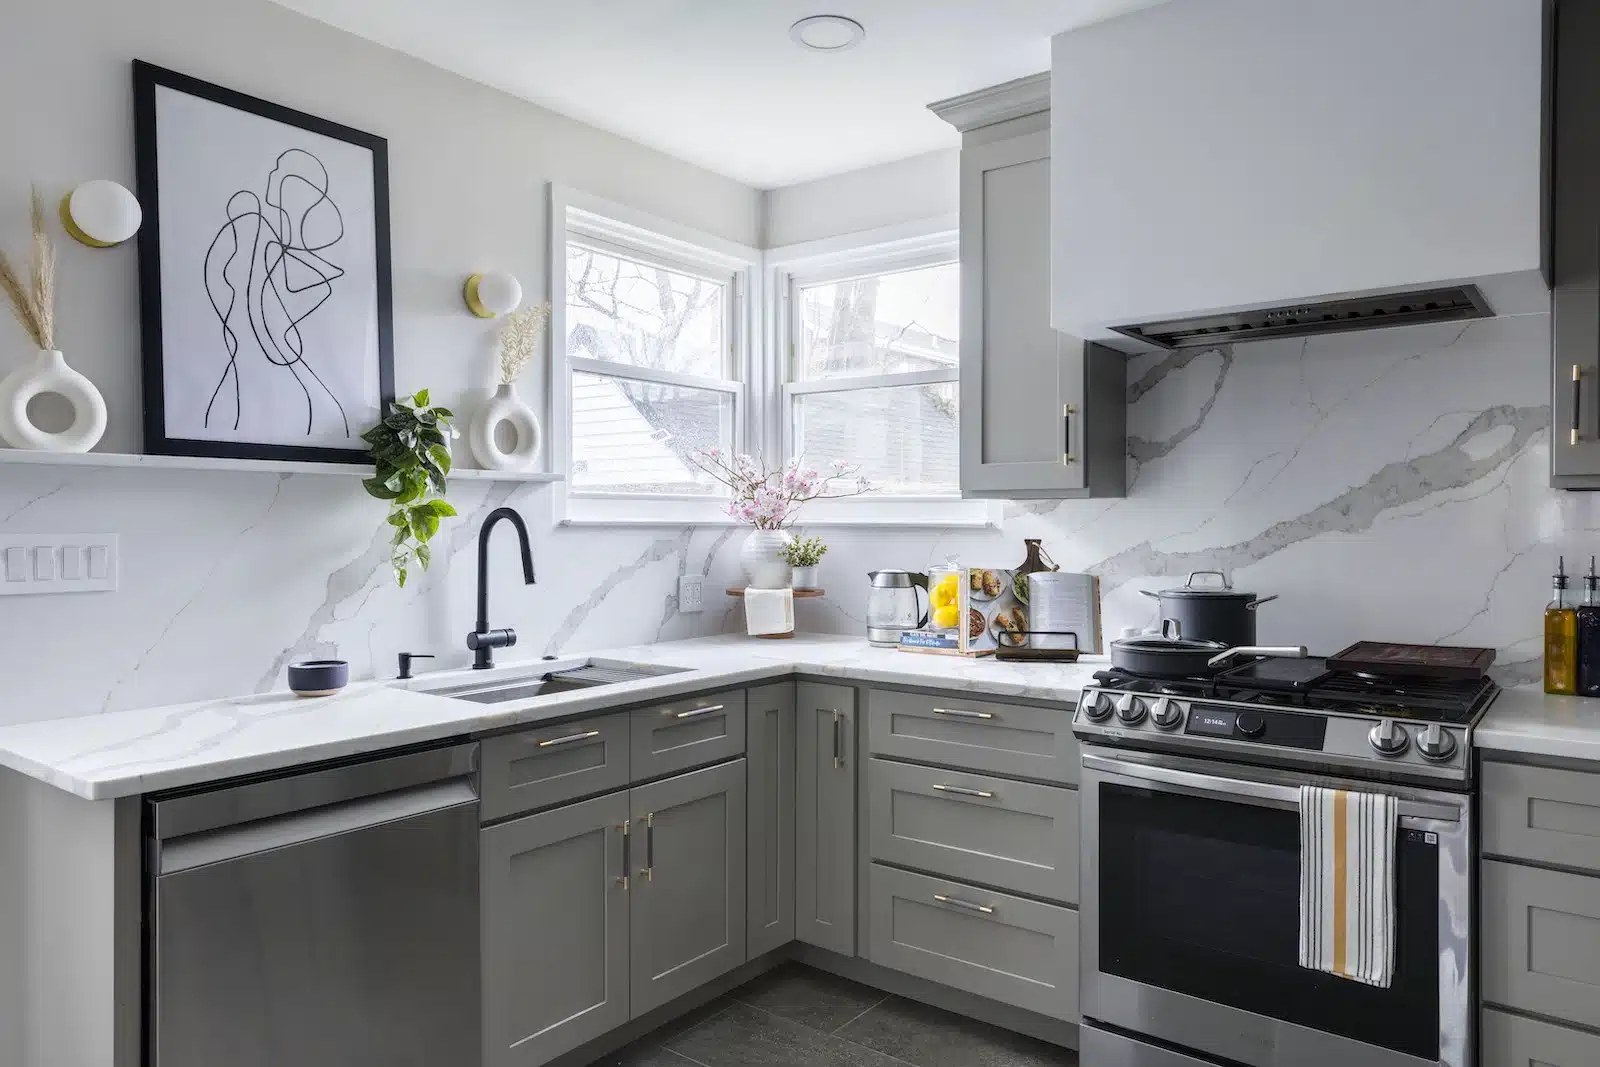
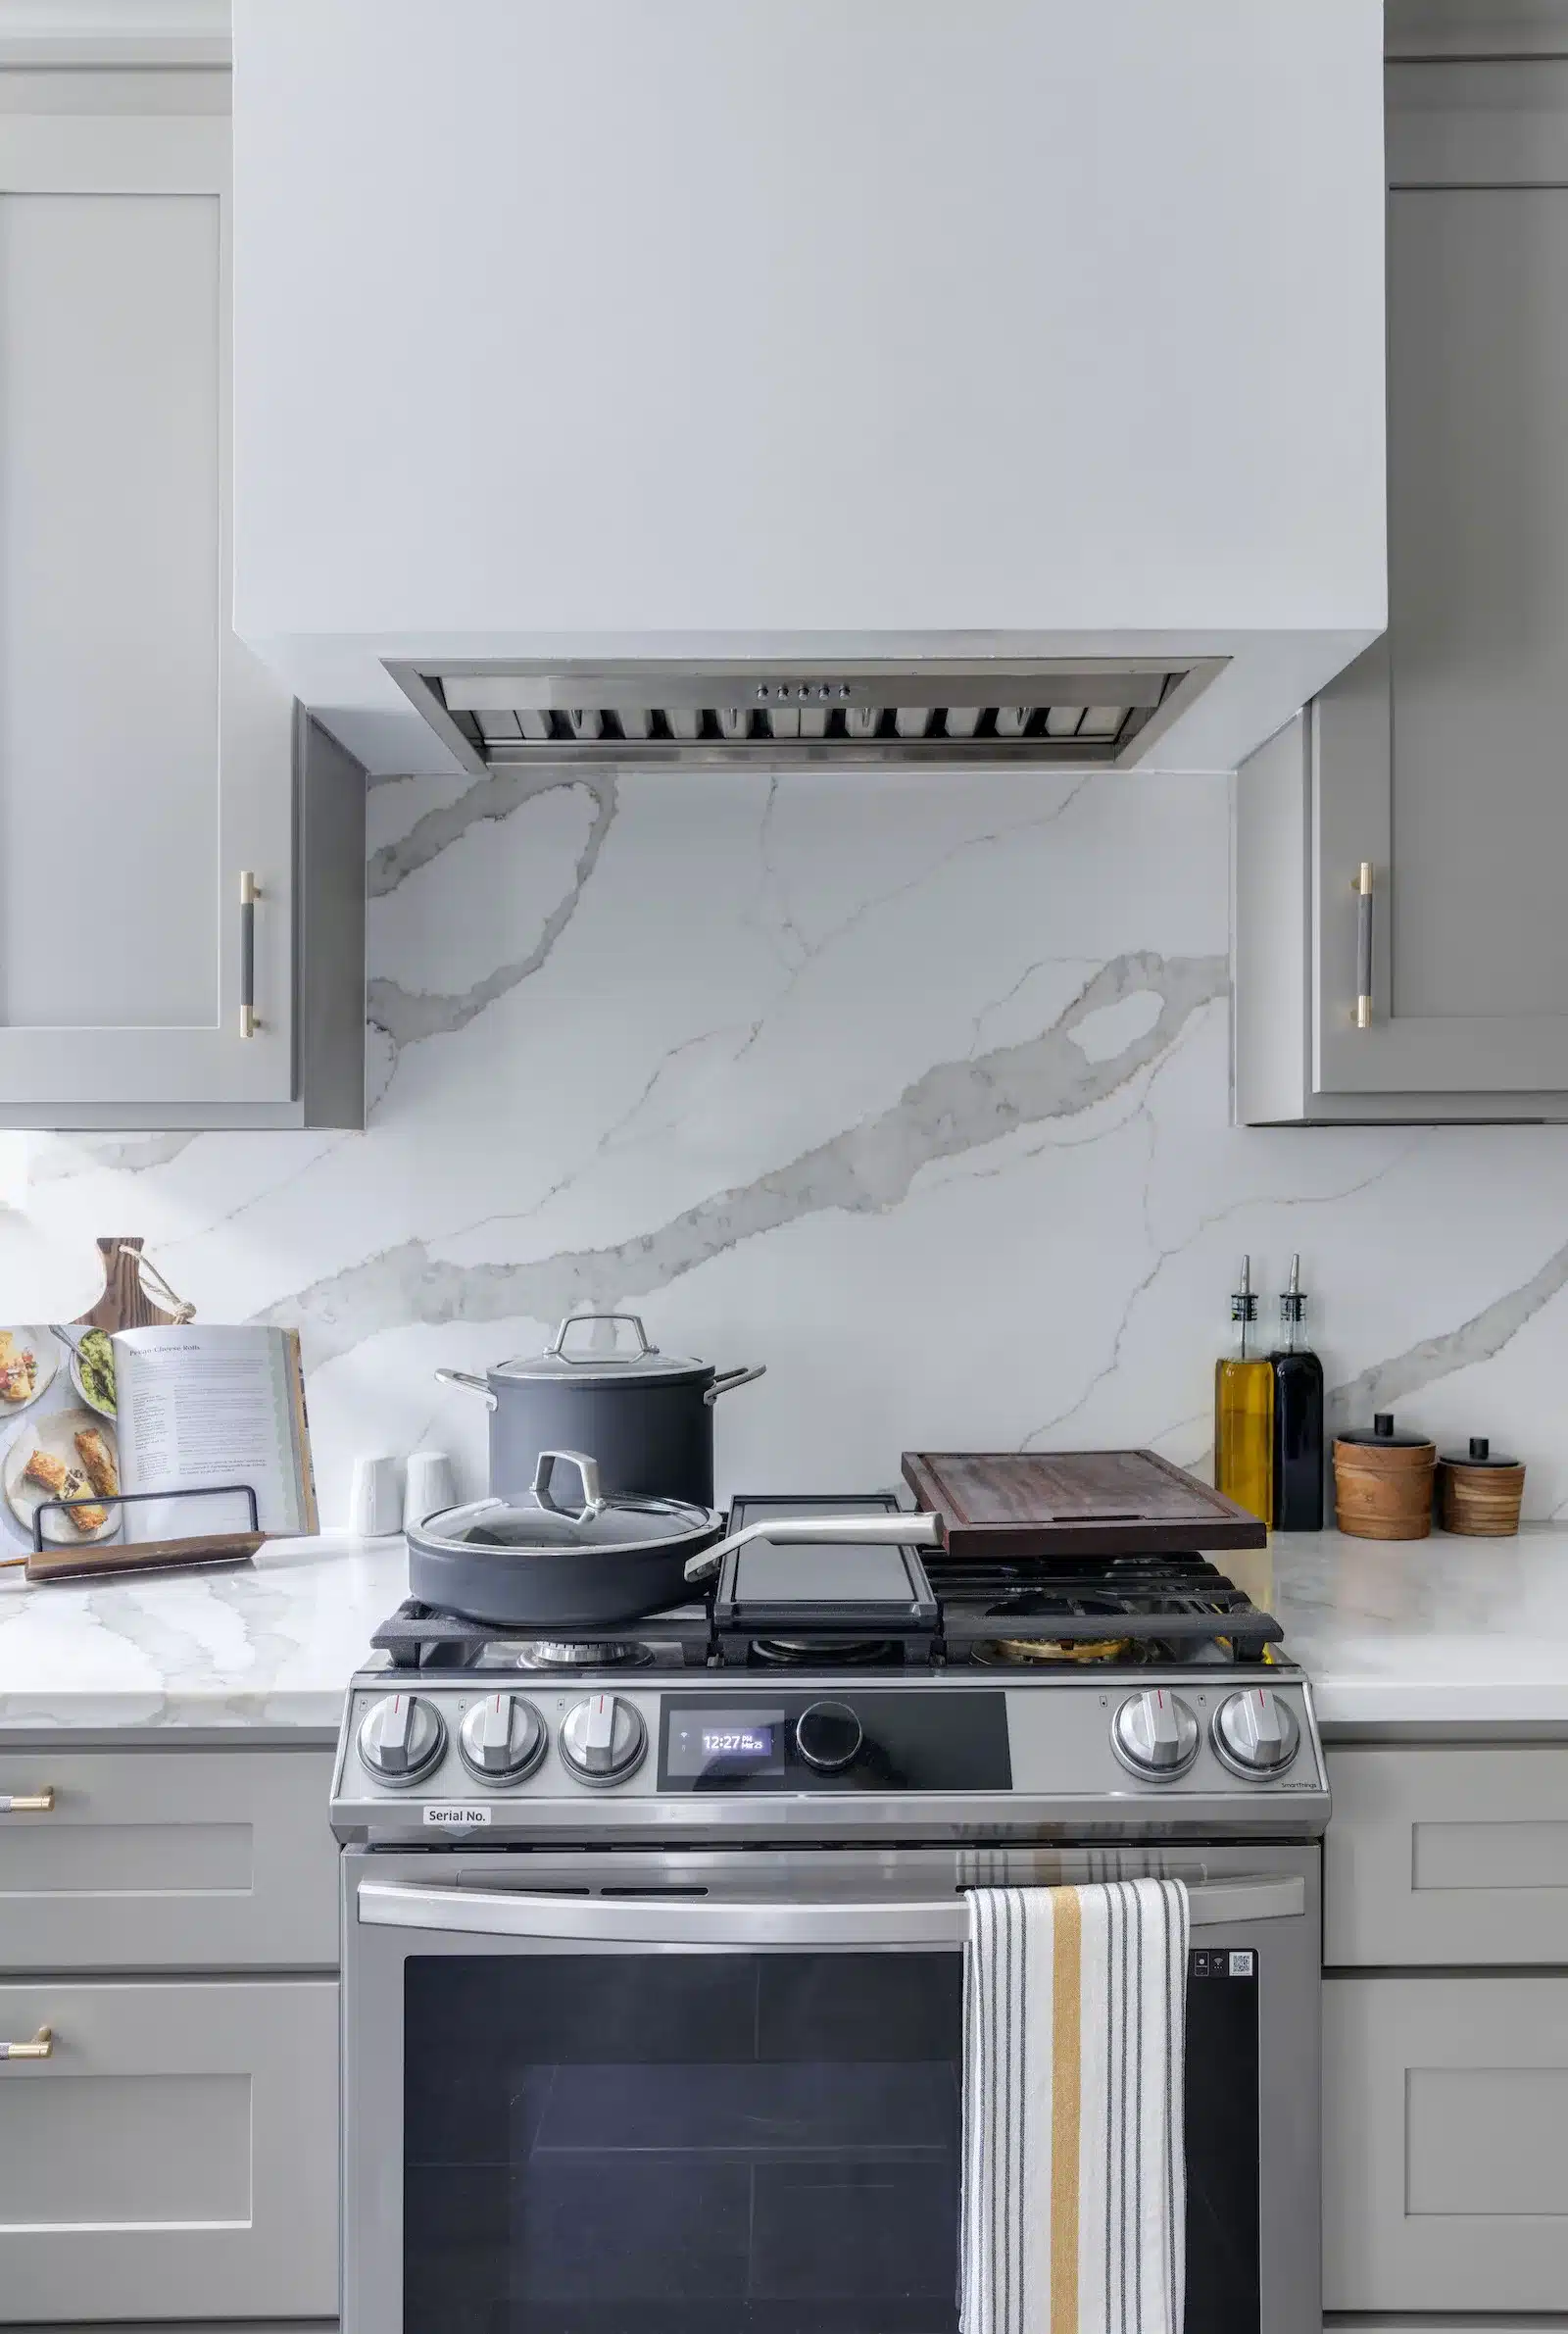
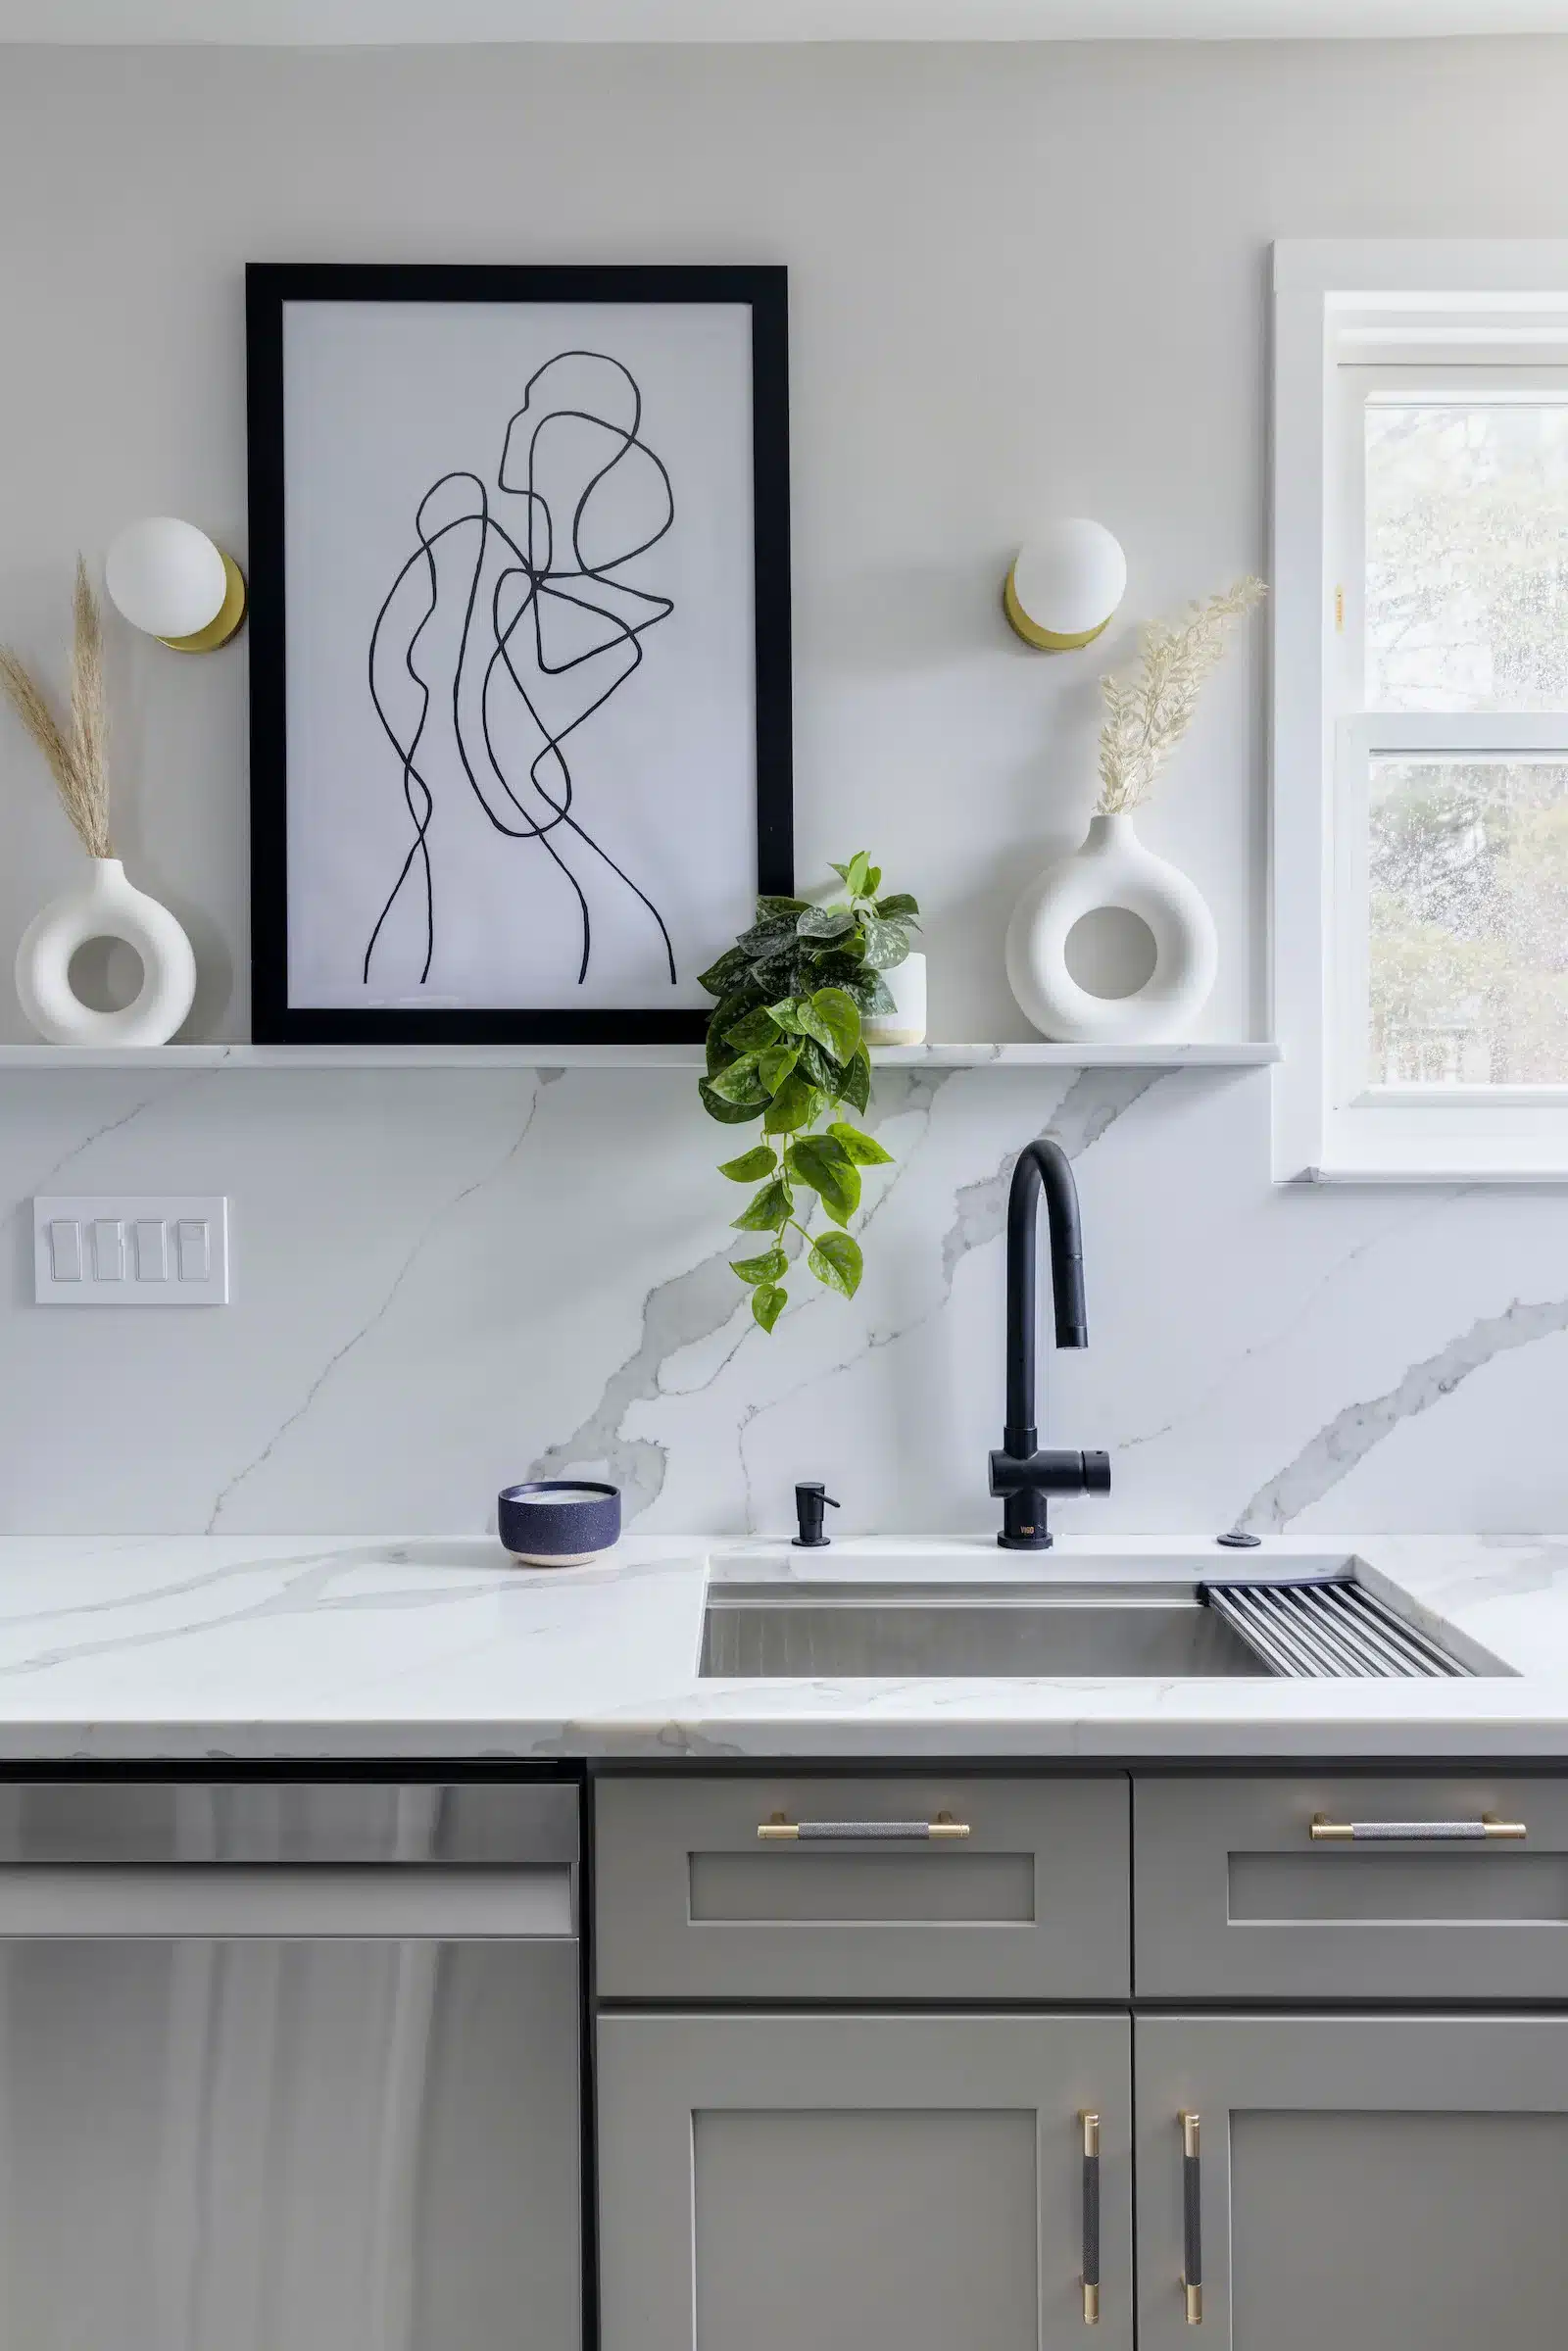
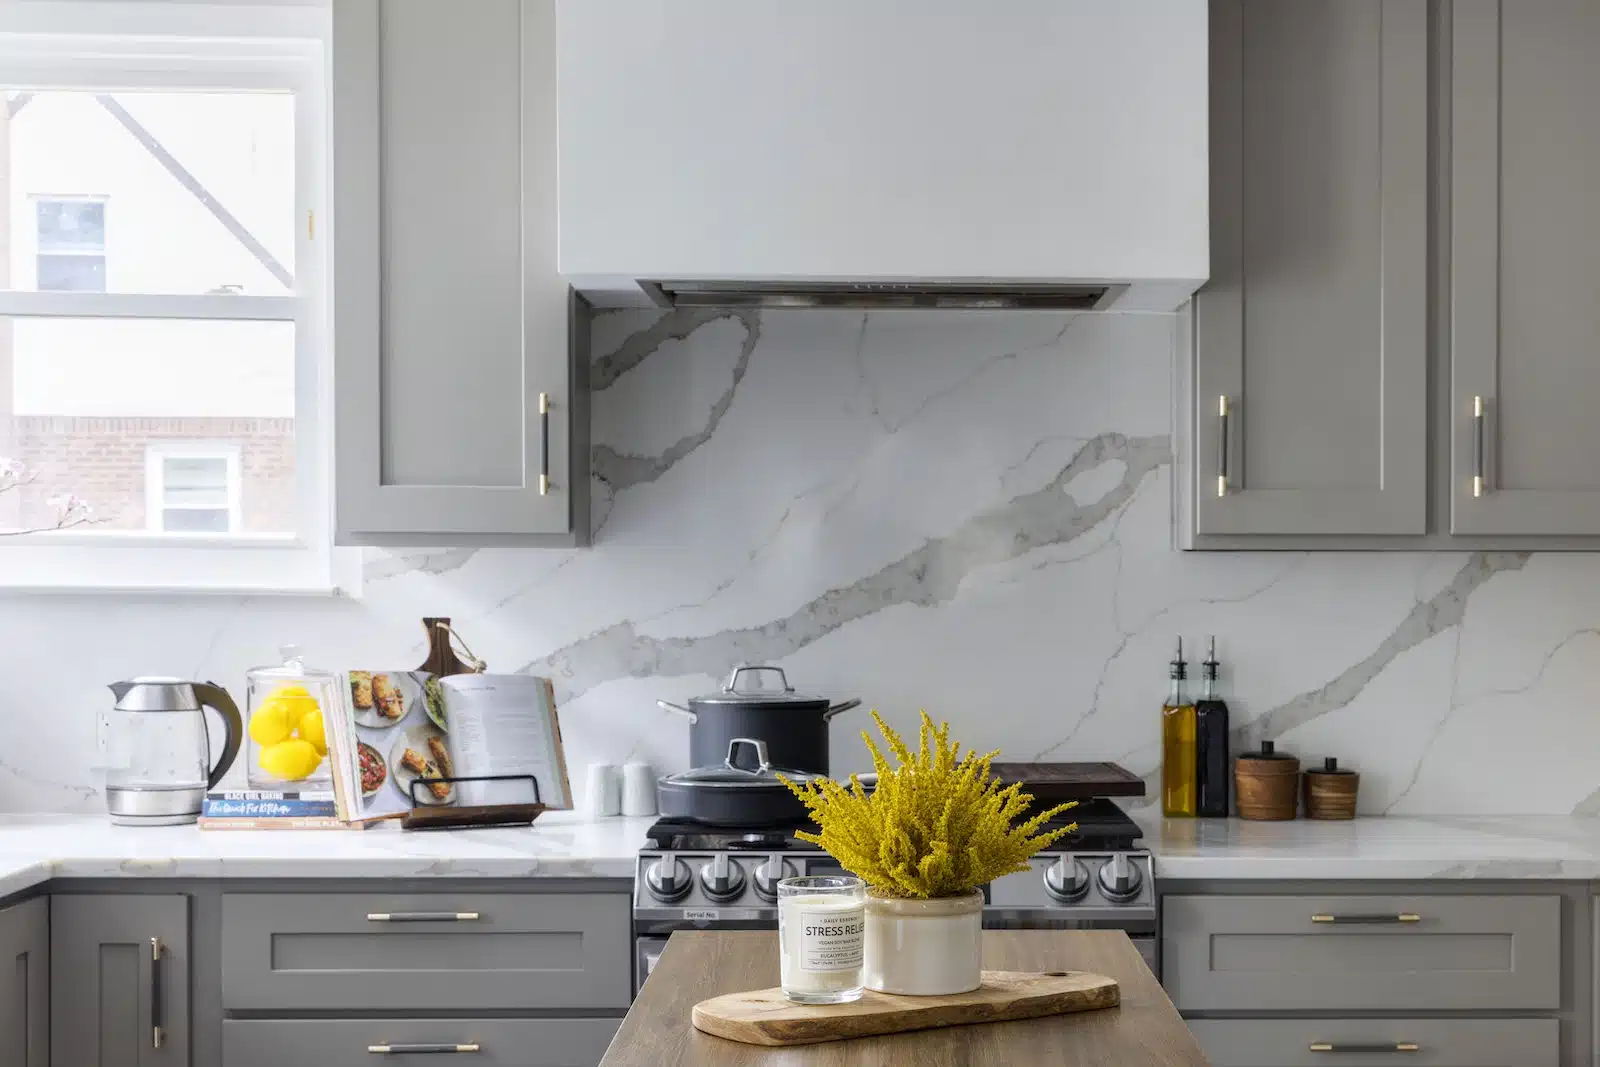
I wanted a “greige” finish on the cabinets and had a light-colored quartz countertop in mind, with beautiful veining. A tile backsplash would have saved money, but I went with my heart’s desire, making the countertop continue up the backsplash.
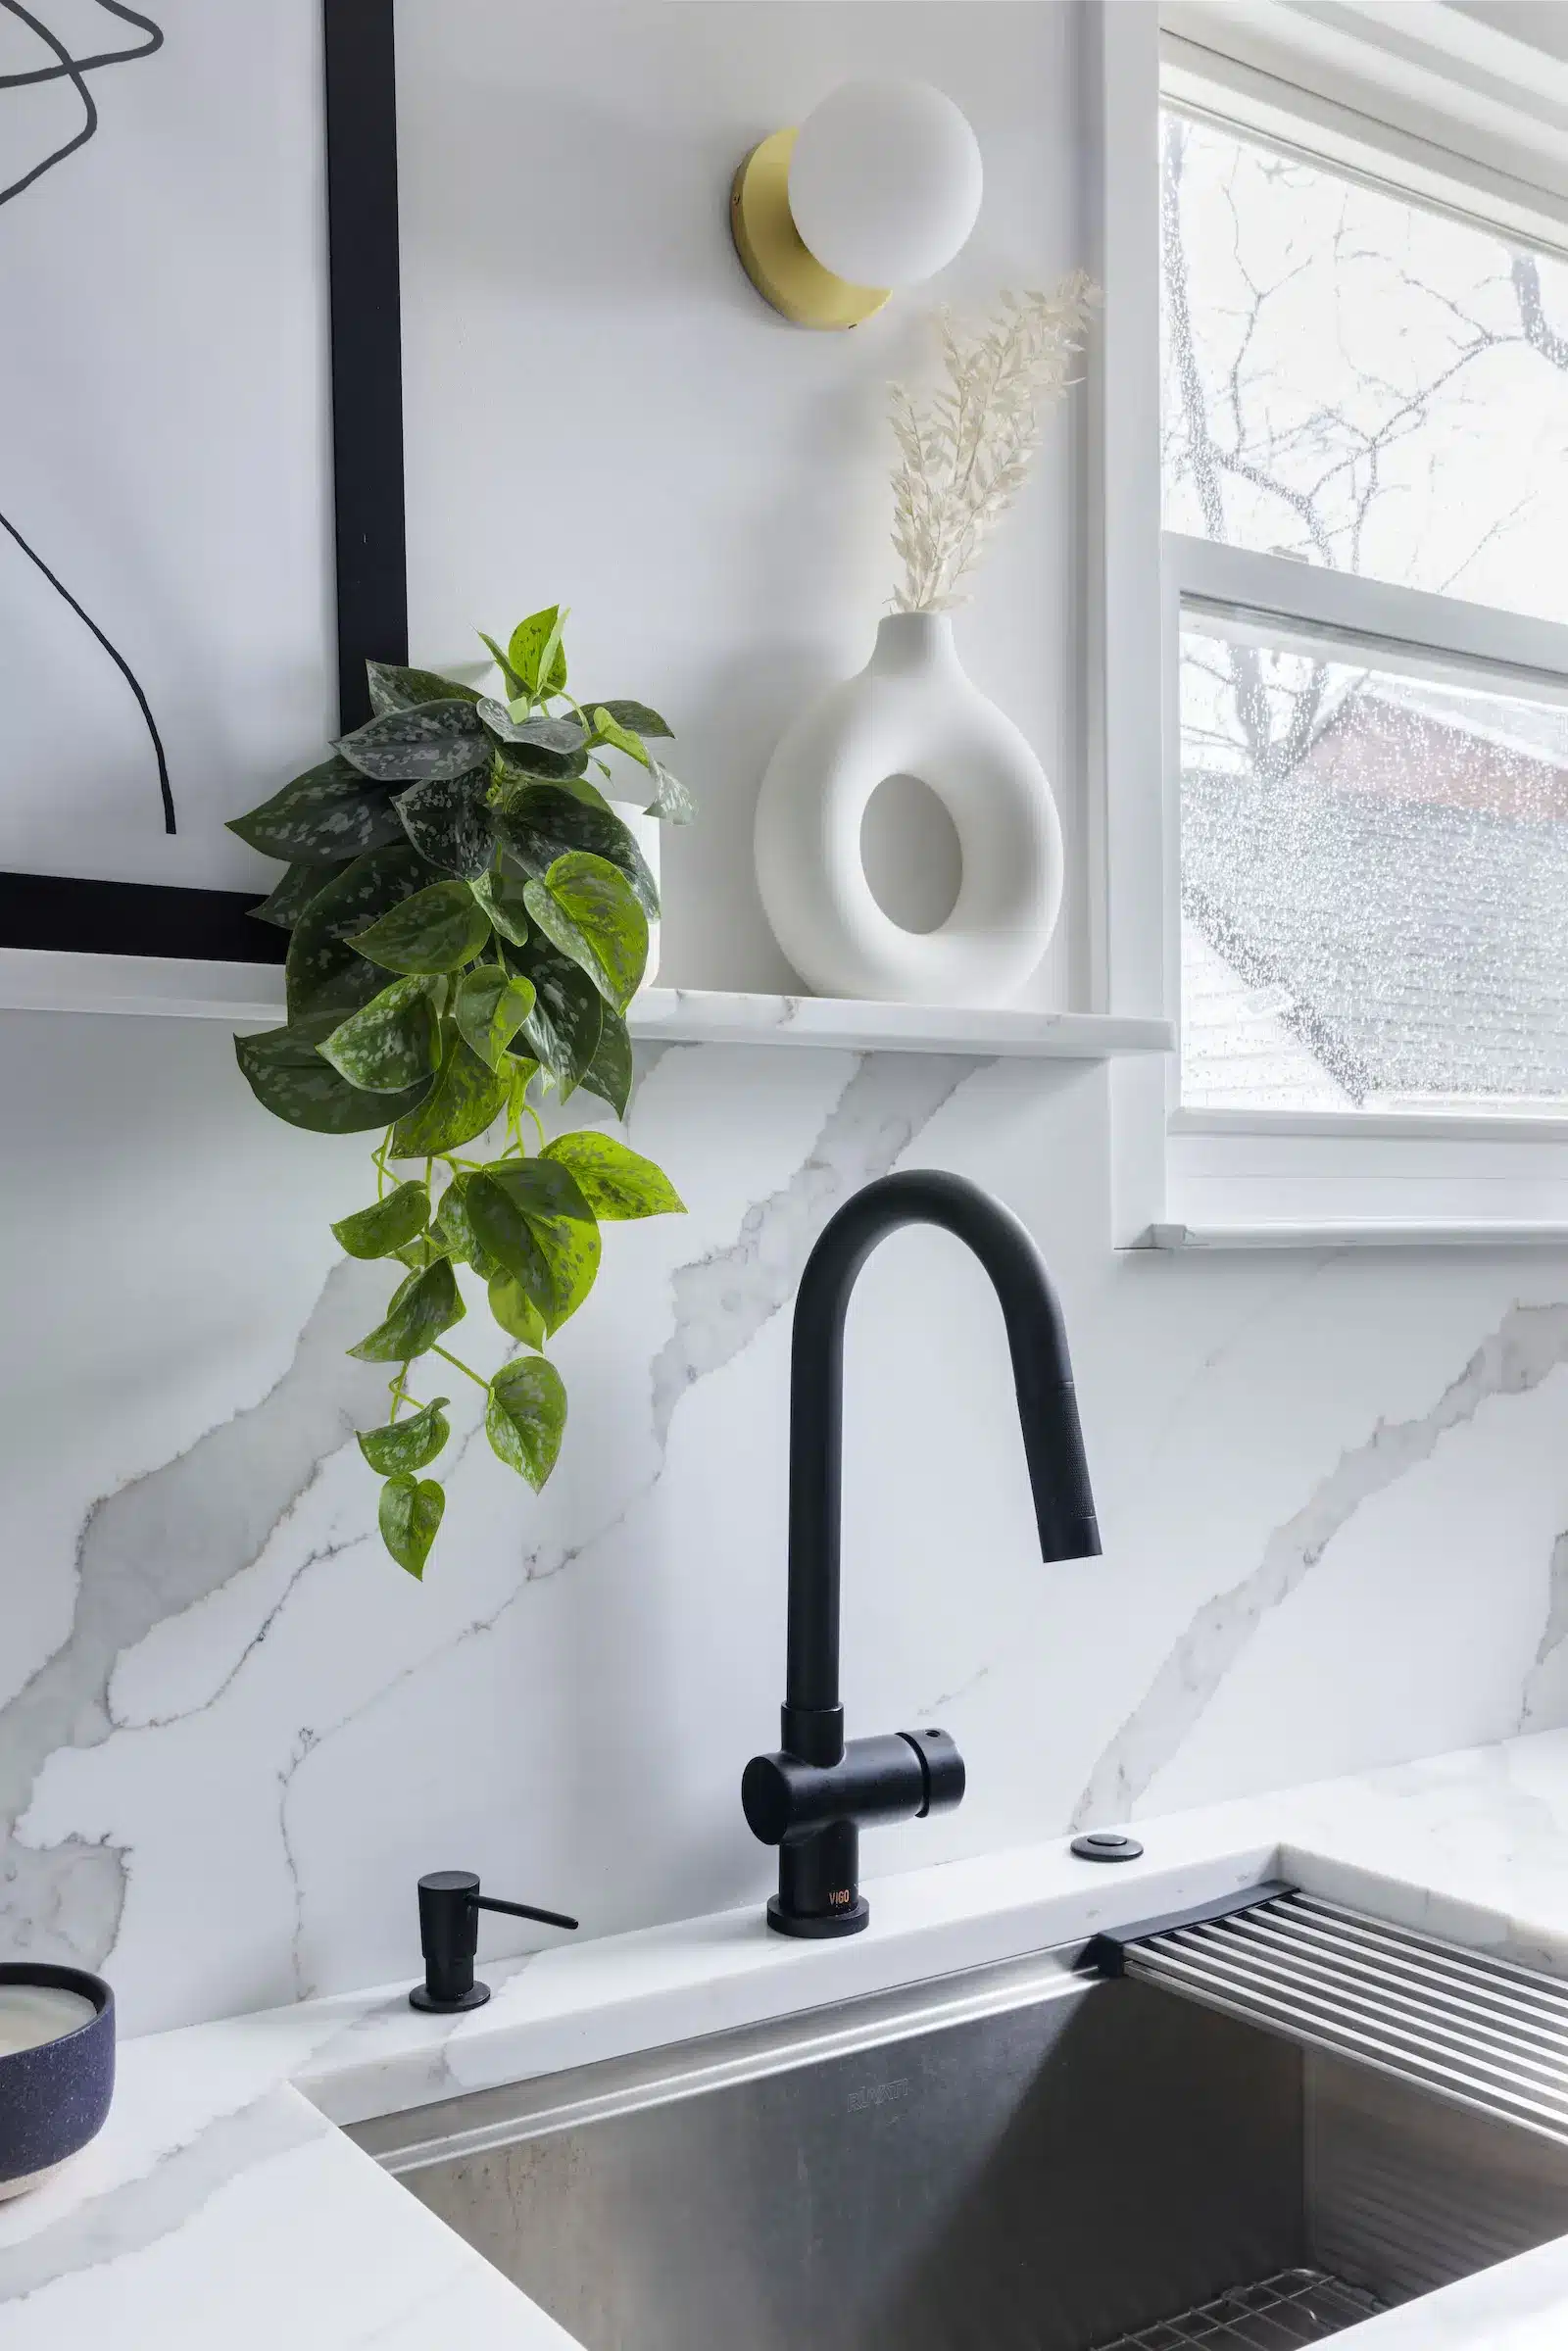
Figuring out how to utilize a wall near an awkwardly placed window, I added an art ledge, which brings such life to the room. In the adjacent dining room, we built a niche to create another art ledge—perfect for a picture of mom and me.
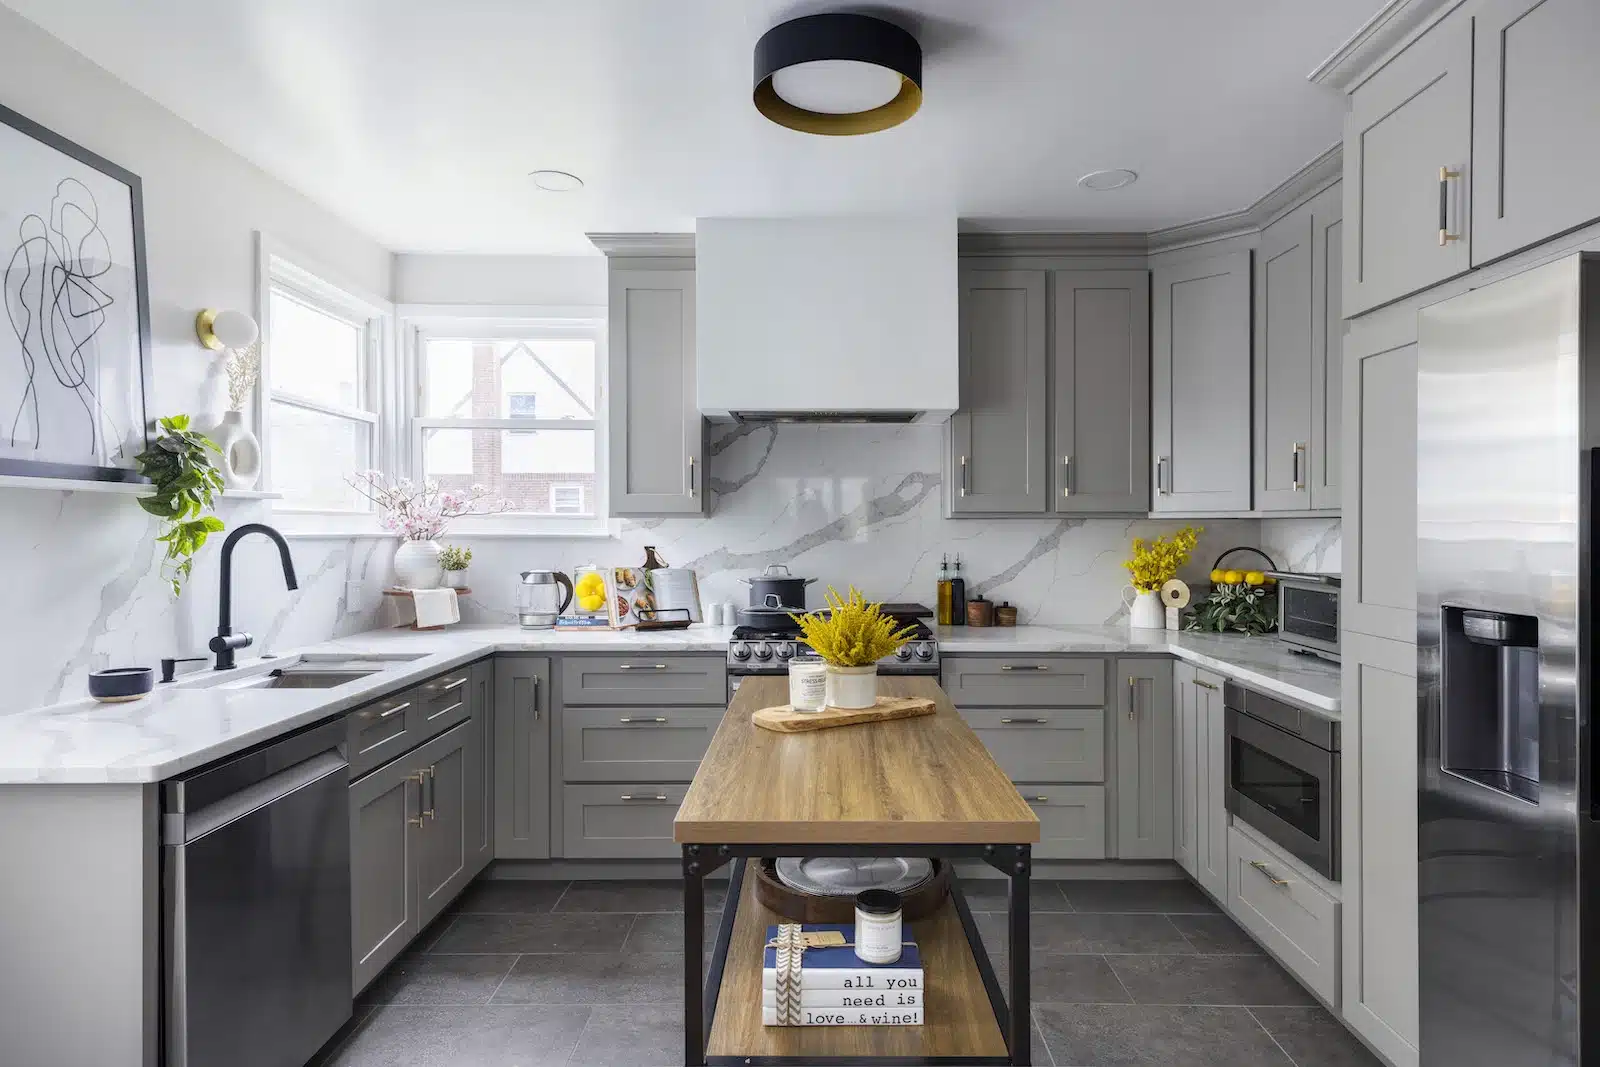
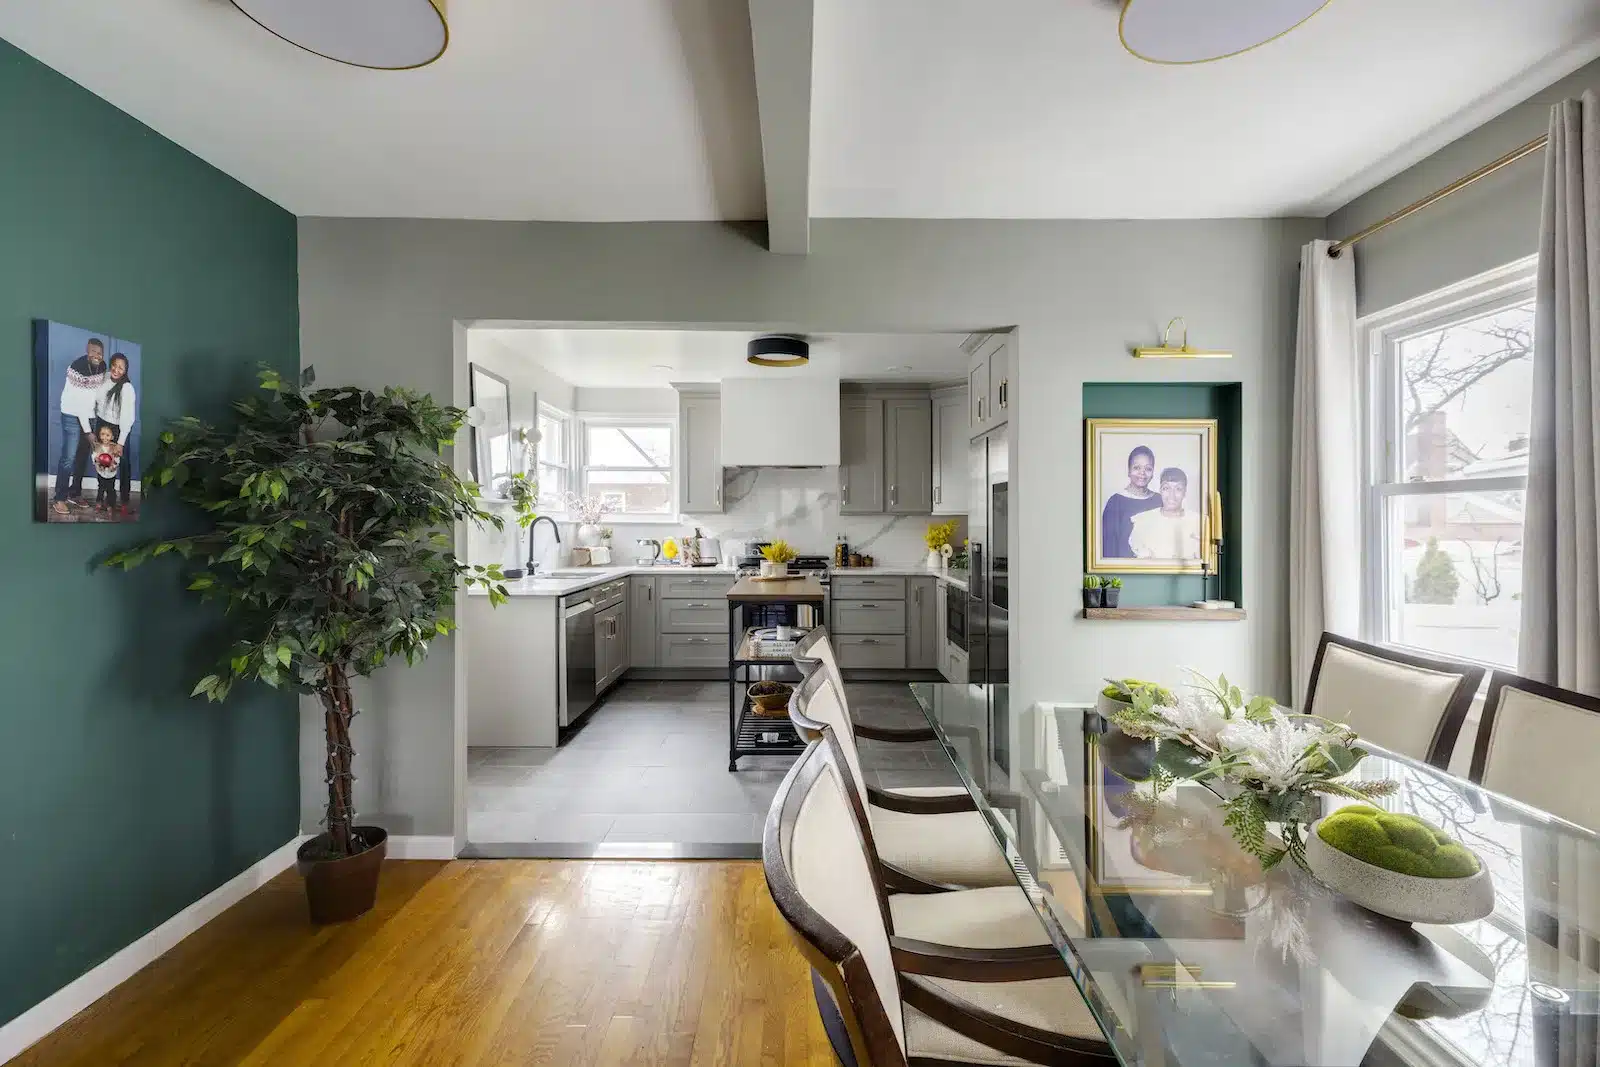
I decided on a symmetrical design using as many drawers as possible. We added lazy susans to the corner cupboards and added drop-down storage trays to the front panels at the sink. Not an inch of space was wasted. I didn’t want to spend a lot on pull-outs, but we splurged for deep cabinets like the pantry. Another pantry-like cabinet sits on the opposite side of the fridge for cleaning products, mops, brooms, and the vacuum.
For the design, I selected a black faucet and light fixture to pop against the quartz and the white ceiling. Then I added the “jewelry,” which is what I call the pretty cabinet hardware.
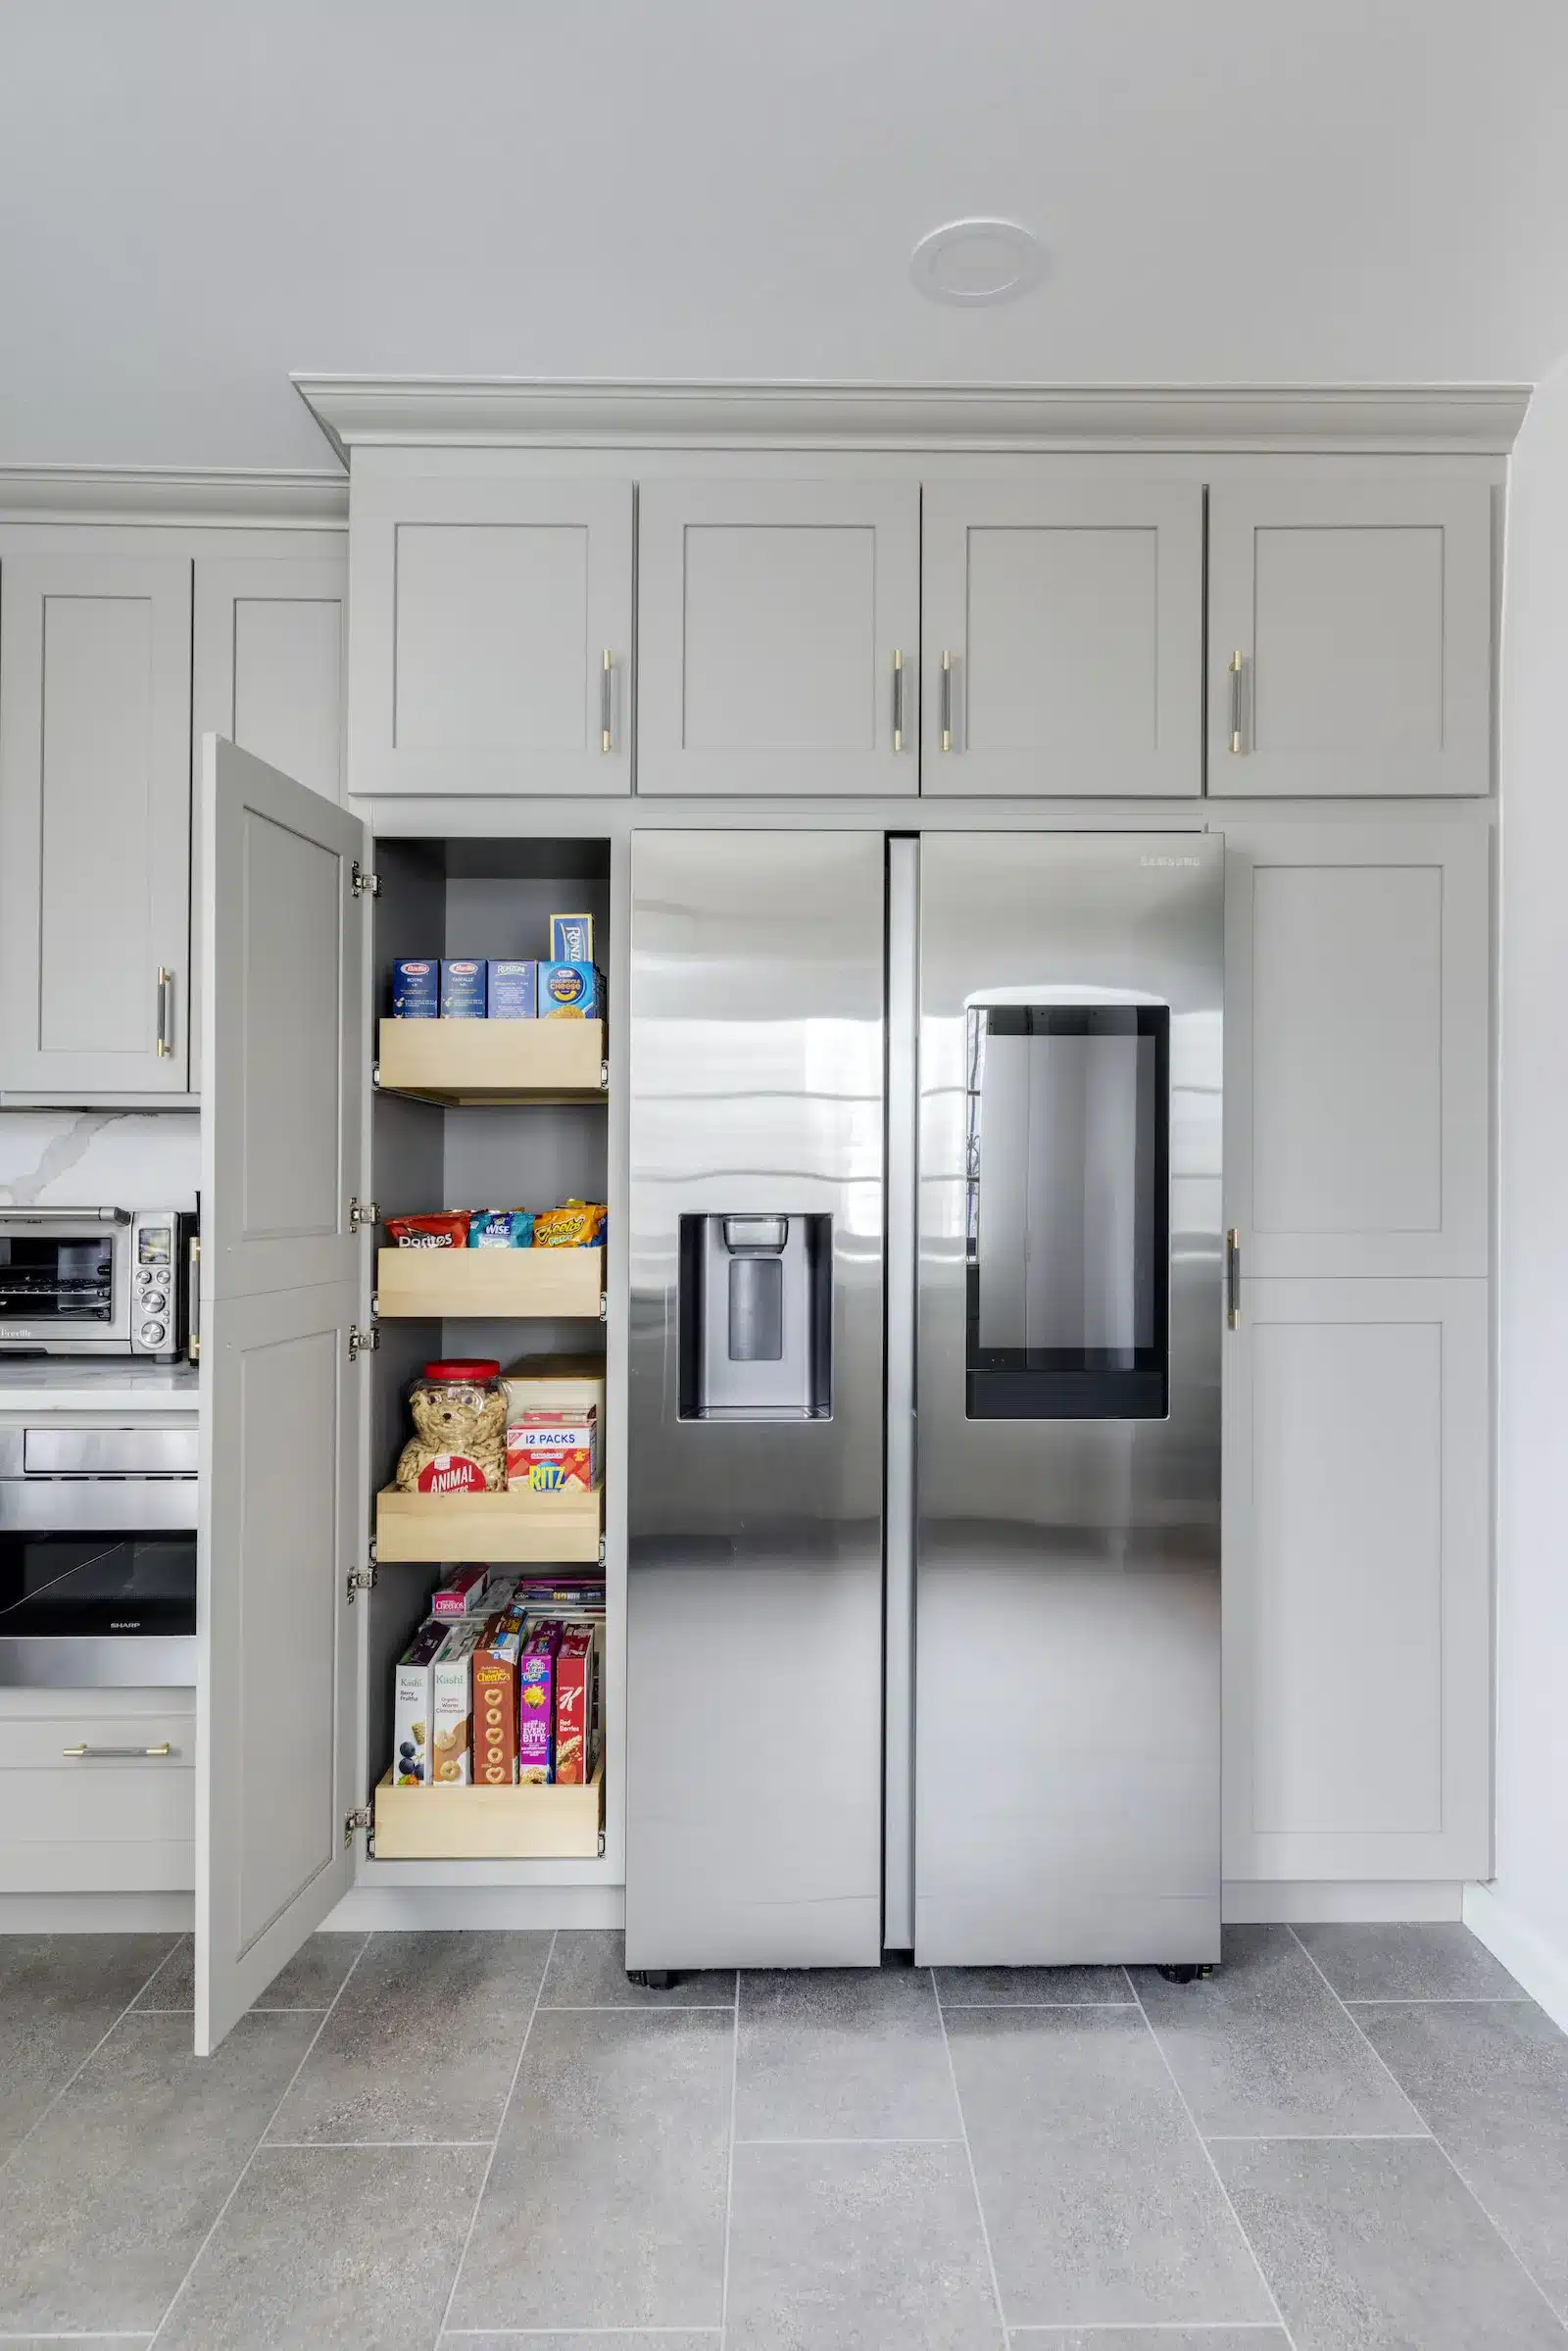
Adding fillers above the upper cabinetry brought the crown molding to the ceiling. No gaps! For the floor, I chose a concrete-look porcelain tile for its ease of maintenance. Its texture also had some grit to it so it was less slippery.
"I listed my renovation project and Sweeten quickly connected me to three contractors in Queens who all seemed great."
Mixing tile in the bathroom
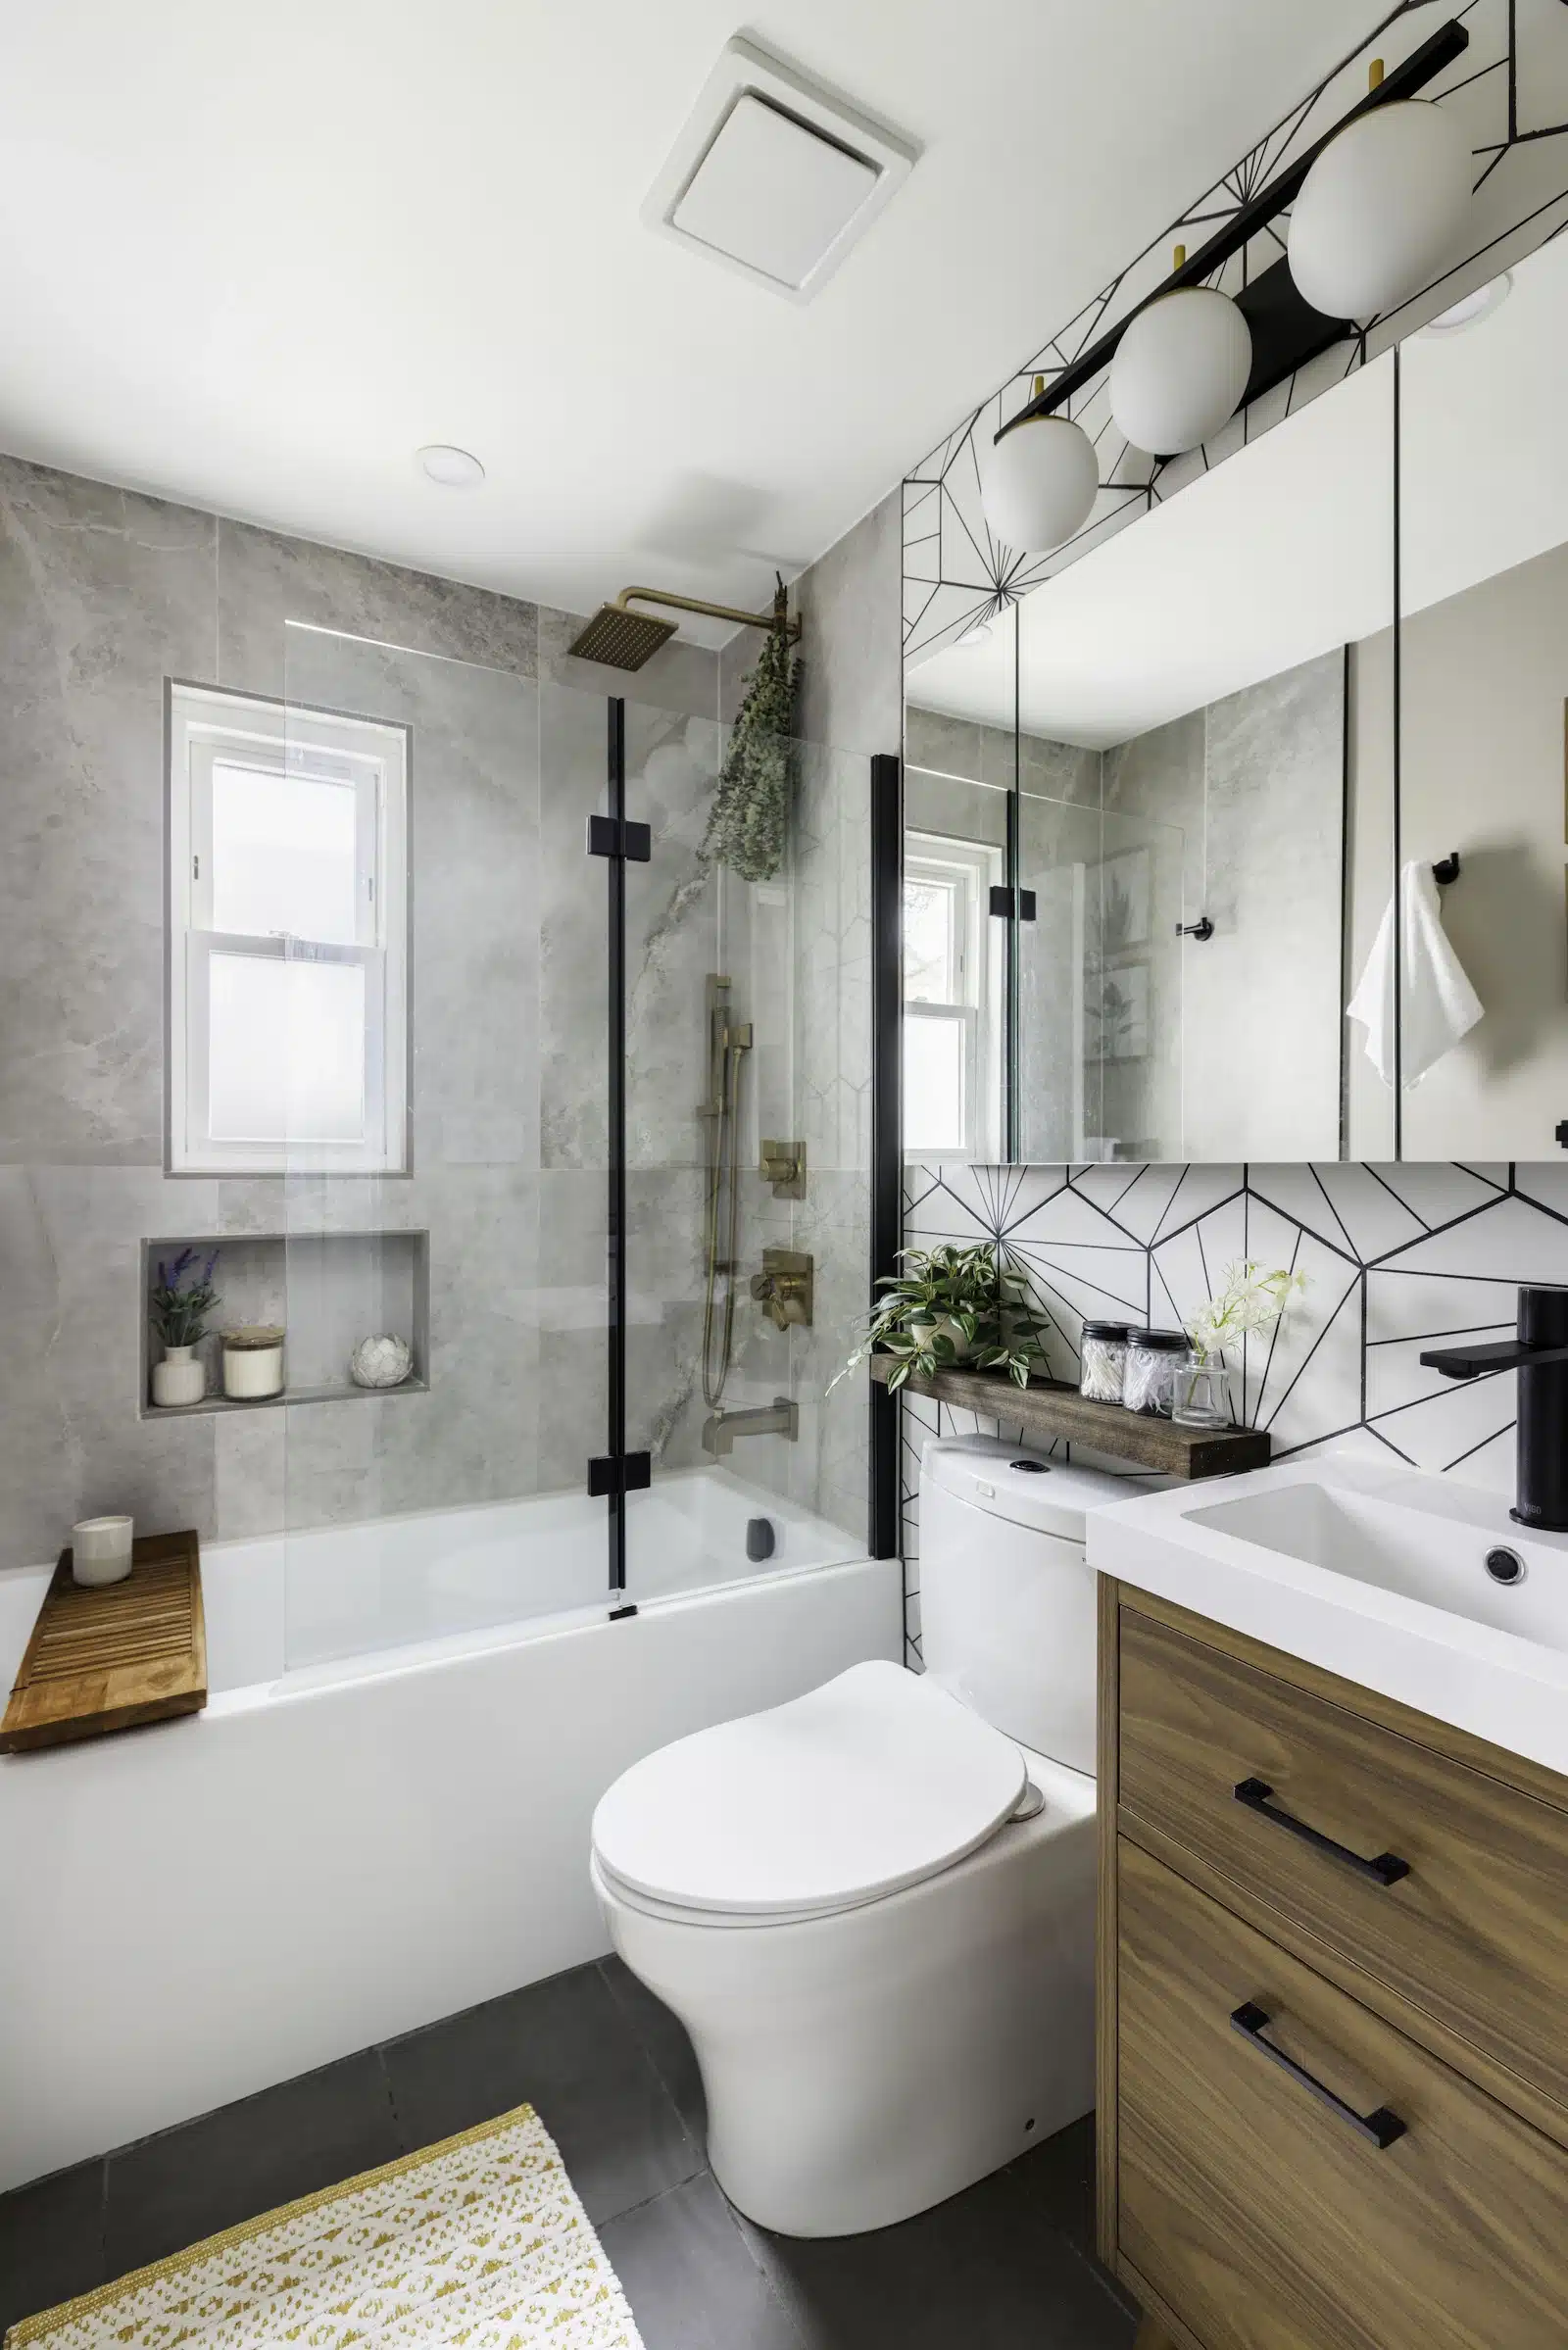
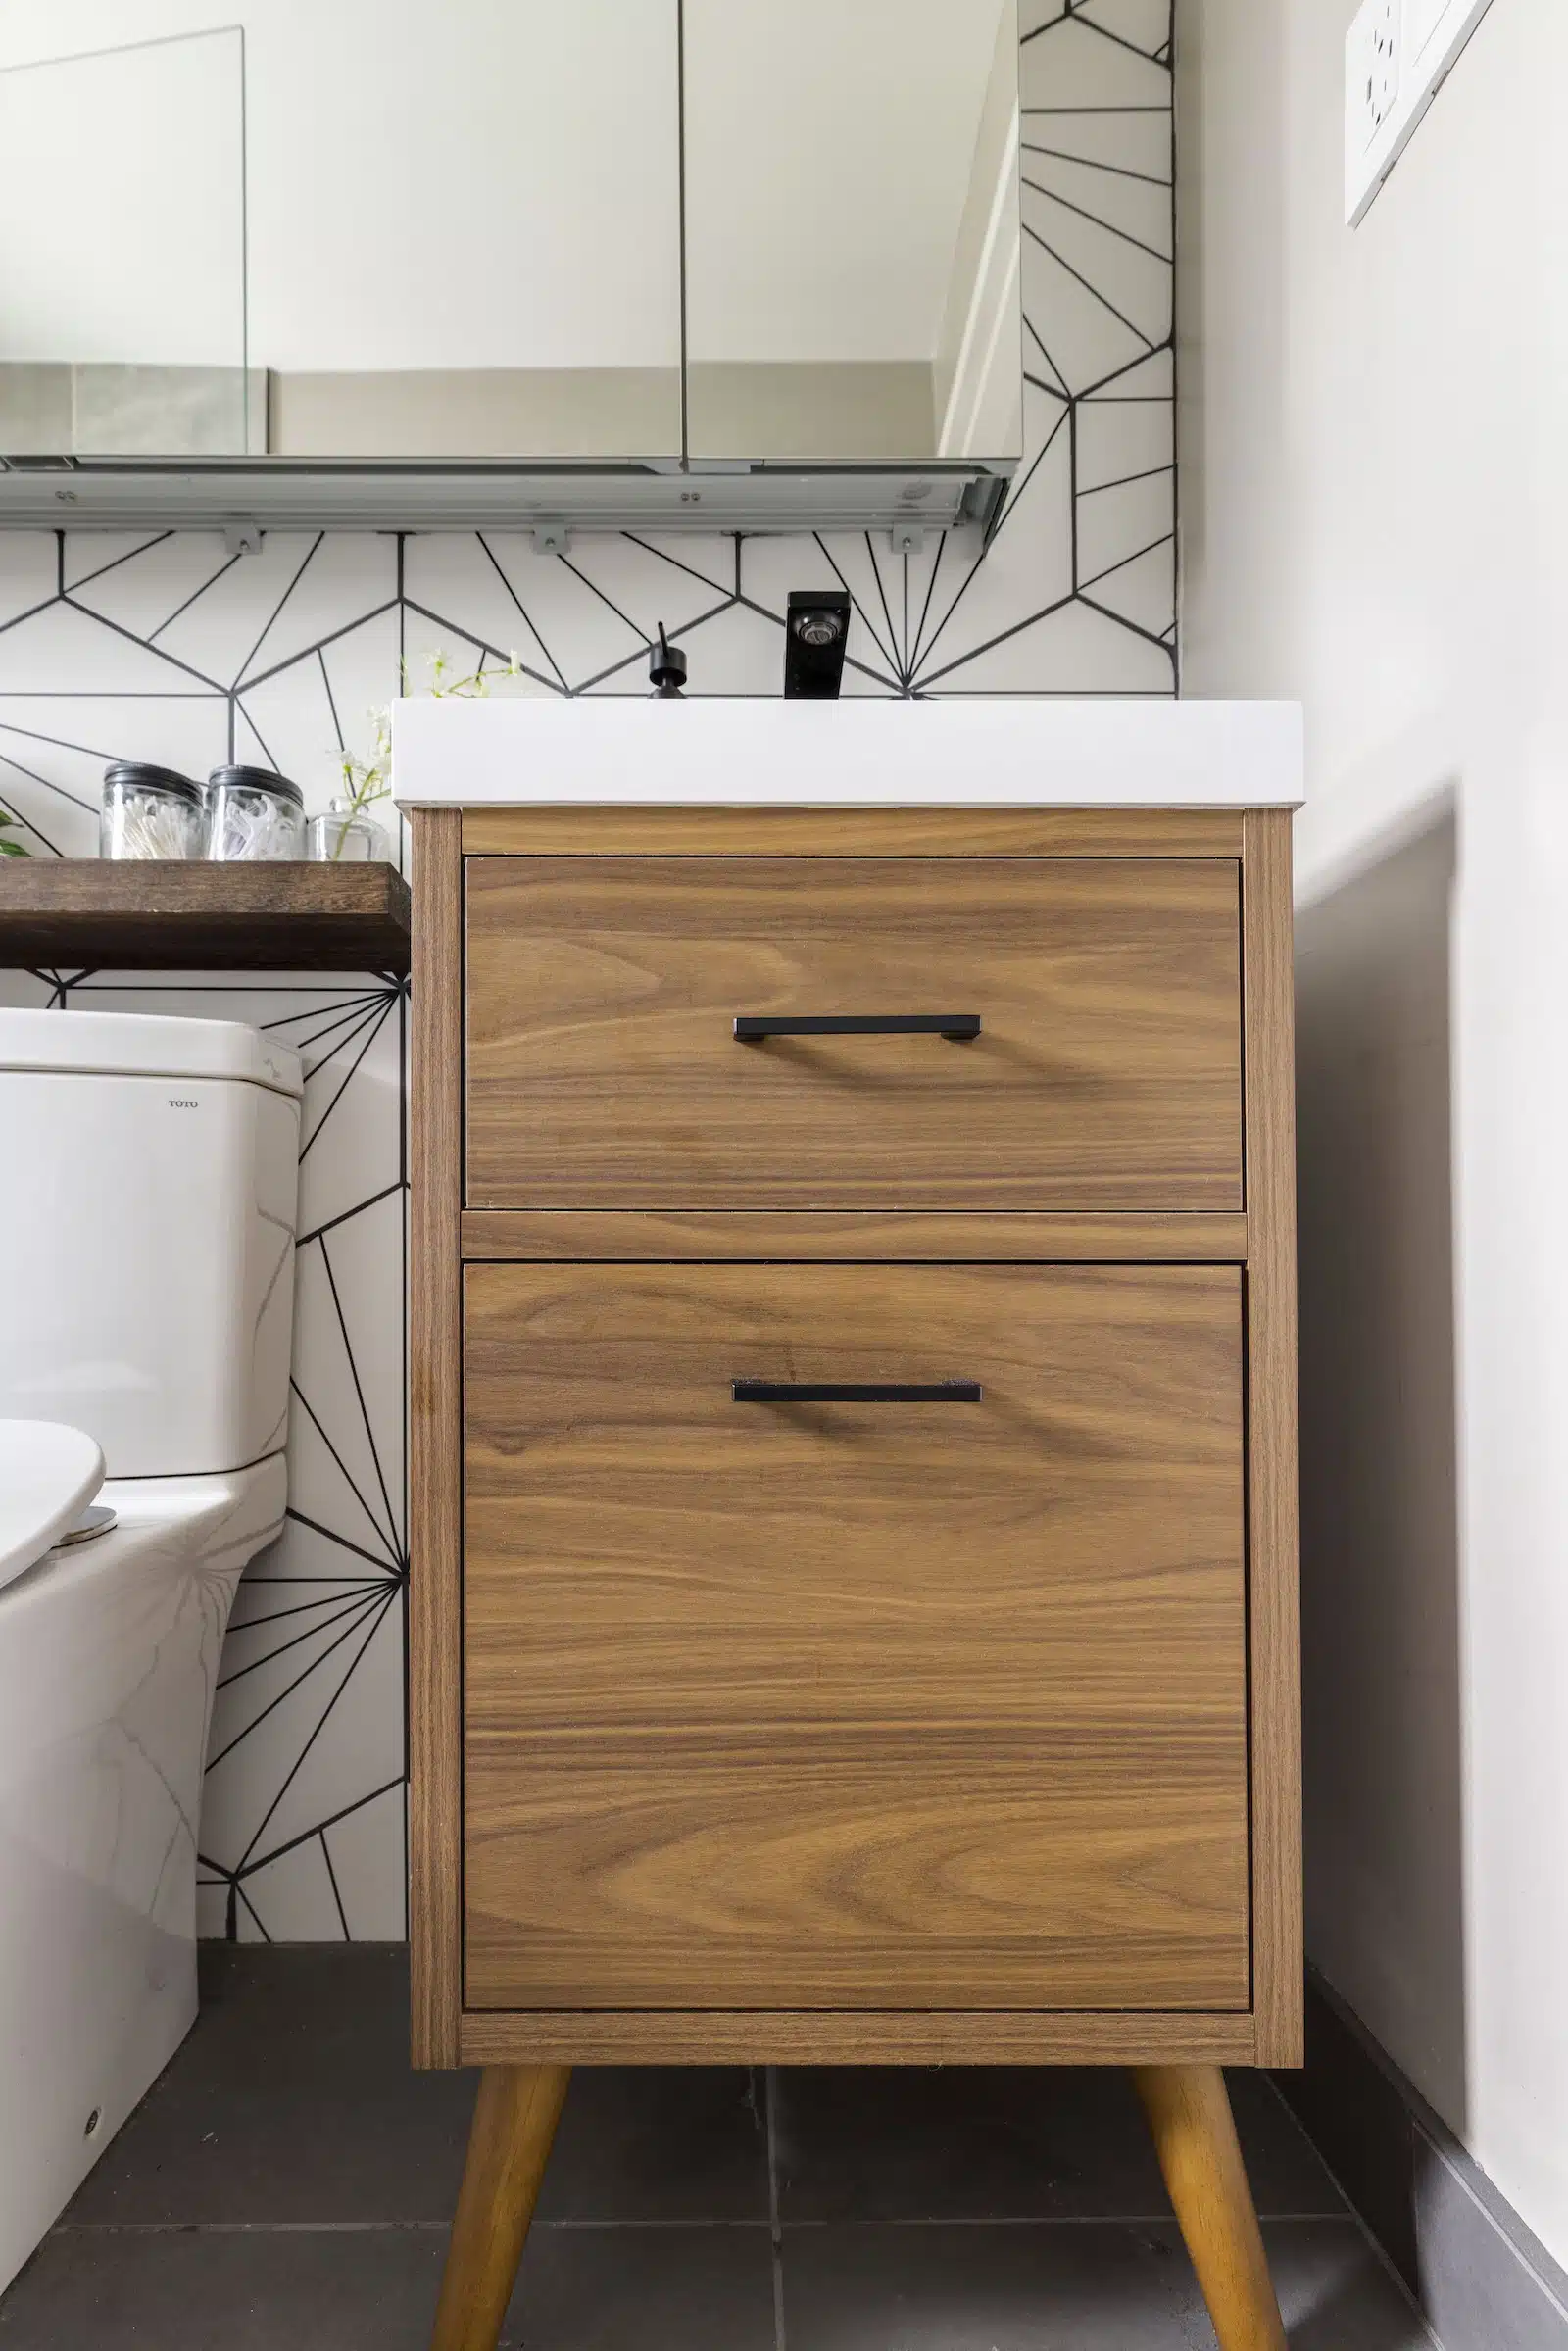
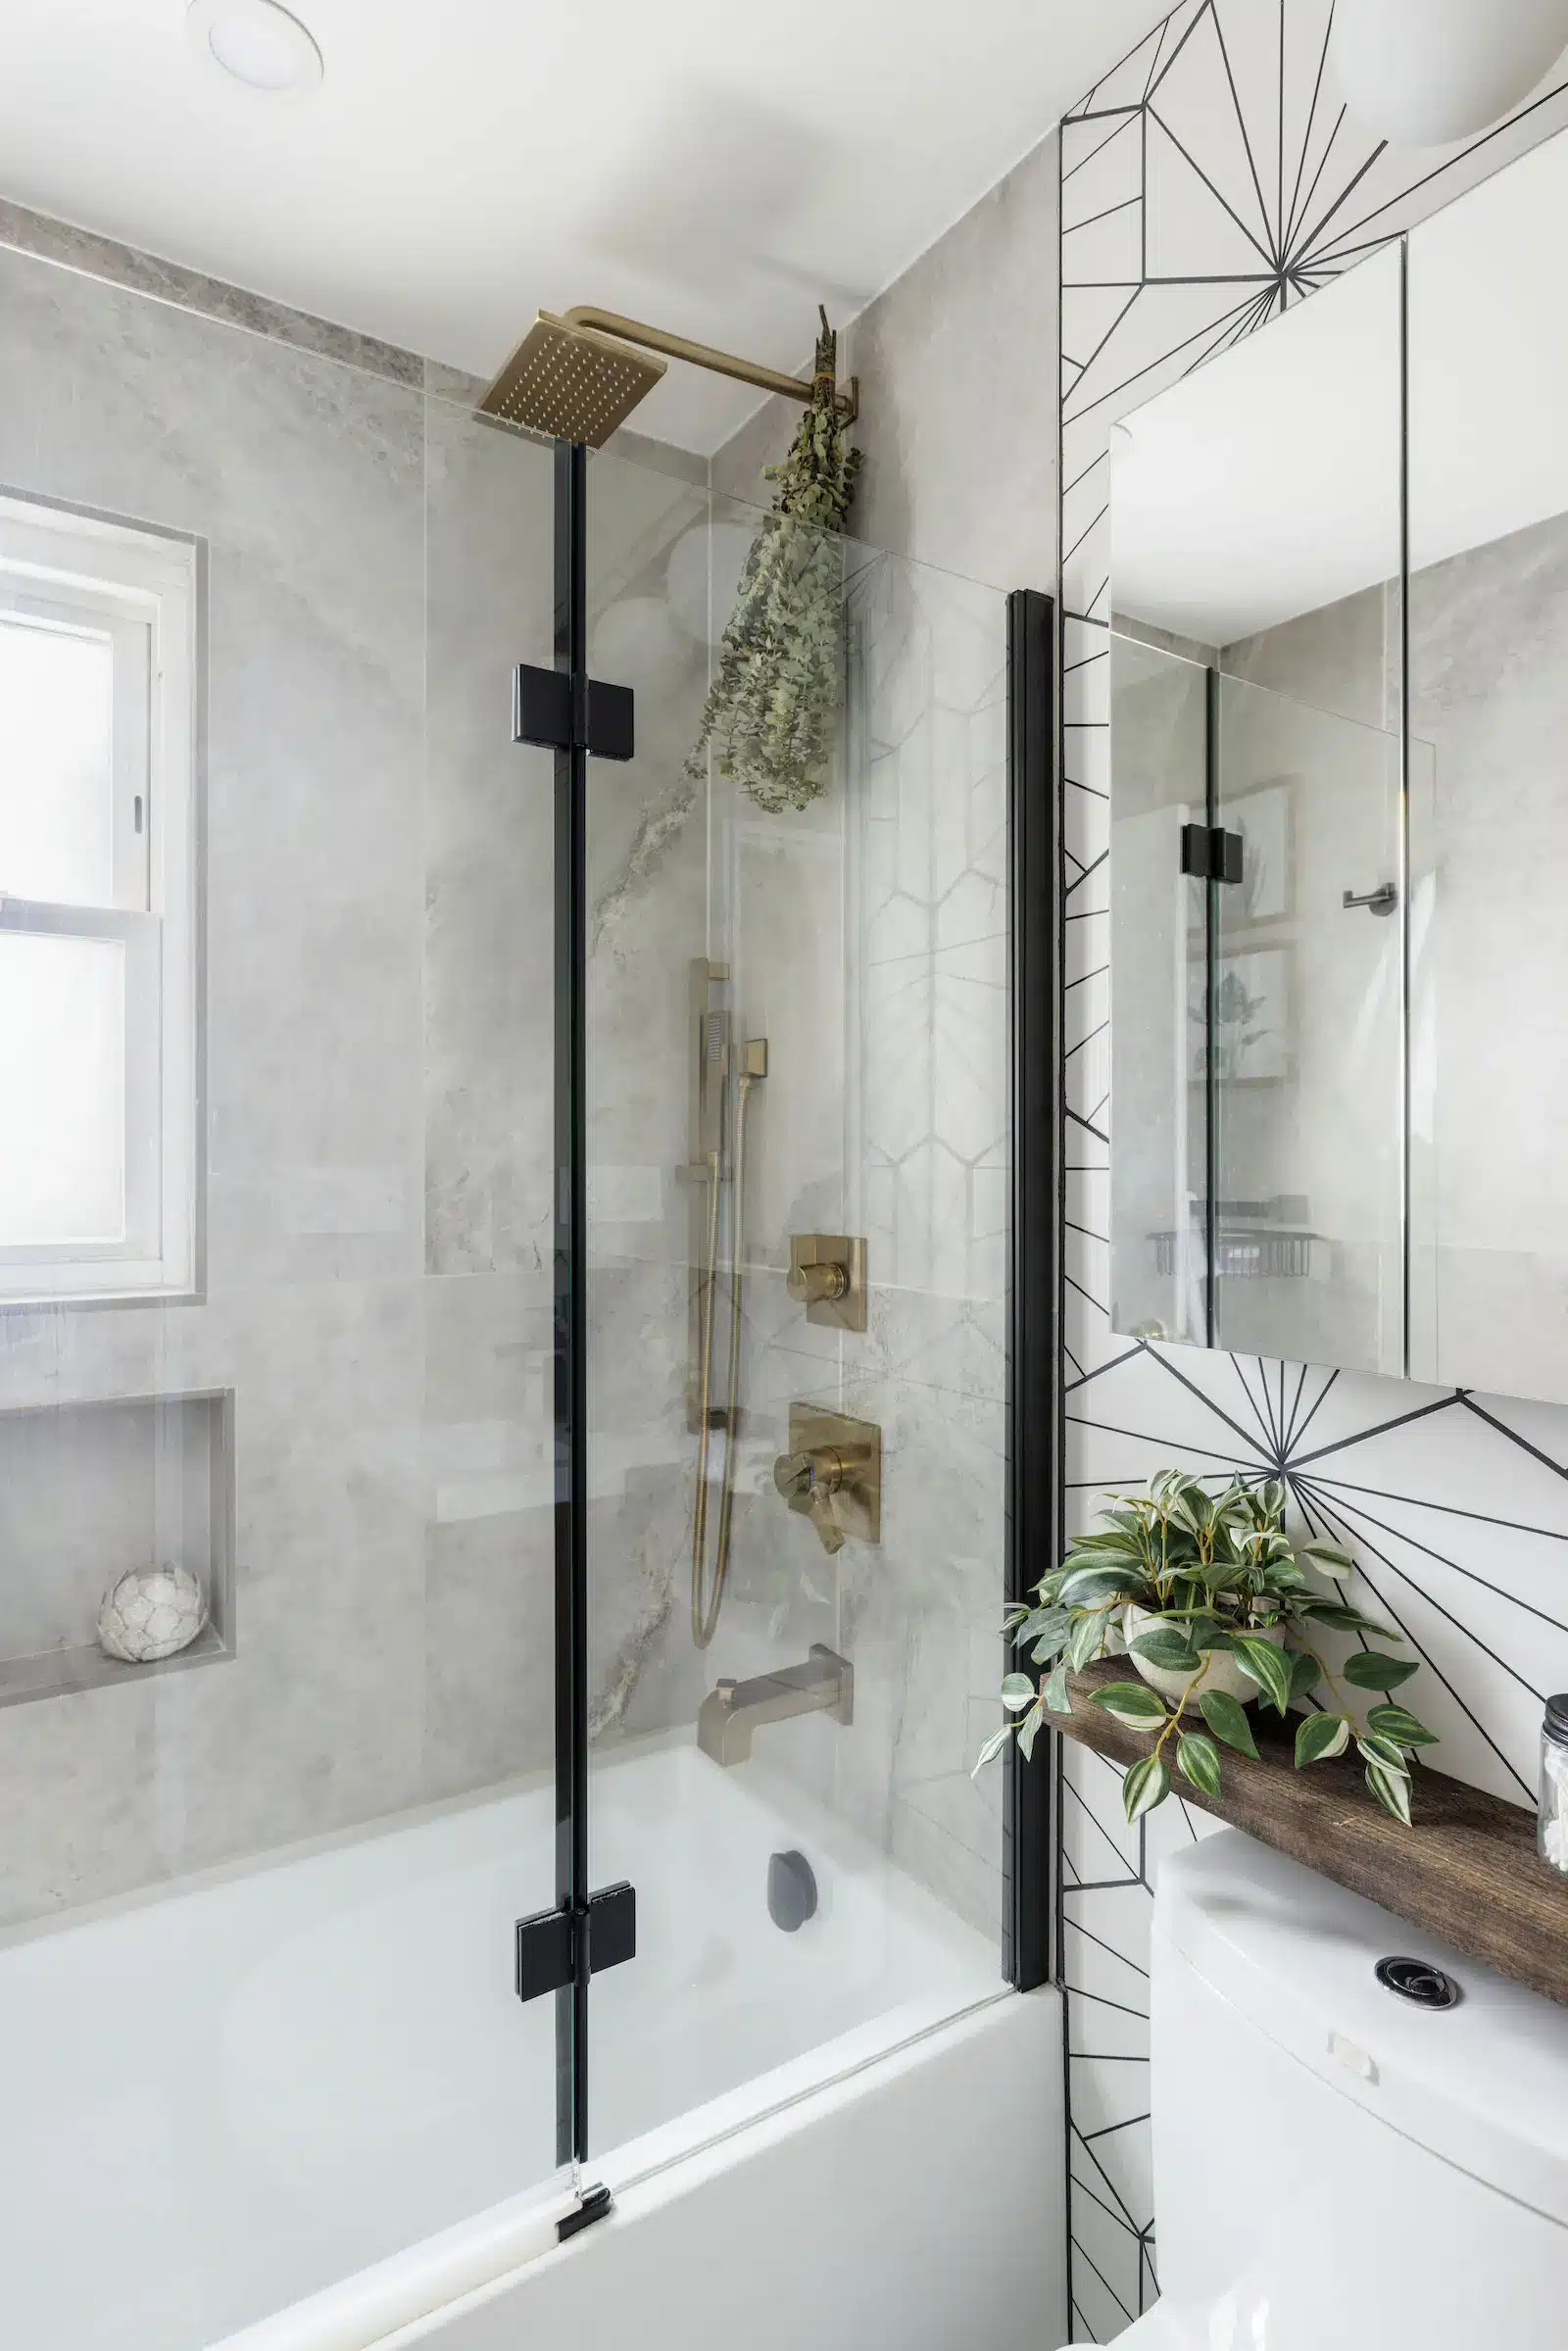
Next, we got to work on the bathroom. Due to minimal square footage, I looked for ways to make it feel open. A vanity with a drawer provides ease of access. The large medicine cabinet keeps personal items out of sight.
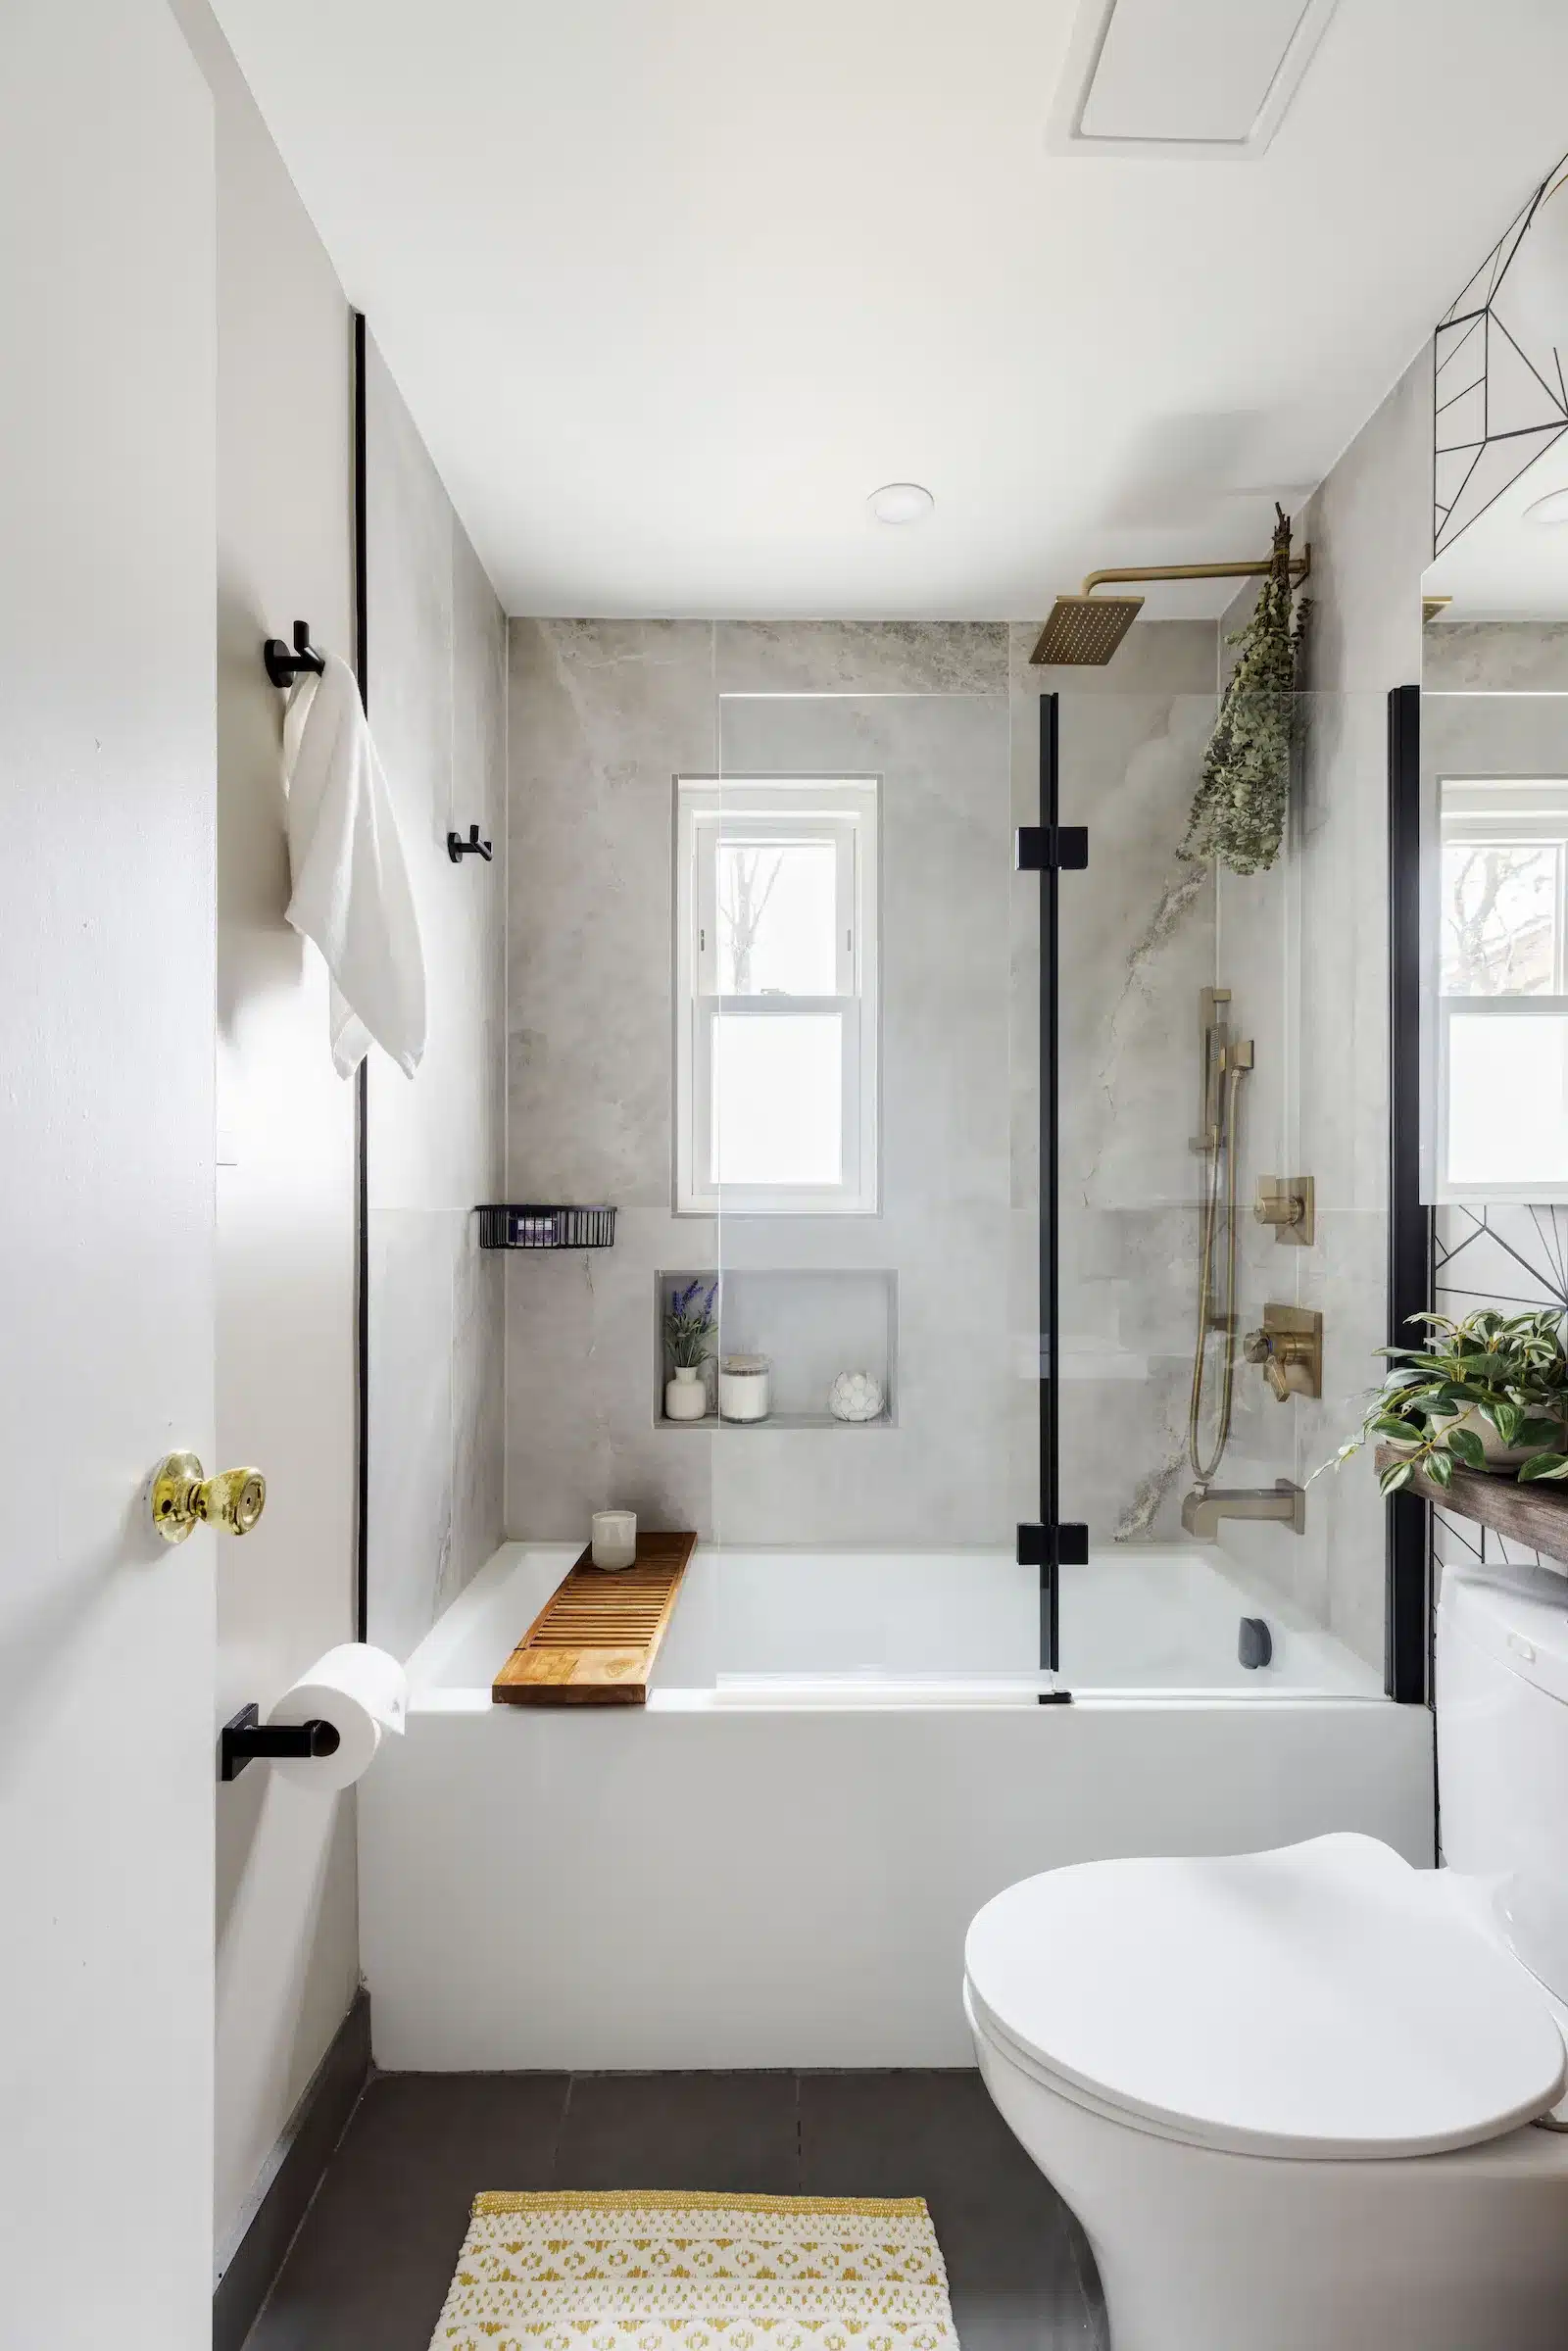
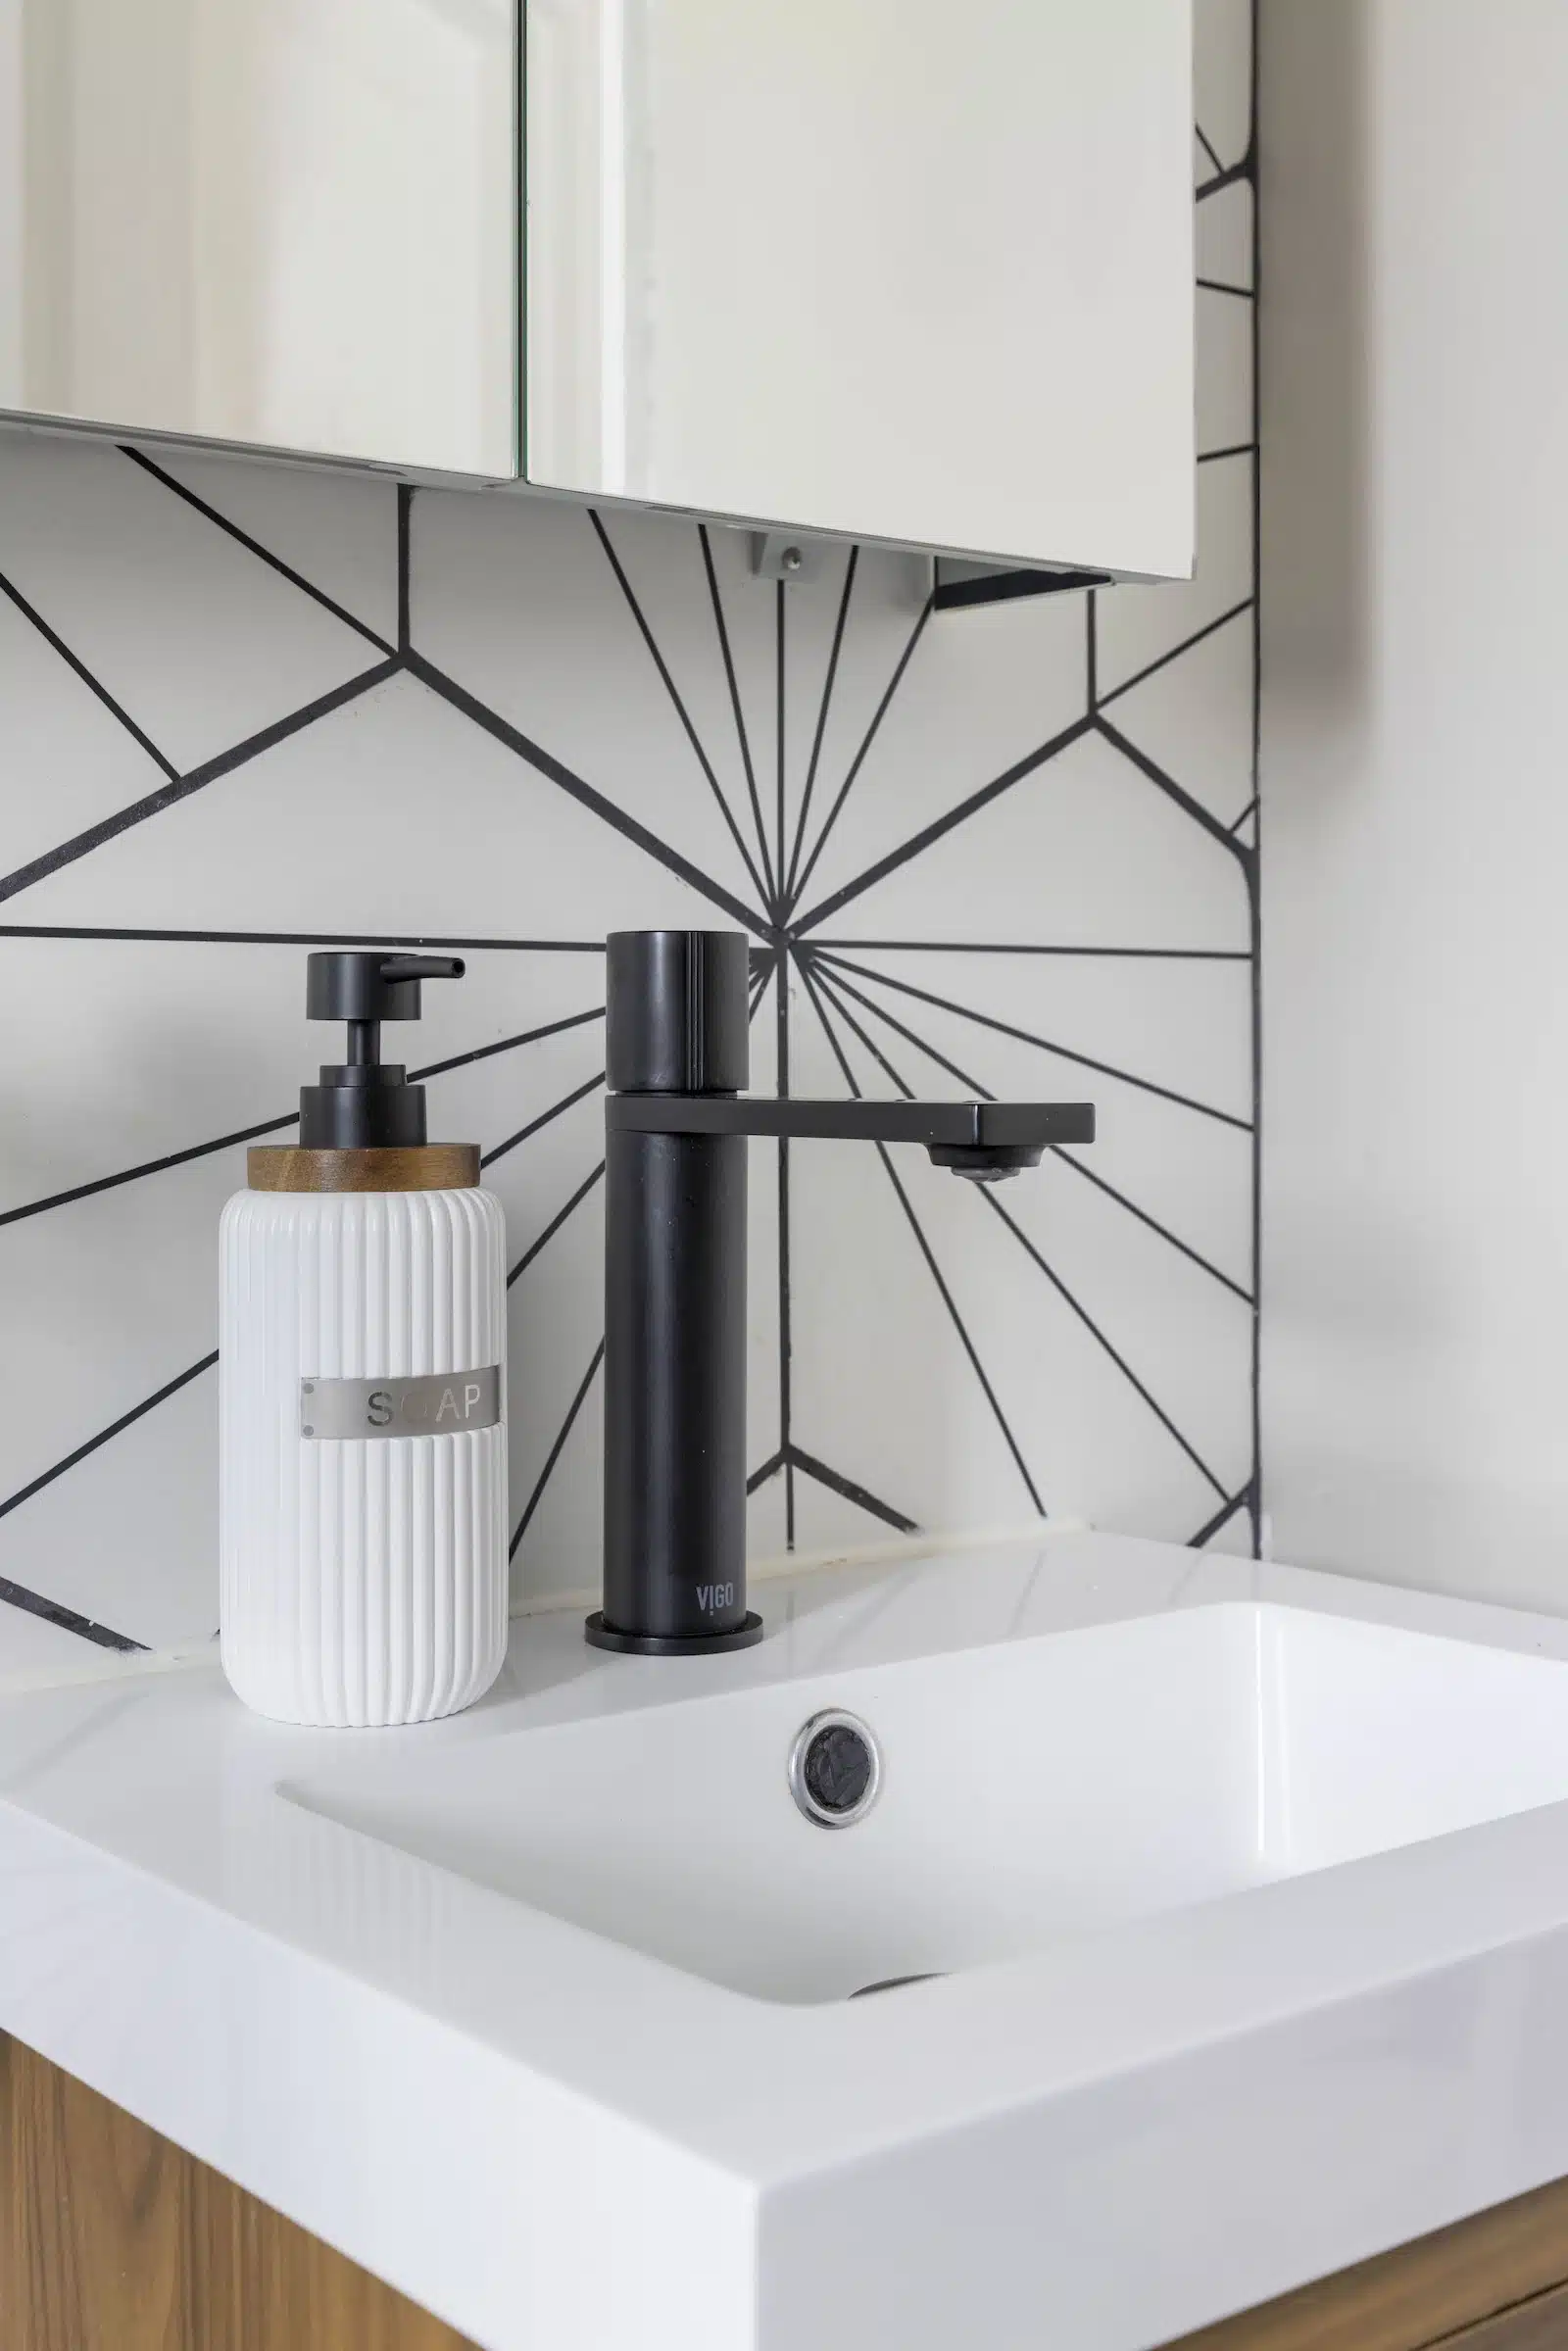
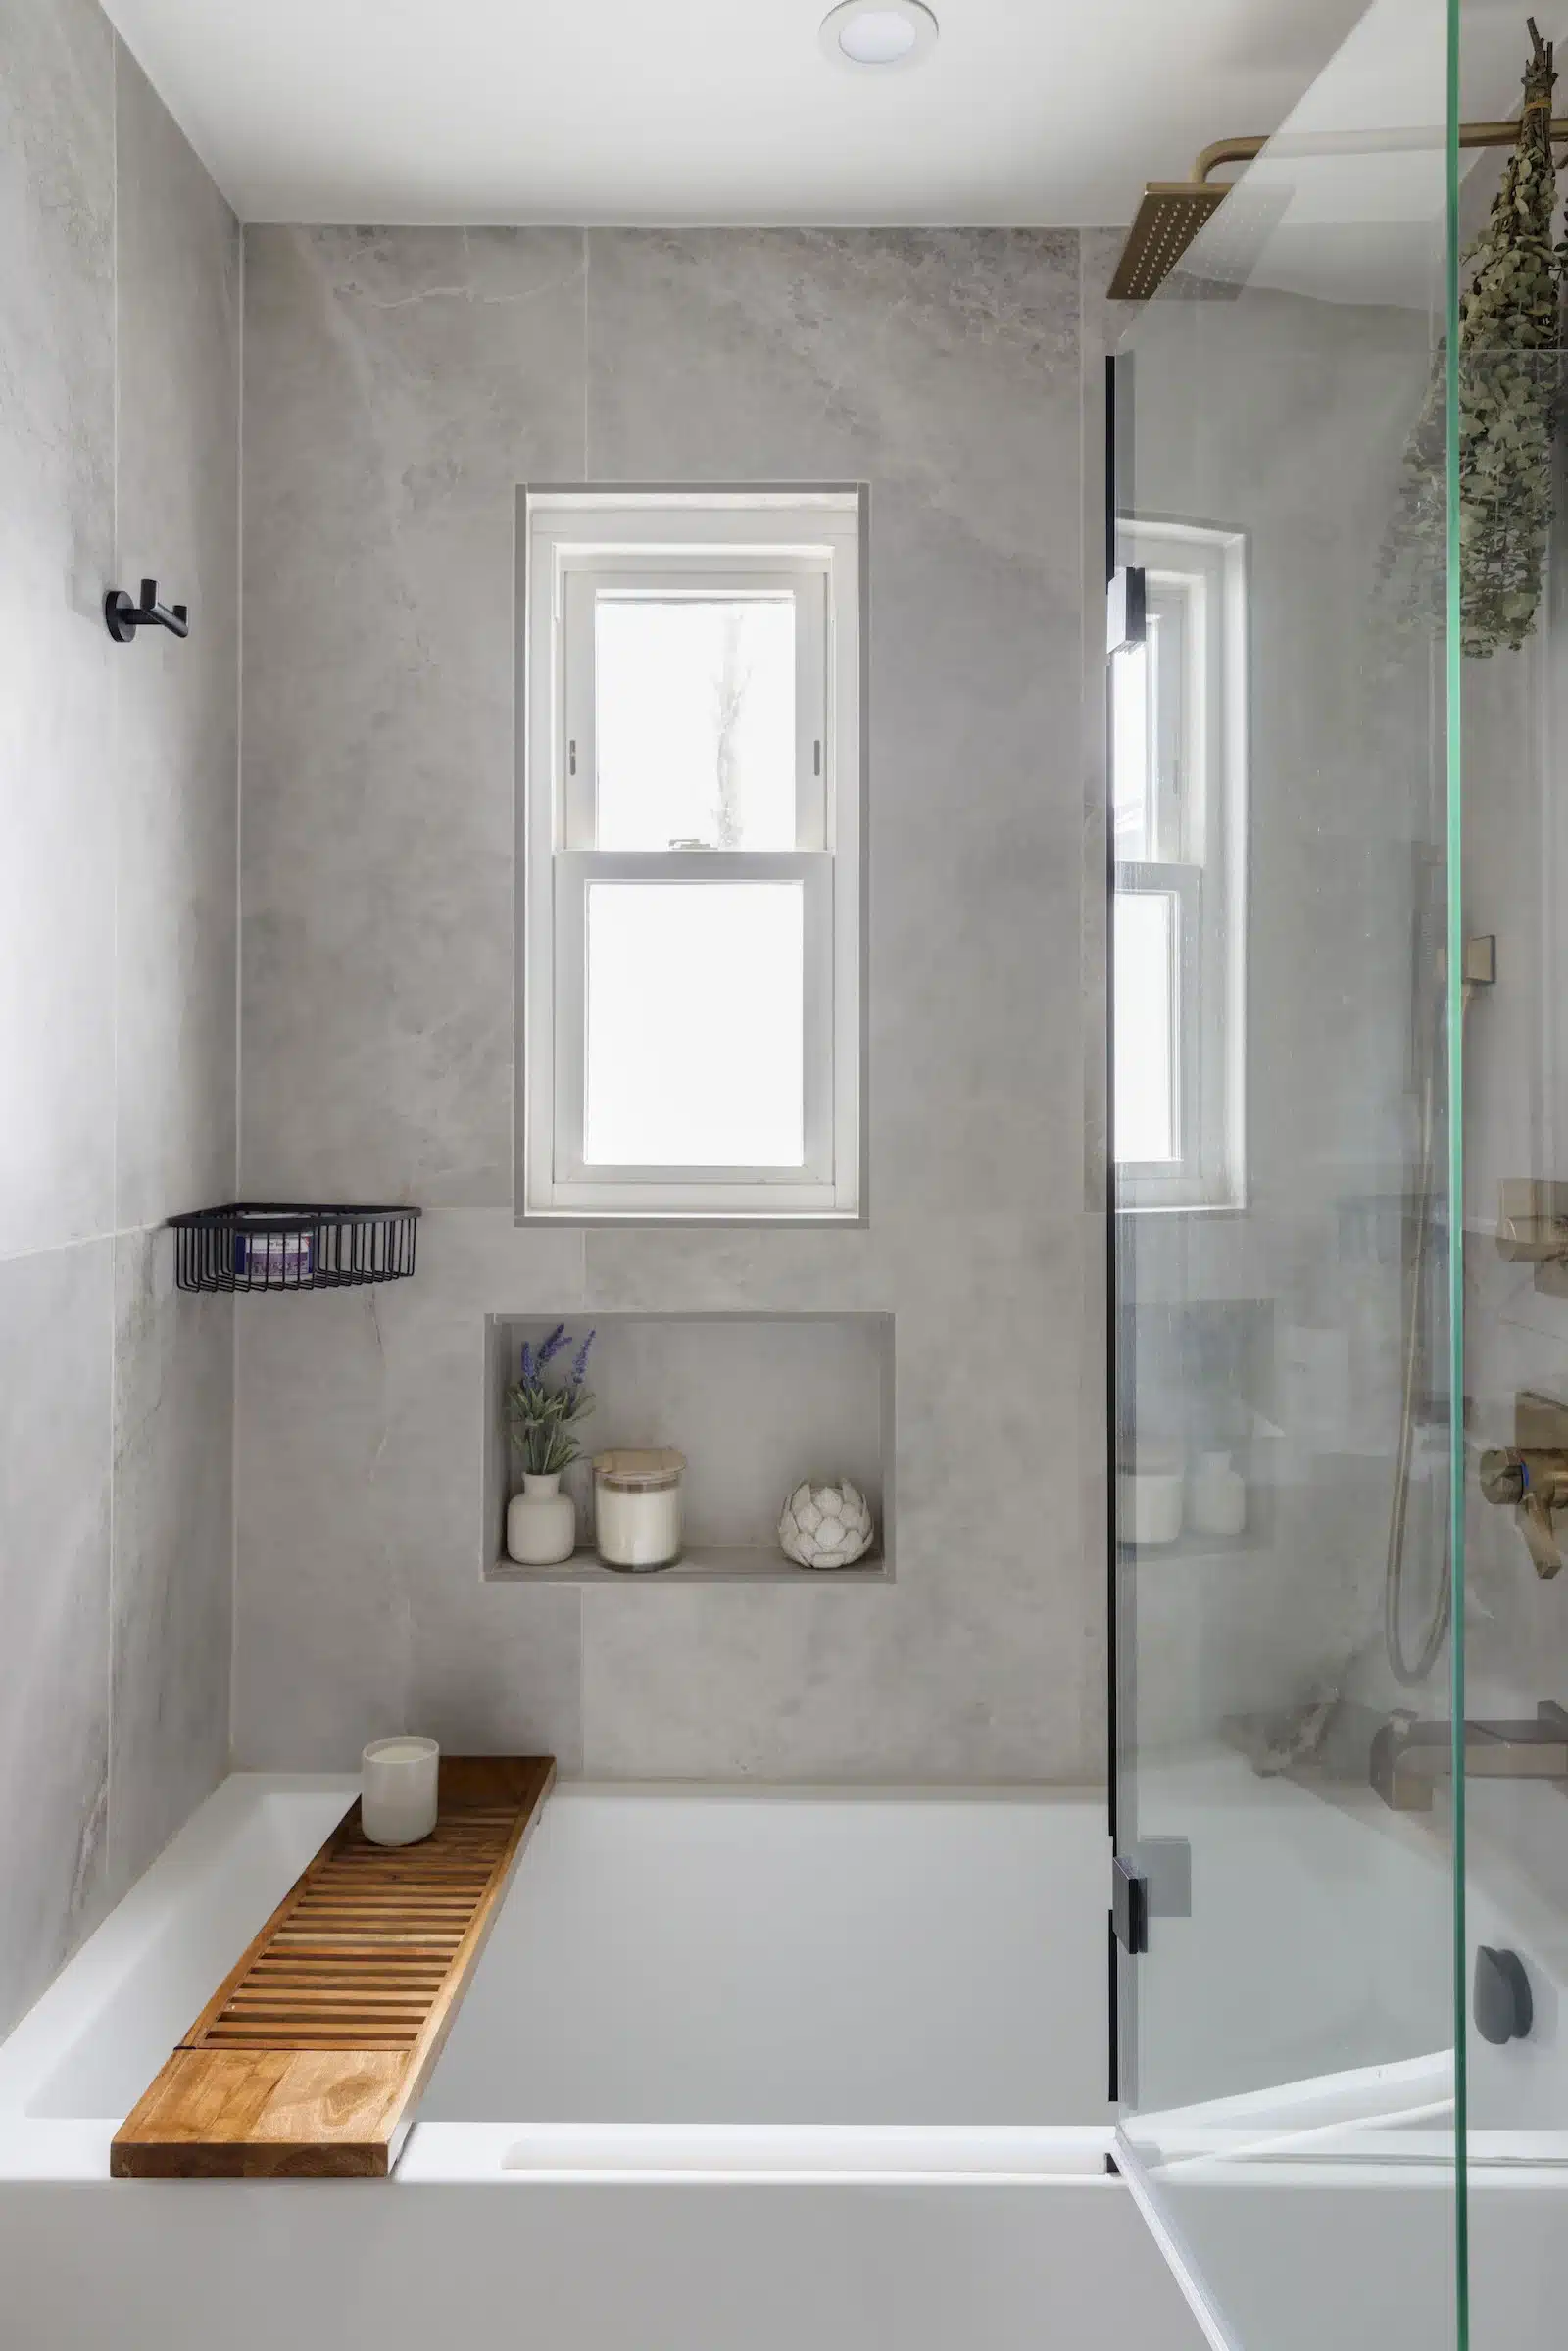
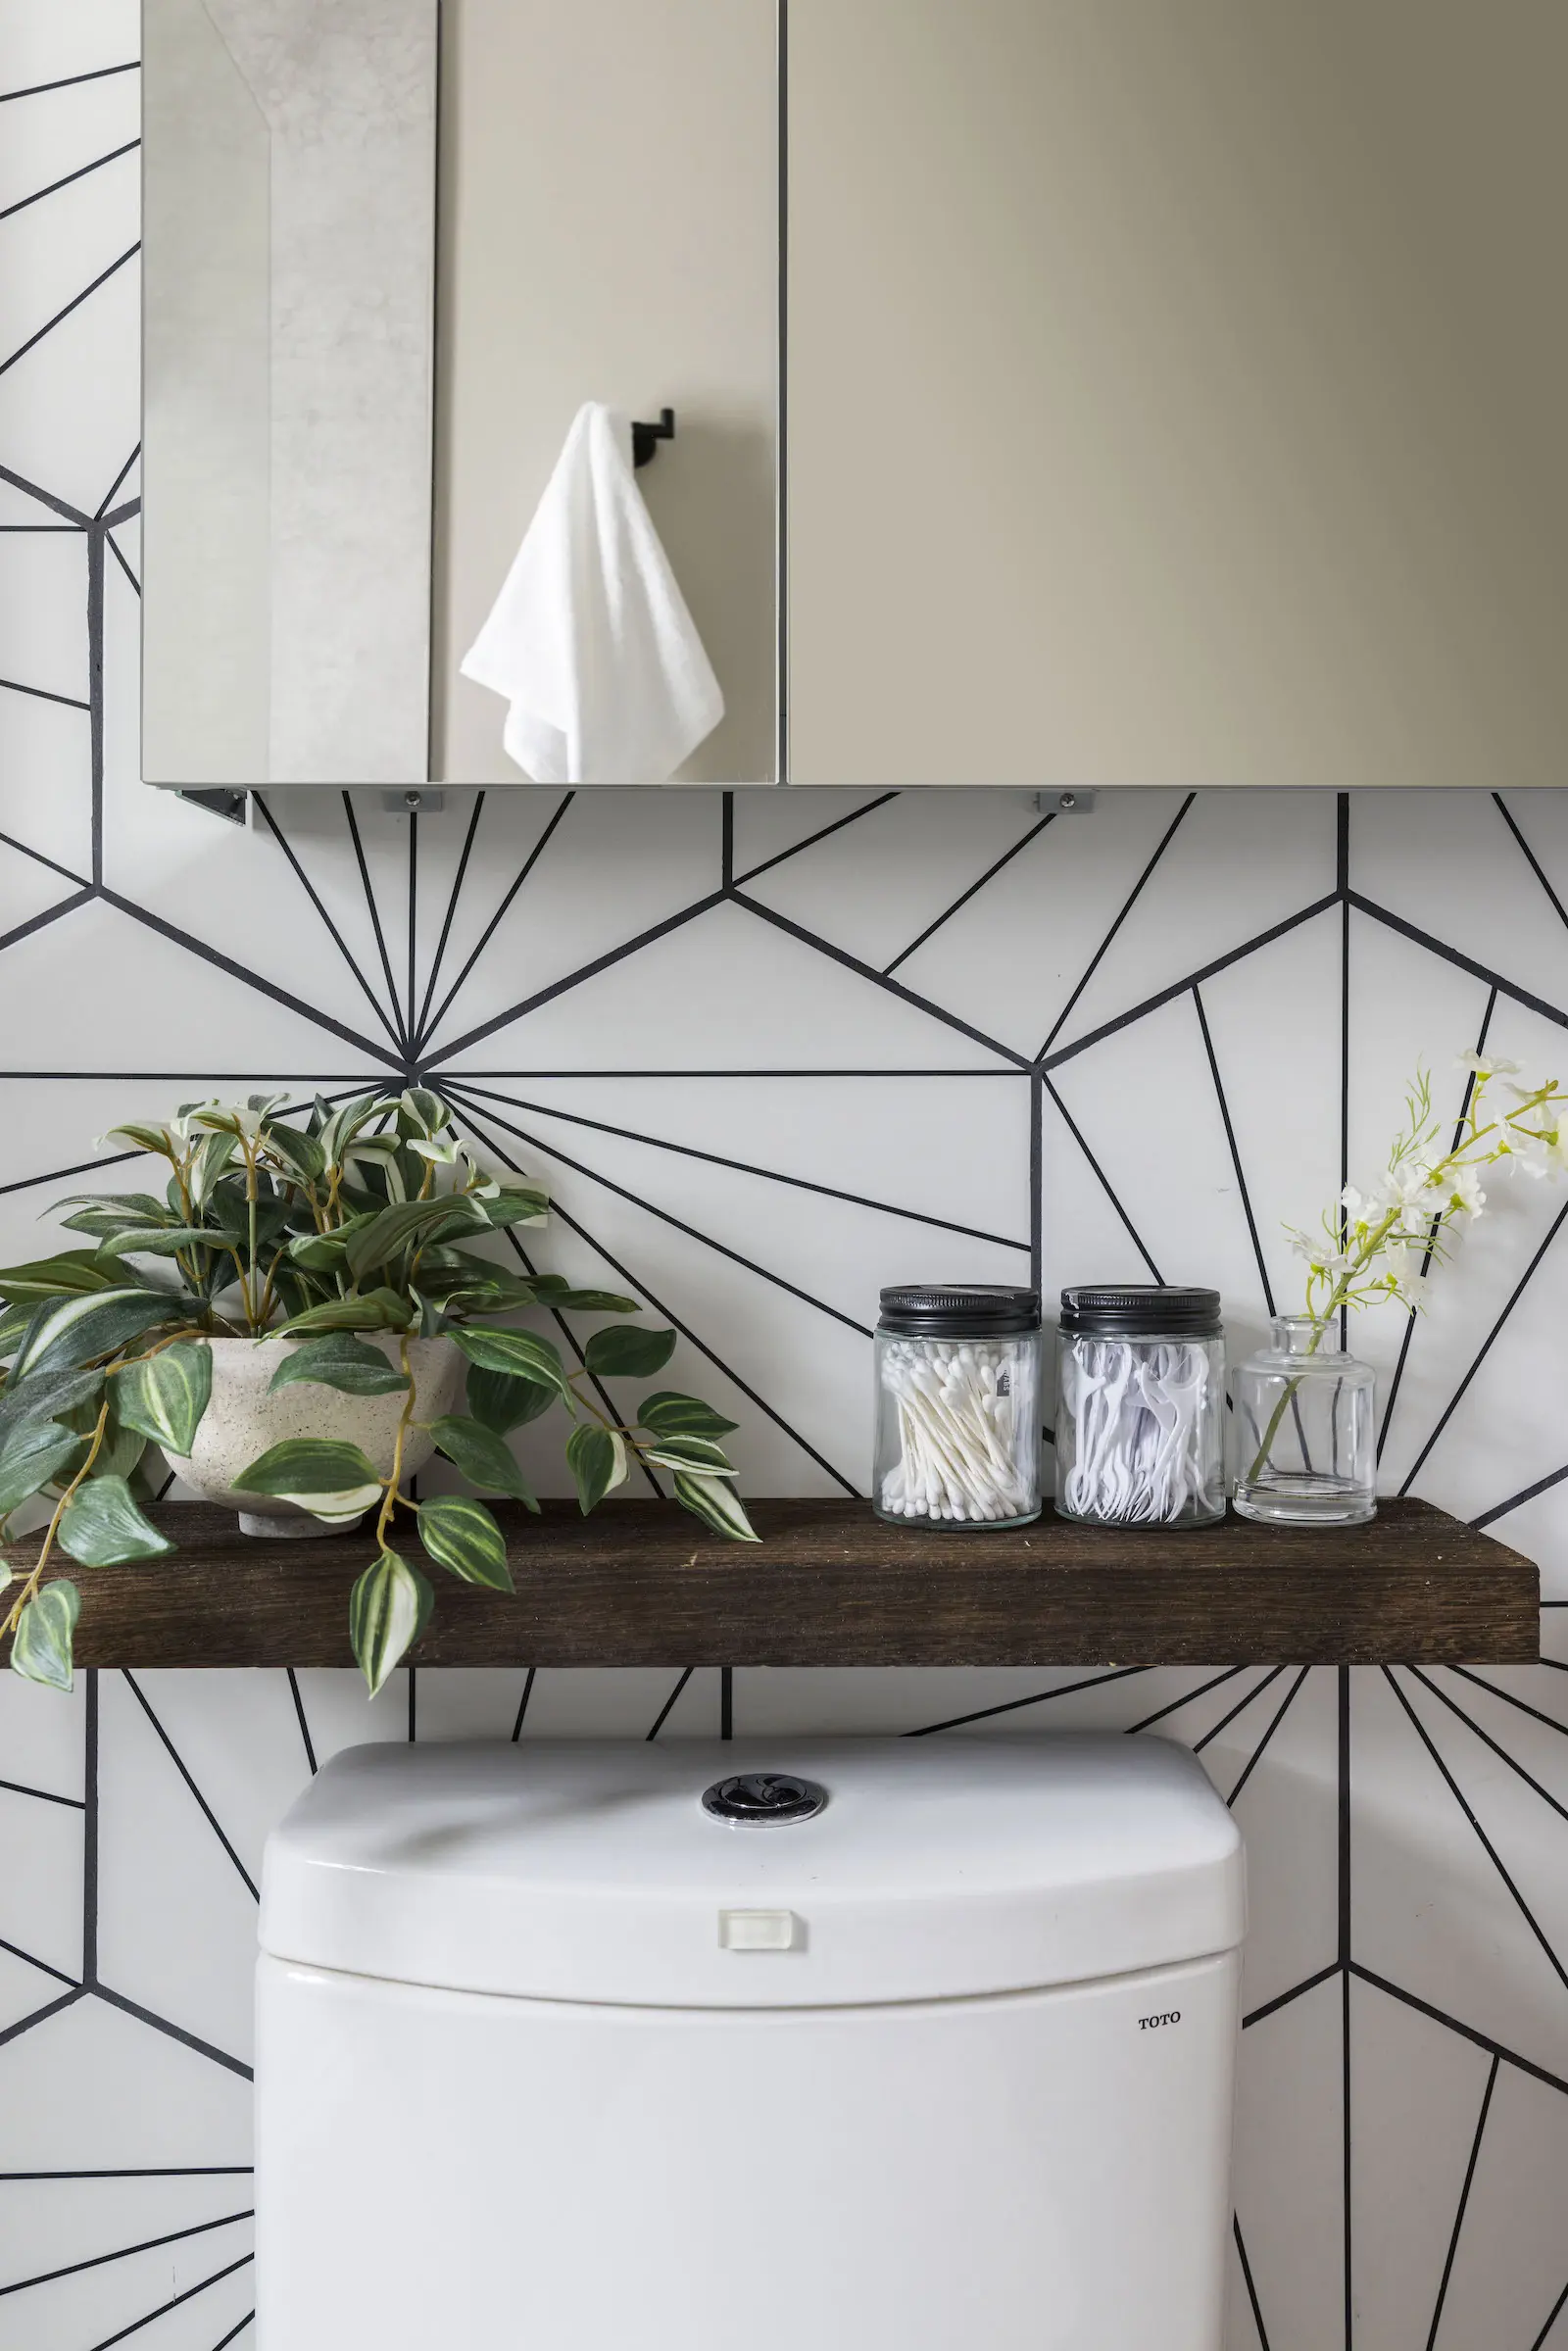
I selected mid-century modern-style patterned hex tile and searched for other tiles to blend with it on the walls. The large-format, asymmetrical honed tile contrasted nicely and also looked great with the black and champagne-gold fixtures. Solid gray floor tile pulls it together, and natural wood elements bring a spa feel.
One sticking point involved getting the contractors to see my vision and follow my drawings. To get the look just right, the hex tile pattern needed to be placed strategically and the grout had to match in thickness to show continuity. In the bathroom above the tub, I wanted to center a large-format tile design; when I explained my vision, the contractor and sub-contractors’ jaws dropped. But they got it done.
Renovation advice
Choosing every paint color, finish, countertop, and tile was so exciting. I saw my design come to life. I documented it all. Based on experience, I suggest moving out during construction, if you can. The biggest challenge I had was doing construction while living in the space. We had no use of our kitchen and used the basement bathroom for over a month.
Also, check functional details. For example, consider which way the door swings and know what you will put in every storage nook. As a designer, I plan out all of the kitchen design details with the cabinetmaker and work with the contractor to execute it. Planning makes a difference. Lastly, make sure you have your appliances, fittings, and fixtures delivered before construction begins to prevent delays and keep the project moving.
As for working with your contractor, be specific about your wants and the time it will take to complete them so you don’t get hit with surprise costs. Hold contractors accountable for their promises but prepare for the unexpected if you open walls. We hoped to keep costs under budget but we went over.
Mission accomplished
My favorite part of the renovation was just after it was over. We’d cleaned up the dust and started to live in the space. Every night I would stand in my dining room and stare at the kitchen. It was quite an accomplishment.
Perrin stood in awe of the transformation and says that seeing the video reveals on my social media highlights page (@gabby_the_realtor) brought his “magic” moment.
We all love the result, and our new spaces make us feel proud. My daughter was excited each day after school, seeing the progress, and I got to show her how a dream can become reality if you work toward it.
Renovation Materials
KITCHEN RESOURCES:
- Paint in Diamonds Therapy: Behr
- Floor tiles: Floor & Decor
- Cabinets: Coline Cabinetry
- TK cabinet hardware: Amazon
- Slab quartz countertops and backsplash: Sourced by contractor
- Sink: Ruvati
- Faucet: Vigo
- Refrigerator, dishwasher, and stove: Appliances Connection
- Microwave drawer: Appliances Connection
- Light fixtures: Hudson Valley Lighting
BATHROOM RESOURCES:
- Paint in Evaporation: Behr
- Floor and wall tile: Floor & Decor
- Sink, vanity, shower glass partition, and hardware: Wayfair
- Faucet and drain: Appliances Connection
- Shower fixtures: Delta Faucet
- Tub: Signature Hardware
- Toilet: Appliances Connection
- Verdera medicine cabinet: Appliances Connection
- Lighting fixtures: Amazon
—
Sweeten handpicks the best general contractors to match each project’s location, budget, scope, and style. Follow the blog, Sweeten Stories, for renovation ideas and inspiration and when you’re ready to renovate, start your renovation with Sweeten.
The post New Memories For a Kitchen and Bathroom Remodel in Rosedale appeared first on Sweeten.
