
The Laundry Room Reveal
My first laundry room makeover is in the books! Read on to see how we took our laundry room from boring to gorgeous in just a few weeks with a couple of simple projects!
Y’aaaaaaaaall.
This laundry room.
It makes me so happy.
And it’s DONE!
One of my very favorite things about our house from the very beginning was that I have a generously-sized laundry room in comparison to anything I’ve ever had before. None of my previous laundry rooms were any larger than a (small) closet, so this space felt downright luxurious when we moved in. But, like many spaces in our house that haven’t been worked on yet, it just wasn’t functioning for us as well as we knew it could.
So, since we have been home and not really doing anything since March, we decided that we’d go ahead and knock it out. This wasn’t really originally in our plans for this year, but I’m so, so glad we decided to tackle it, and I’m beyond thrilled with how it turned out.
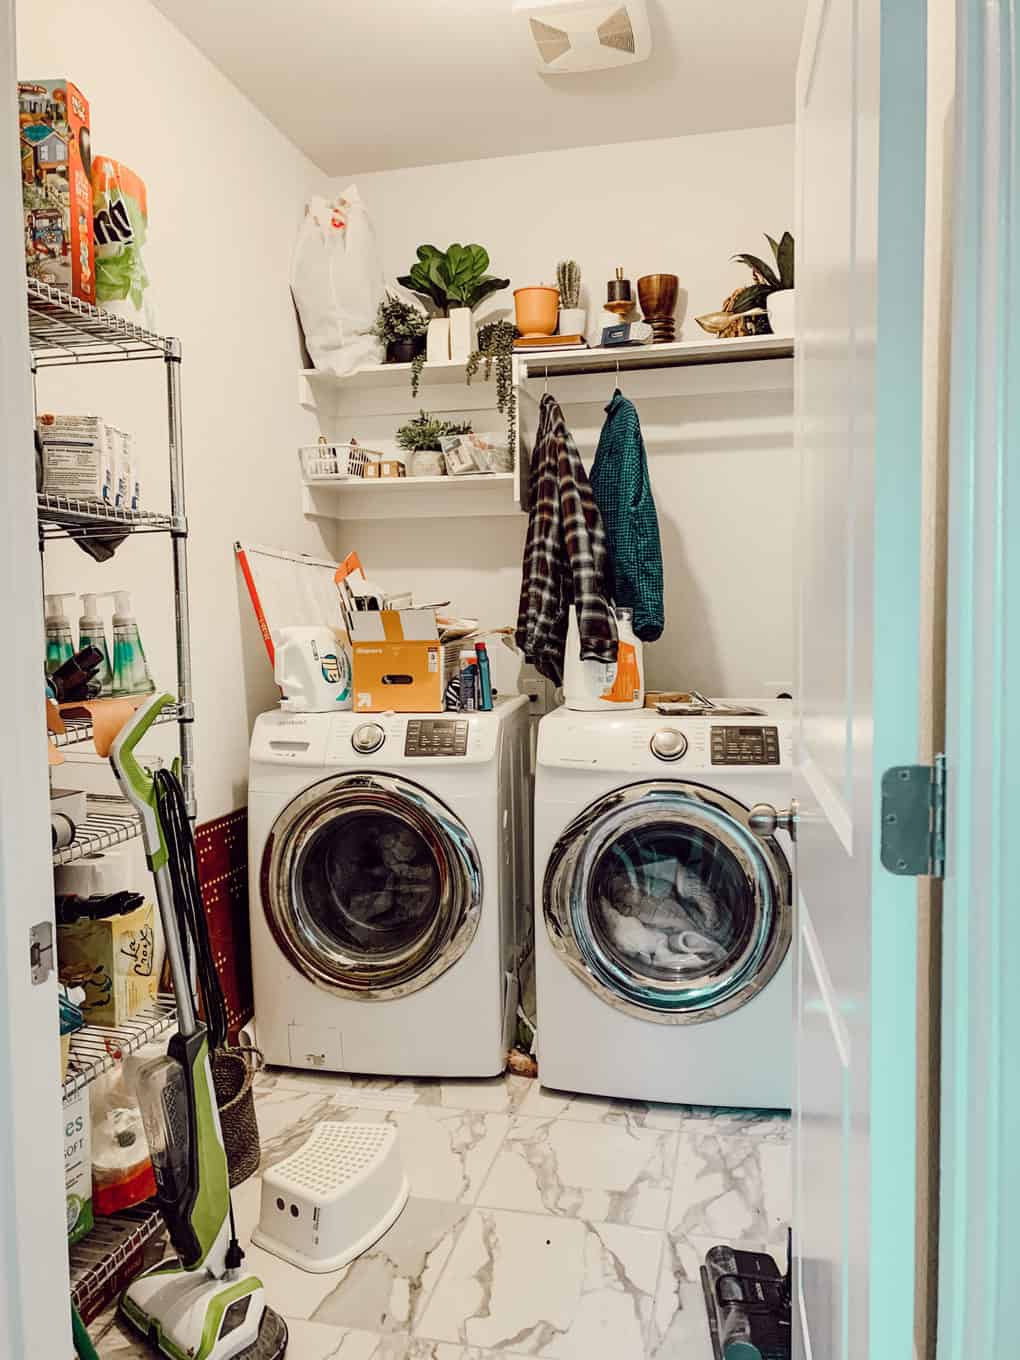
Can’t stop drooling over that before and after.
So satisfying!
I’ve already showed most of how this room came together between a few blog posts and over on Instagram stories, but I wanted to have one big update post with aaaaall of the details for you in one spot in case you want to replicate anything for yourself! So, let’s break it down…
DIY LAundry room makeover
The projects…
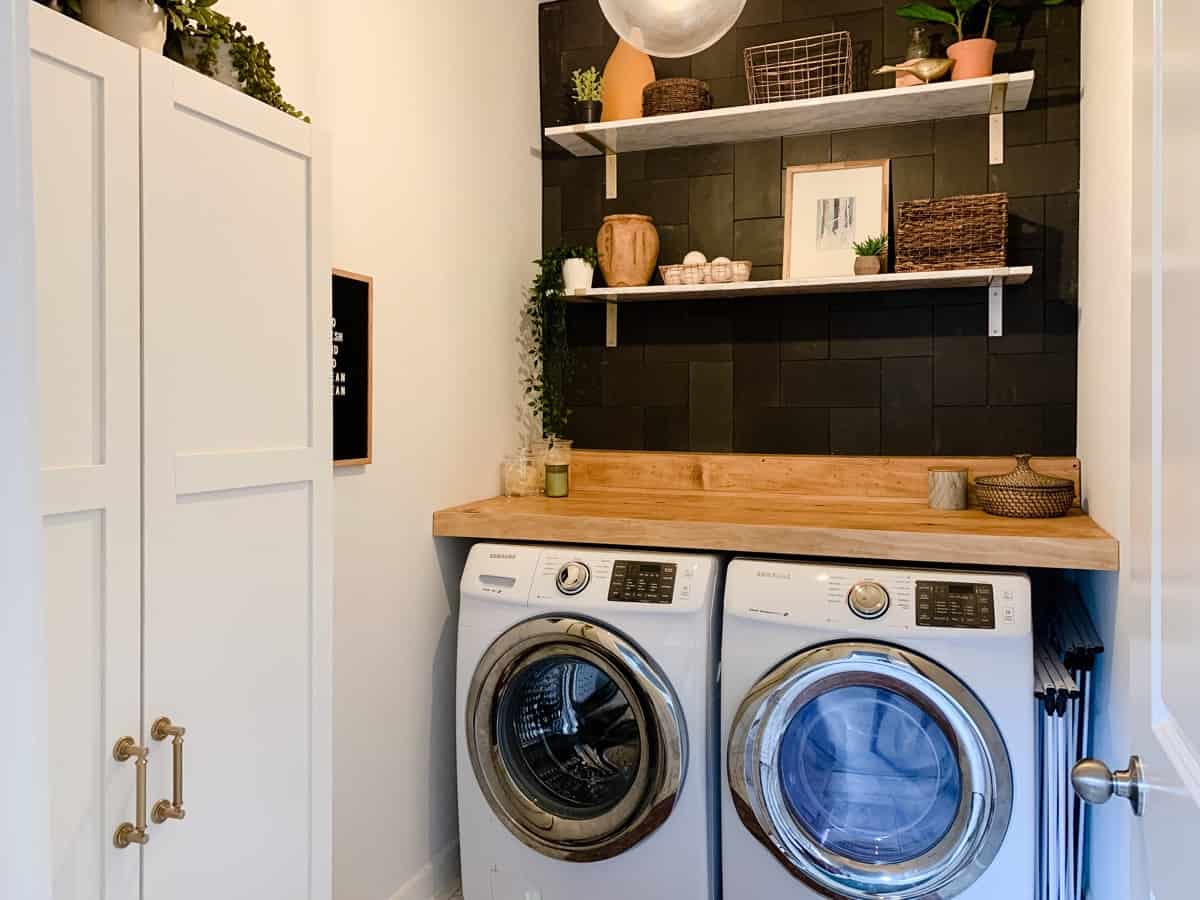
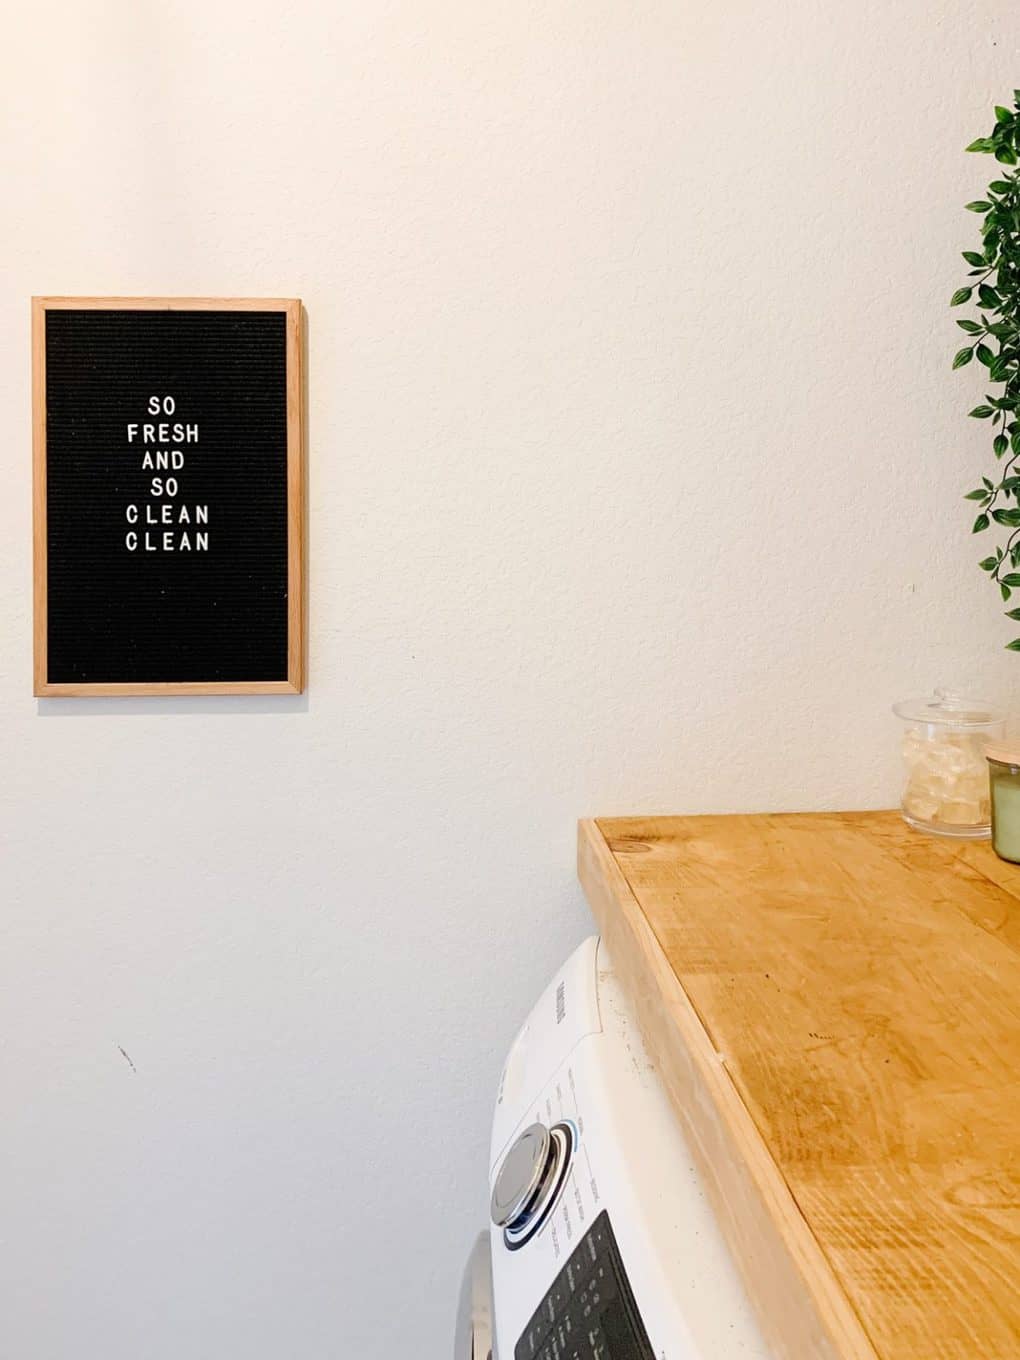
- We started off by building a DIY laundry room counter on top of the washer and dryer. I’ve always wanted to have a counter in my laundry room and haven’t ever had a space where it made sense, so this was one of my very favorite things to tackle here. This project was truly a quarantine project – there were several mistakes made, a bit of “make it work with what you’ve got” since we weren’t going to the stores, and a hefty dose of creativity. You can see the project unfold over on Instagram stories if you want to watch the action!
- After that was done, we moved on to tiling the wall behind the washer and dryer. I’ve always dreamed of a bold black tiled wall, and this small space was the perfect low-risk spot to try it out. I couldn’t possibly love it more, even if it isn’t perfect (that pattern was tricky, and basalt isn’t an easy tile to work with!). We also thoroughly sealed the tile and grout so it stays looking great for as long as possible.
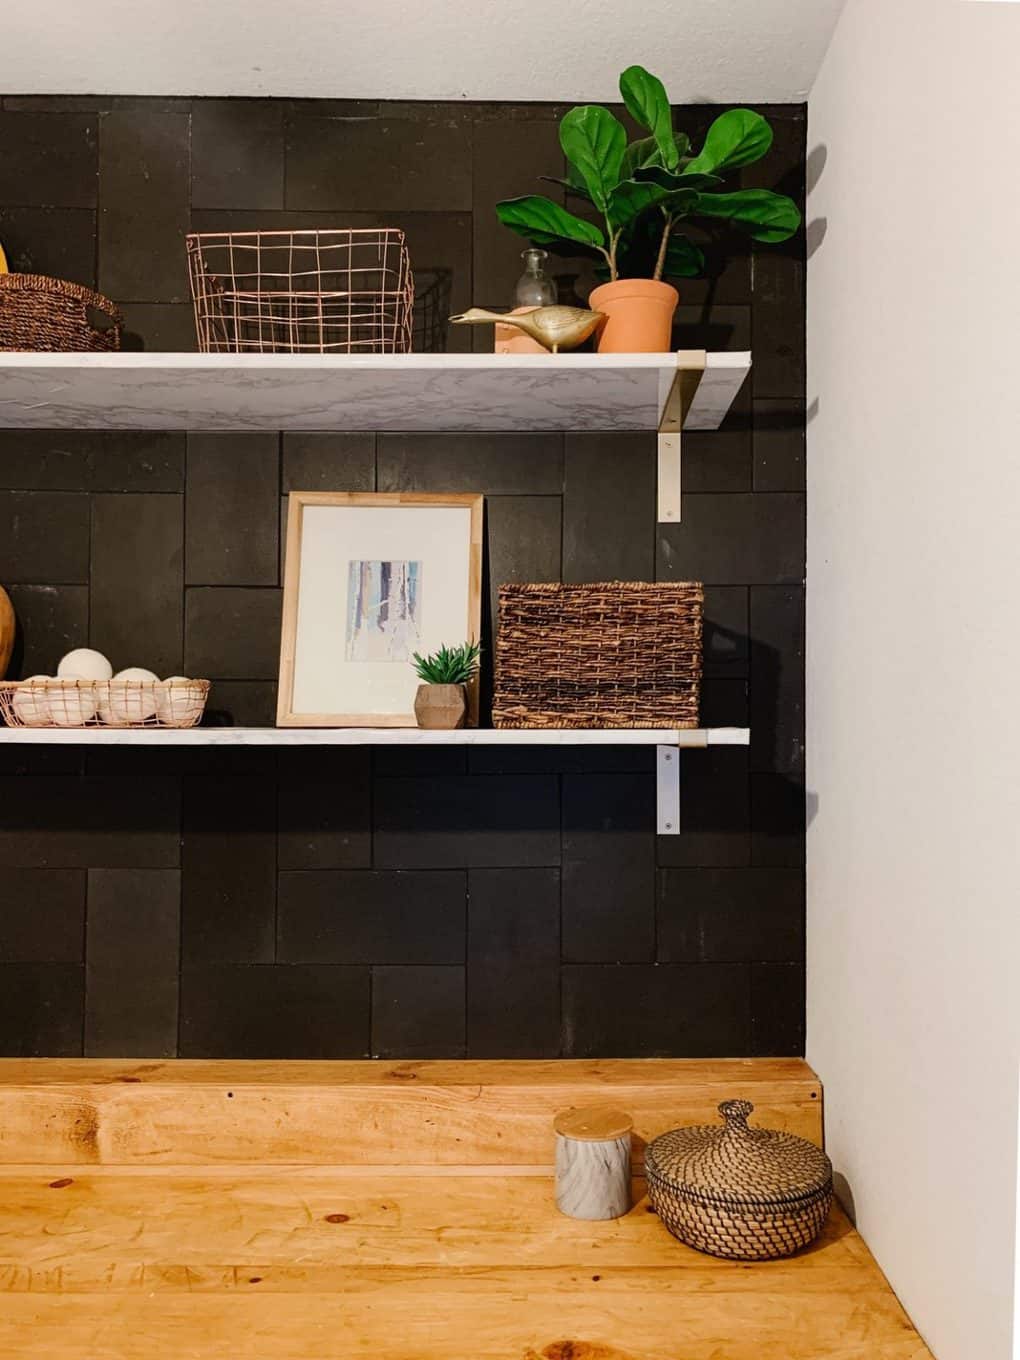
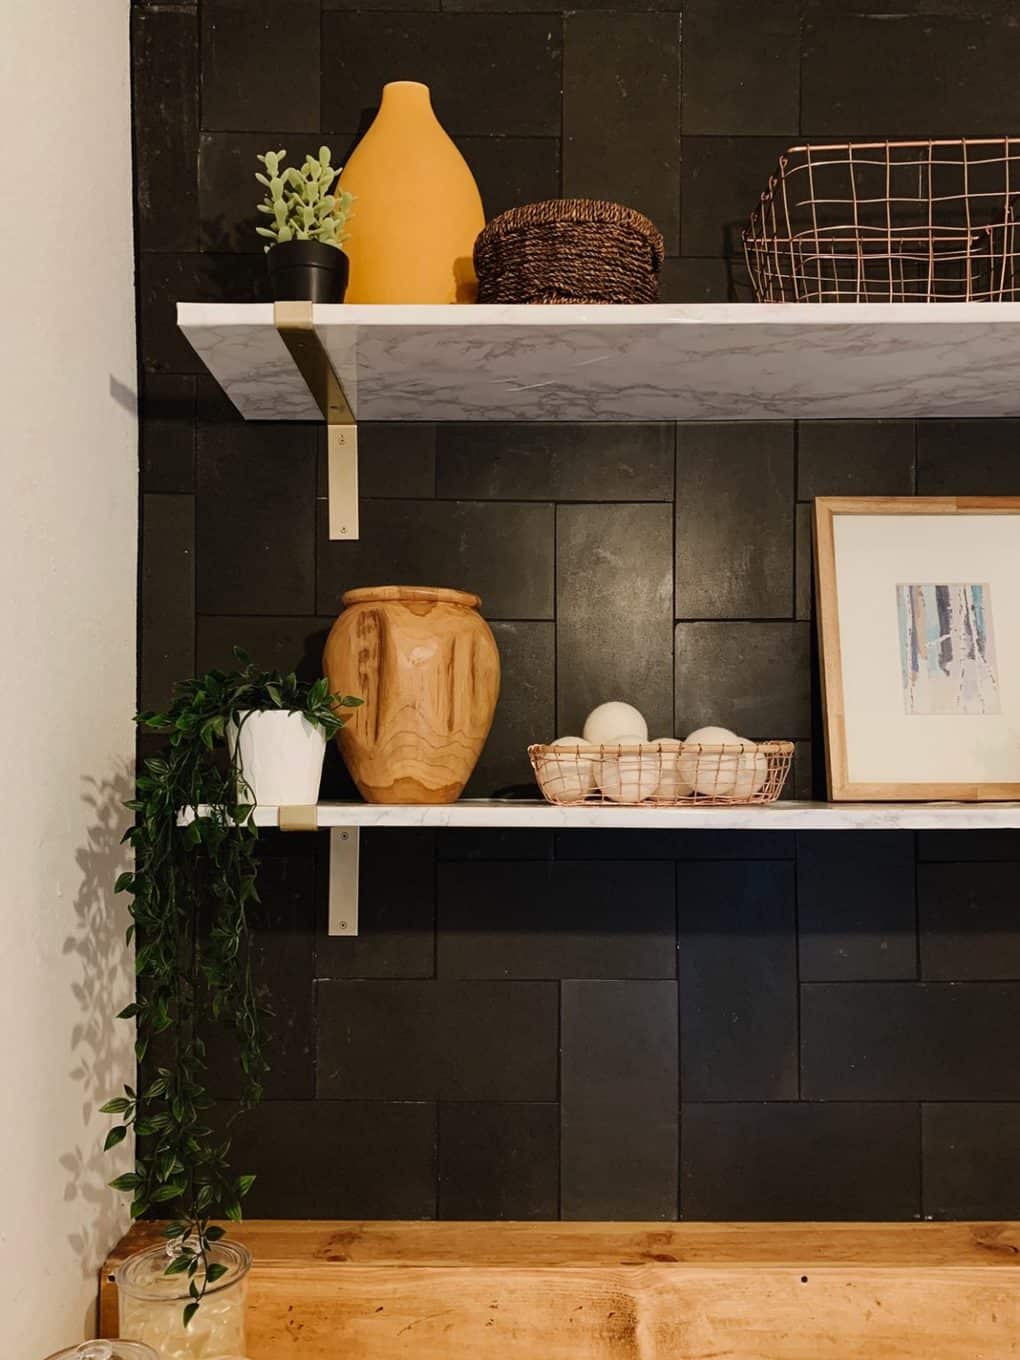
- And finally, we added some DIY shelving using these brackets and some 1×12 wood wrapped in this contact paper. We got lots of questions about how we drilled into the tile – it’s really simple with the right drill bit! We used this set and it was incredibly quick and easy – just make sure to measure for where the studs are before you add your tile so that you can be confident you’re drilling into studs when you add your brackets!

the sources…
Let’s start with the tile, shall we?
This beautiful tile is from the Jeffrey Court collection at Home Depot. It’s the 4×12 honed basalt tile and it is actual basalt stone (not porcelain). Jeffrey Court is a very wonderful brand that we’ve worked with a few times before (on both the dining room and the hall bathroom in our last house) and they were kind enough to send us all the tile we needed for this project!

This was my first time working with stone, and it was a bit more difficult than I expected – despite my best efforts at sealing it, there are a few spots where I have some staining, and it’s much heavier than what I’m used to so the grout lines aren’t perfect.
But, I never mind a few mistakes or imperfections in my projects if it gives me a chance to learn something new!
Plus, this black wall is a showstopper and I honestly don’t think the room would be half as good without it. Sooooo it was worth it in the end.
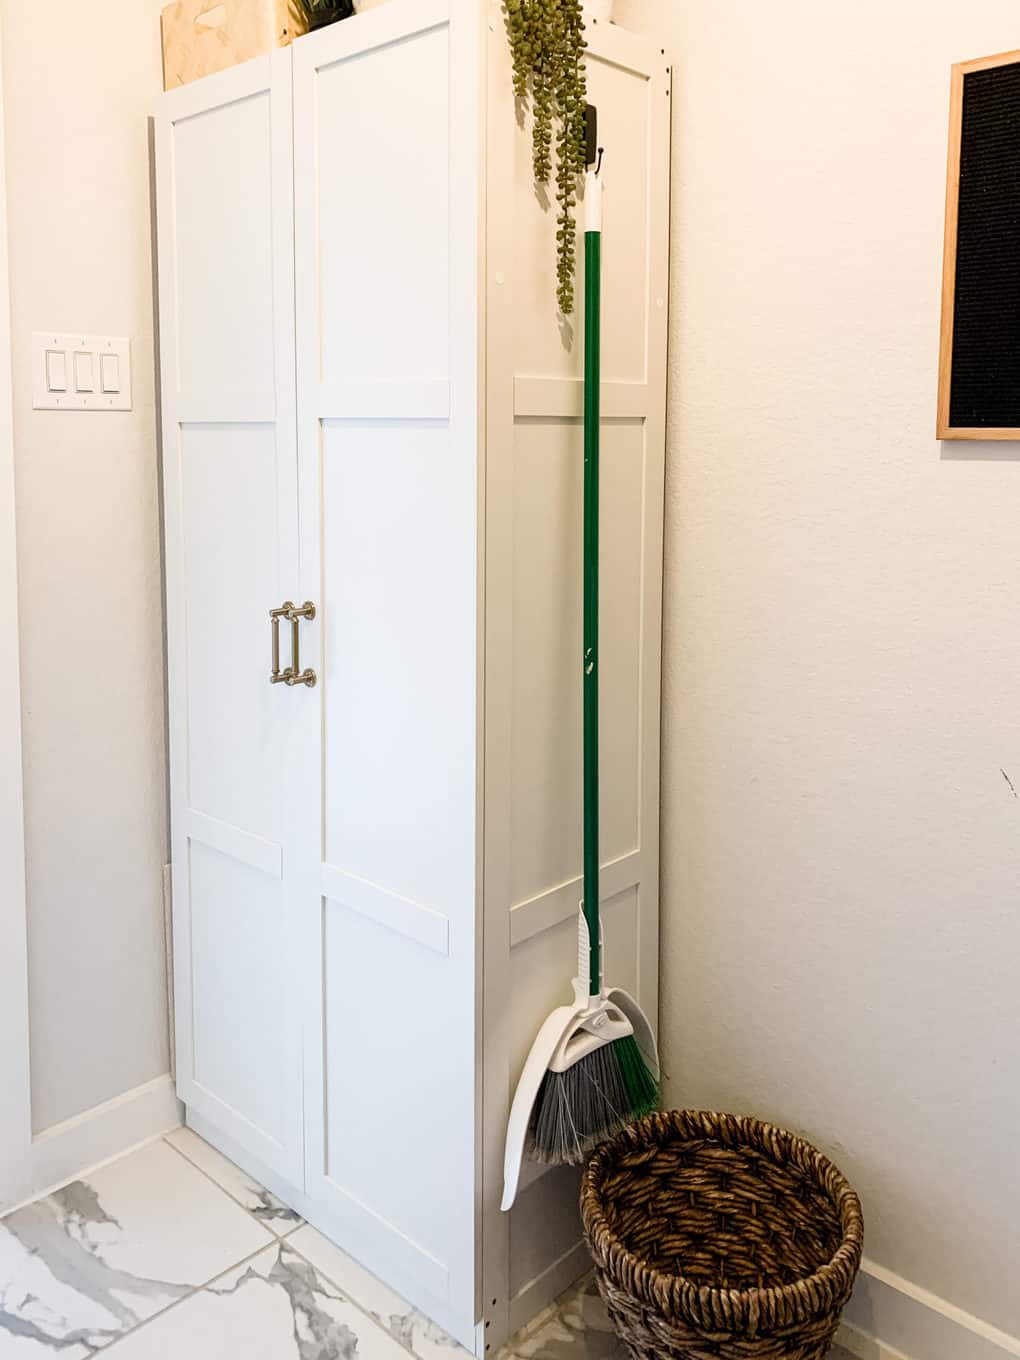
Another item in the room we get asked about quite a bit is the cabinet tucked in the corner. It’s this cabinet from Amazon, and it has worked really well for us! It’s got a great amount of storage so it keeps things out of sight, and I left shelves out of one side so that I would be able to put my vacuum and mop in it – they fit perfectly!
We originally had planned on using an IKEA PAX wardrobe in here, but they were really delayed on shipping and we didn’t want to wait – this was a cheaper solution that is definitely a much lower quality but works fine in here. I wouldn’t recommend this cabinet in a main living space but it’s perfect for a laundry room!
Here’s a list of every source I could gather for this space:
- Wall tile
- Cabinet
- Cabinet hardware
- Overhead light
- Rug
- Shelf brackets
- Marble contact paper
- Letter board
- Floor basket (similar)
- Small canister
- Large canister
- Faux plant
- Wood vase (similar)
- Copper basket (similar)
- Dryer balls
- Wood frame
- Yellow vase (similar)
- Floor tile (similar)
Frequently asked questions…
I have a few questions I’ve gotten on repeat when I share this space on Instagram – so here’s a quick round-up of the answers!
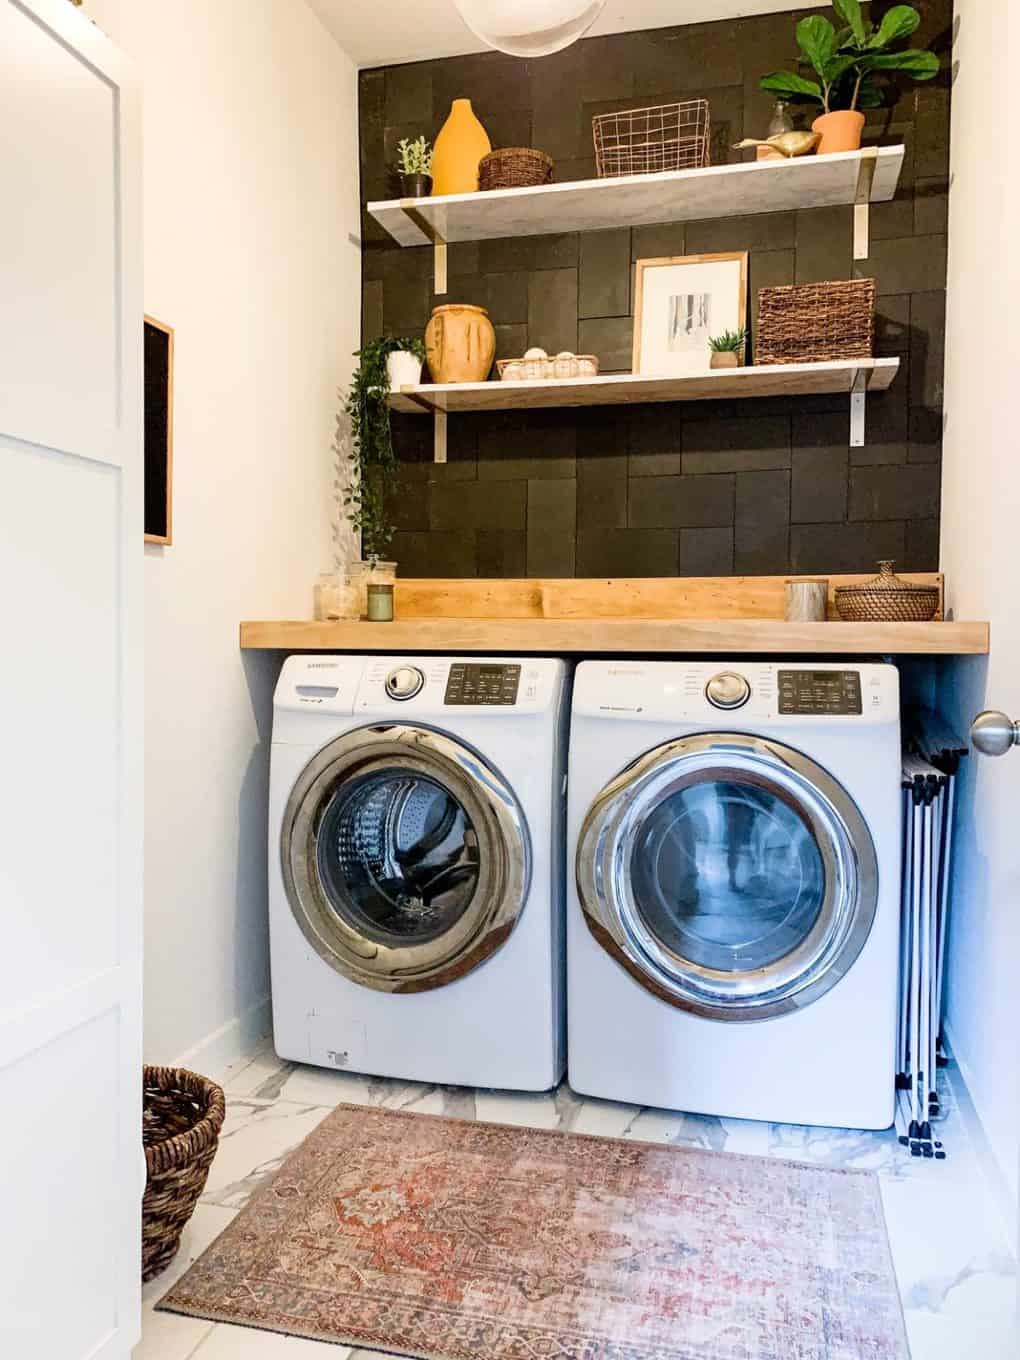
Why didn’t you add any hooks or hanging space?
Many of you were very concerned about our lack of space to hang stuff! If you look closely, though, you’ll notice that I have two foldable drying racks tucked next to the dryer. We’ve had these for about three years now and use them every time we wash Corey’s shirts (he doesn’t like them to go in the dryer) – they work great for us and we don’t need anything else!
I just pull out the drying racks when it’s time to wash his shirts and set them up in the room – it gets crowded in there when they’re set up, but they’re never up for more than a day or so while his shirts dry, then I fold them back up and tuck them next to the dryer again.
Can I see inside the cabinet?
Of course! Here’s a peek at how it’s organized:
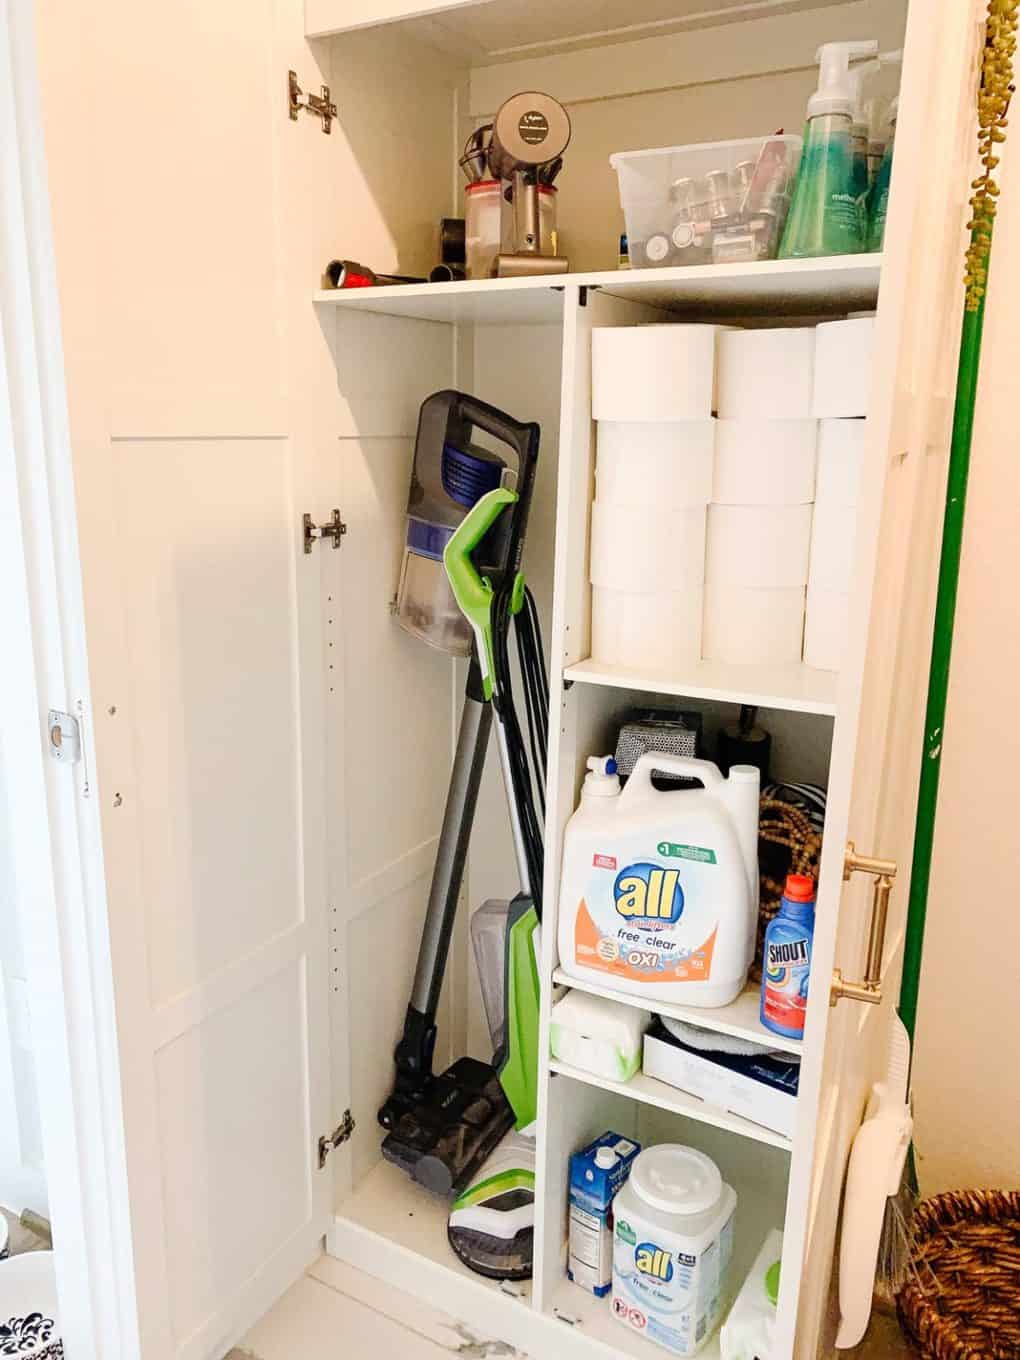
As you can see, the vacuum and mop fit more or less perfectly in there with zero extra room. I do have to kind of rest the vacuum on top of the mop, and if either one of them was much larger it wouldn’t really work.
It doesn’t bother me, though, because this is far better than just tossing them in the room and tripping over them every time I need to do laundry!
We’ve also got our handheld vacuum, some extra decor, cleaning supplies, and a few other things in here – it’s a real workhorse and it has made a huge difference in keeping us organized!
How tall are those ceilings?
Our ceilings throughout the first floor are 9-feet. They look extra tall, though, thanks to the to-the-ceiling tile and the shelves!
Is that floor real marble?
Nope – it’s porcelain. We absolutely love this flooring and I’d choose it again a million times over.
This is the exact flooring we have – but I’m not sure where it can be purchased. This flooring is really similar, and just as beautiful, though!
The post The Laundry Room Reveal appeared first on Love & Renovations.